

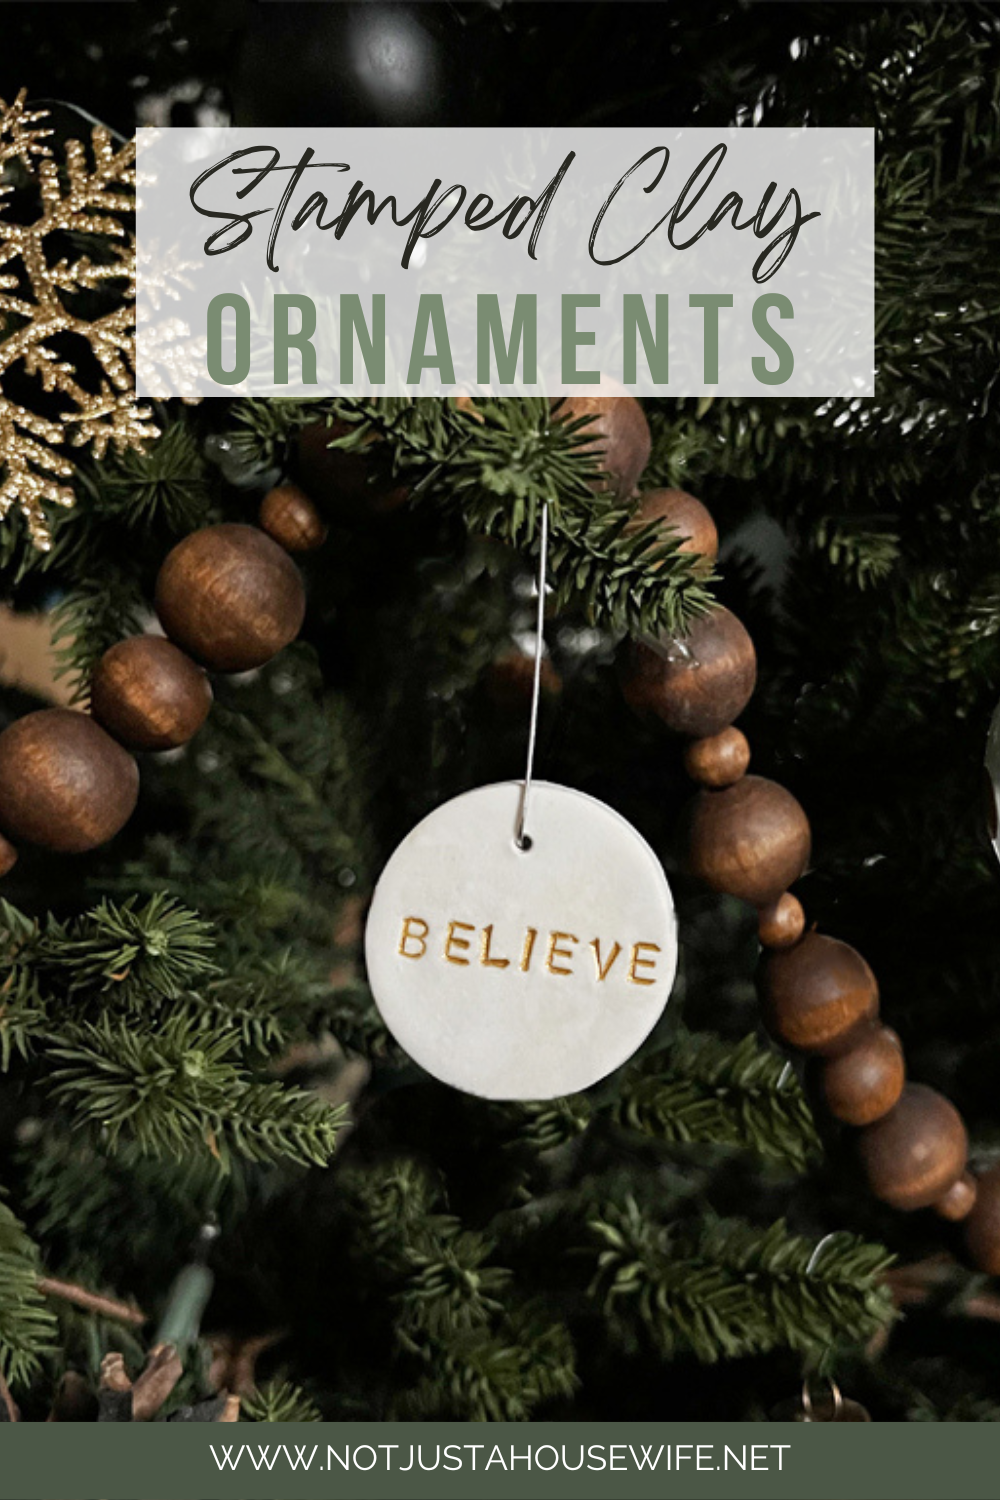
I love using polymer clay to create ornaments. These stamped clay ornaments are so fun & easy. You can customize them to say anything you would like. Children's names, all your previous addresses, or your favorite Christmas songs.
Clay Stamped Ornaments
I made mine circles but you could use any shape of cookie that you want. Play around with it and have fun. Include your kids for a fun craft activity.

Supplies:
Metal Stamp Letter Set or Rubber Stamps
Rolling Pin
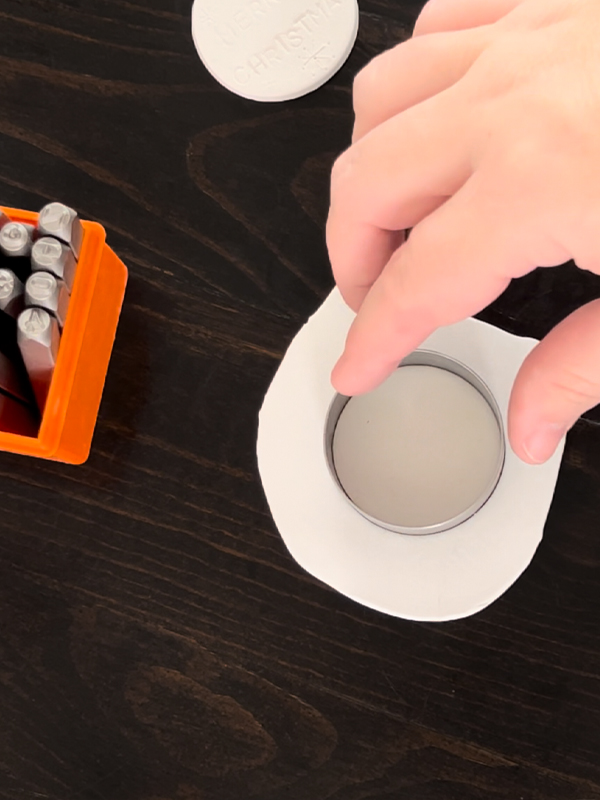
Step 1:
Roll the polymer clay out to about ¼" thick. Use the cookie cutter to cut the circles out.
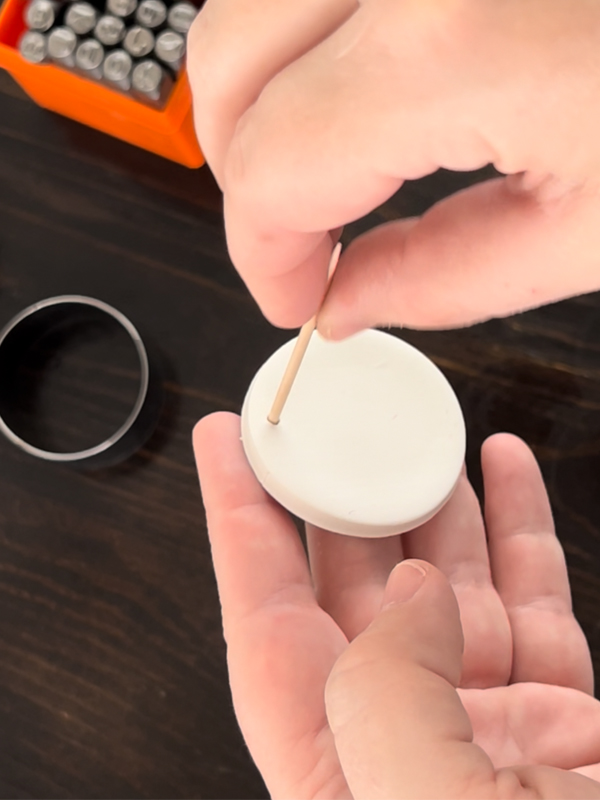
Step 2:
Use a toothpick to create a hole. This is what the metal hook or string will go through.
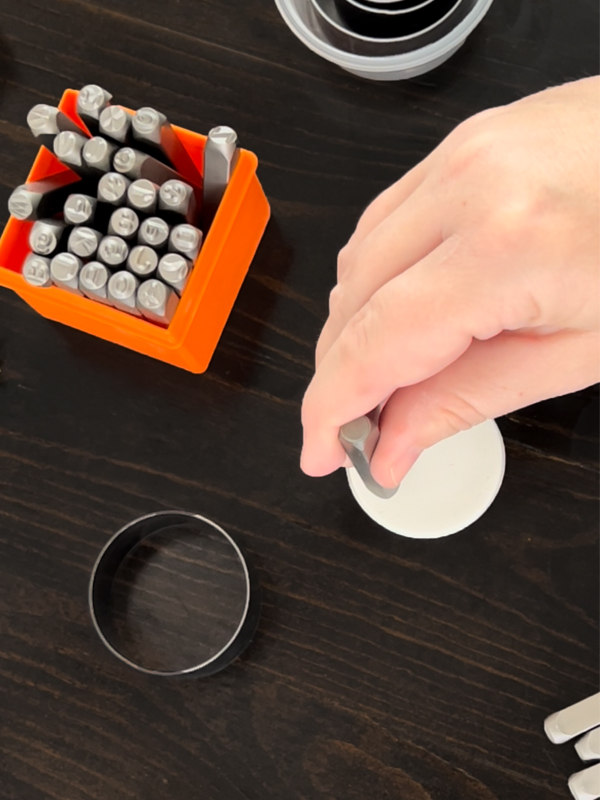
Step 3:
I ordered this metal stamping kit for some leather projects, but I have used them for metal and clay as well. They are kind of fun to have around. If you don't have a metal letter stamp kit, you can use rubber stamps or even write with a toothpick. Before pressing into the clay, test it out on some scrap clay to get a feel for how hard to press.
Step 4:
Place the ornaments onto an oven safe plate and bake at 275 degrees fahrenheit for about 15 minutes.
Once they cool down you can add the hook. You can leave it as is, (the all white is very pretty) or you can paint the letters!

Brush on the craft paint color of your choice.
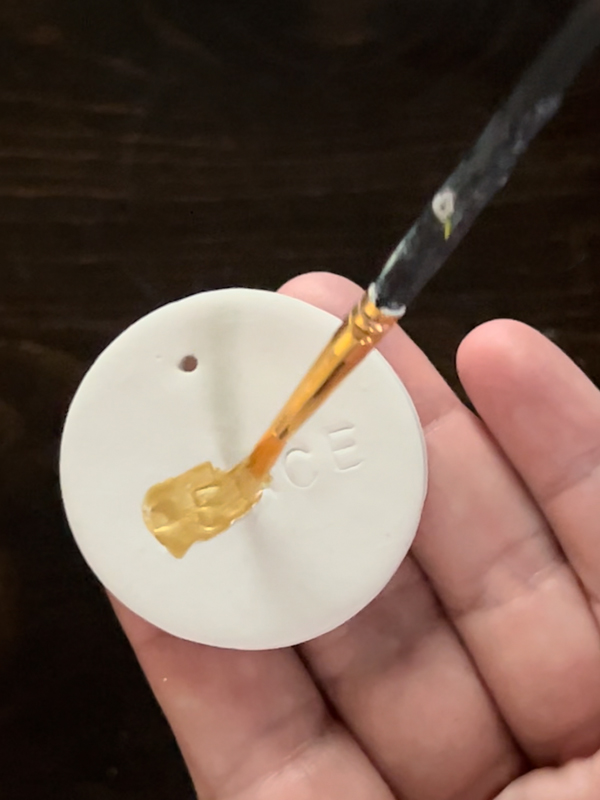
Wipe off excess paint with a paper towel.

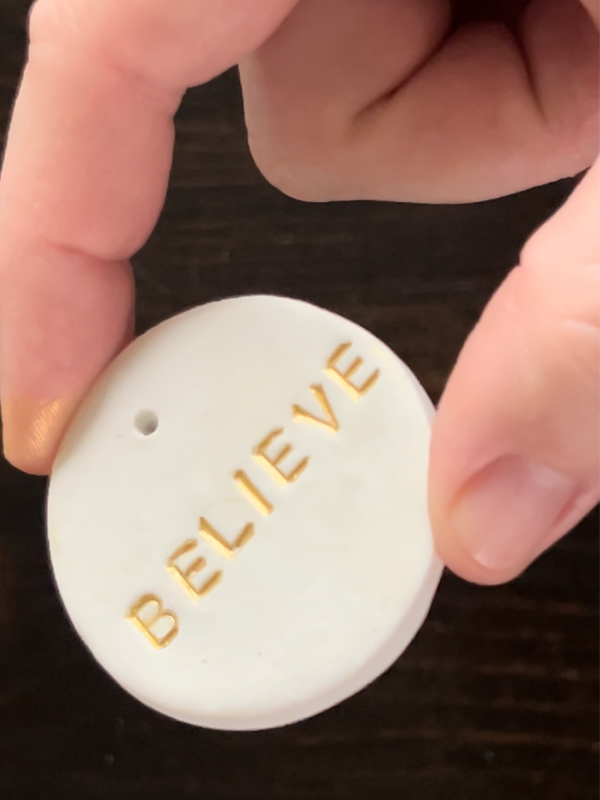
The paint helps the letters stand out more.
Have you ever used polymer clay to make ornaments?
Day 1: Mini Letterboard Ornaments
Day 2: Clay Snowflake Ornaments
Day 3: Leather Ornaments
Day 4: Mushroom Ornaments
Day 5: Glass Etched Ornaments
Day 6: Gingerbread Ornaments
Day 7: Clay Leaf Print Ornaments
Day 8: Wood Slice Ornaments
Day 9: Snow Globe Ornaments
Day 10: Stamped Clay Ornaments