I modified the “Dinner Rolls for Aunt Agatha” recipe from The Laurel’s Kitchen Bread Book for my dinner roll recipe. I made these in my RV and carried them to Jeannie’s (ajeanneinthekitchen.com) for Thanksgiving dinner on Thanksgiving. She had five guest and counting Jeanne and Larry, seven people feasted on her amazing food.
When we got home, Bruce said, “Wow, you brought half of the rolls back.” I said, “No, there are only nine.” Bruce asked, “How many did you make?” I replied, “6 by 4” and he said, “24?”. “Yes,” I replied and he said, “You made a lot more than lot more than I thought. You brought less than a third back.”
I see sliders in our future, since these rolls make great sliders.
Serves 24
Ingredients
- 4 teaspoons active dry yeast (14 g)
- 1 cup of warm water, 90 to 110 degrees F (235 ml)
- 1/4 cup honey (60 ml)
- 1 cup of butter milk (235 ml)
- 1 egg
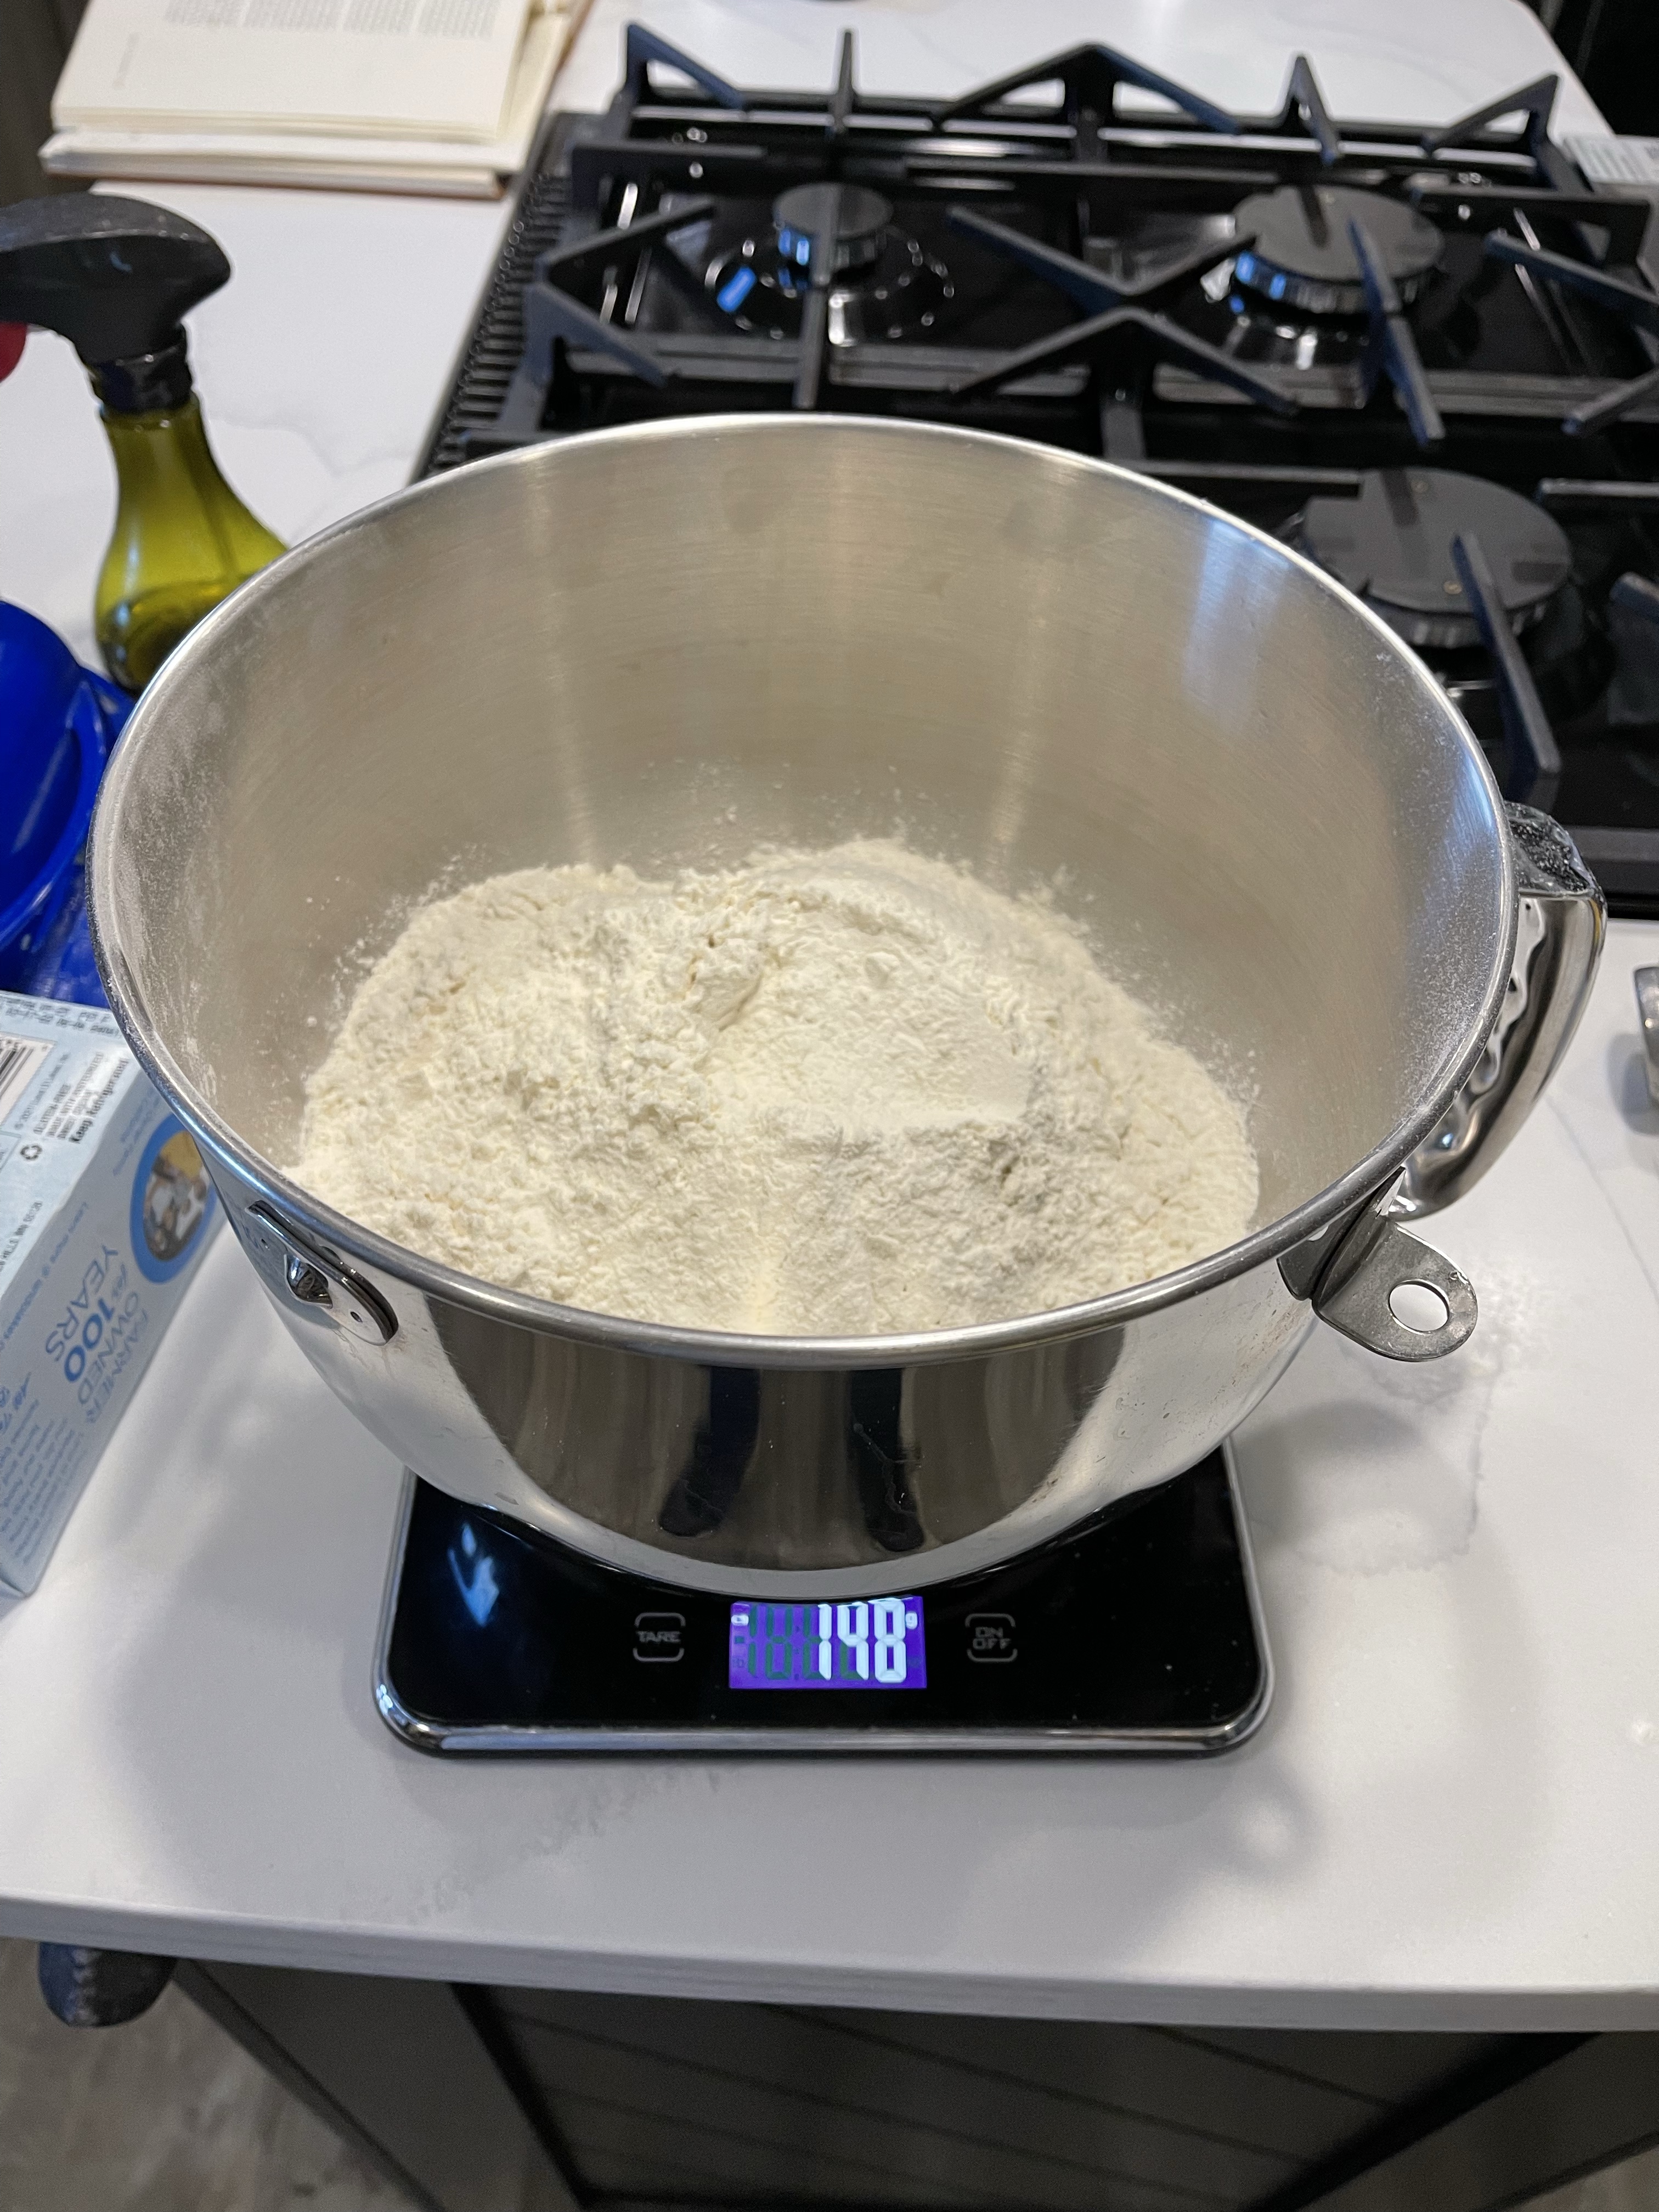
- 5 cups King Arthur bread flour (750 g)
- 1 cup Kink Arthur plain flour (150 g)
- 2 teaspoons salt (11 g)
- 1/4 cup cool butter, (1/2 stick of butter) sliced into thin slices (56 g)
- 3 tablespoons of melted butter, for brushing rolls after baking
- extra flour for dusting work area
- 1 tablespoon soft butter, for greasing pan
Tools:
A large bowl or stand mixer with a bread hook, a medium size bowl, knife or bench scrapper, cooking brush, a whisk, large spoon, a scale is nice to have, a pan that is 11″ x 16″ or two 8″x8″ and 9″x13″ or a half sheet pan or two muffin pans. You may need another small pan for water.
Instructions
- Thirty minutes before starting to mix ingredients, take 1 stick (1/2 cup of butter) from the fridge.
- Dissolve the 4 teaspoons of yeast into the cup of warm water
- In the medium size bowl, with the whisk or spoon, mix the buttermilk, honey and egg until smooth.
- In the large bowl or in the stand mixer bowl, add both flours and salt. Stir them together and make a well in the middle.
- Add the dissolved yeast and the buttermilk mixture to the well in the middle of the flour.
- If making by hand, stir, from the middle with a spoon or hand, mixing the wet ingredients with the flour, until you have dough. If using a stand mixer, turn on low until the ingredients are mixed together.
- If making by hand, lightly flour the bench and knead for 12 minutes. If using the stand mixer, follow mixer instructions on kneading dough. It takes 7 to 10 minutes. The dough should be smooth and supple. If kneading by hand, you may need to add extra water by wetting your hands as you knead. If using the stand mixer, you may add extra water by the teaspoon. You want the dough to be very soft.
- Cut the butter into slices. If kneading by hand, smear the butter onto your bench. If using a stand mixer, scatter the butter over the dough in the mixer bowl. Gradually knead the butter into the dough. Knead it until the dough is lustrous and silky.
- Round up the dough and put it into a greased large bowl or container, and let rise, in a warm place, until it is doubled. (I leave it in the stand mixer bowl and let it rise in it.) This should take about an hour to an hour and half. Your wetted finger should make a hole that does not fill in.
- Press the dough down, careful to keep the the top surface intact.
- Let rise again, in a warm place until doubled, about 30 to 45 minutes. You should poke the dough with a wetted finger to test that it is ready. The hole made by the finger should not fill in.
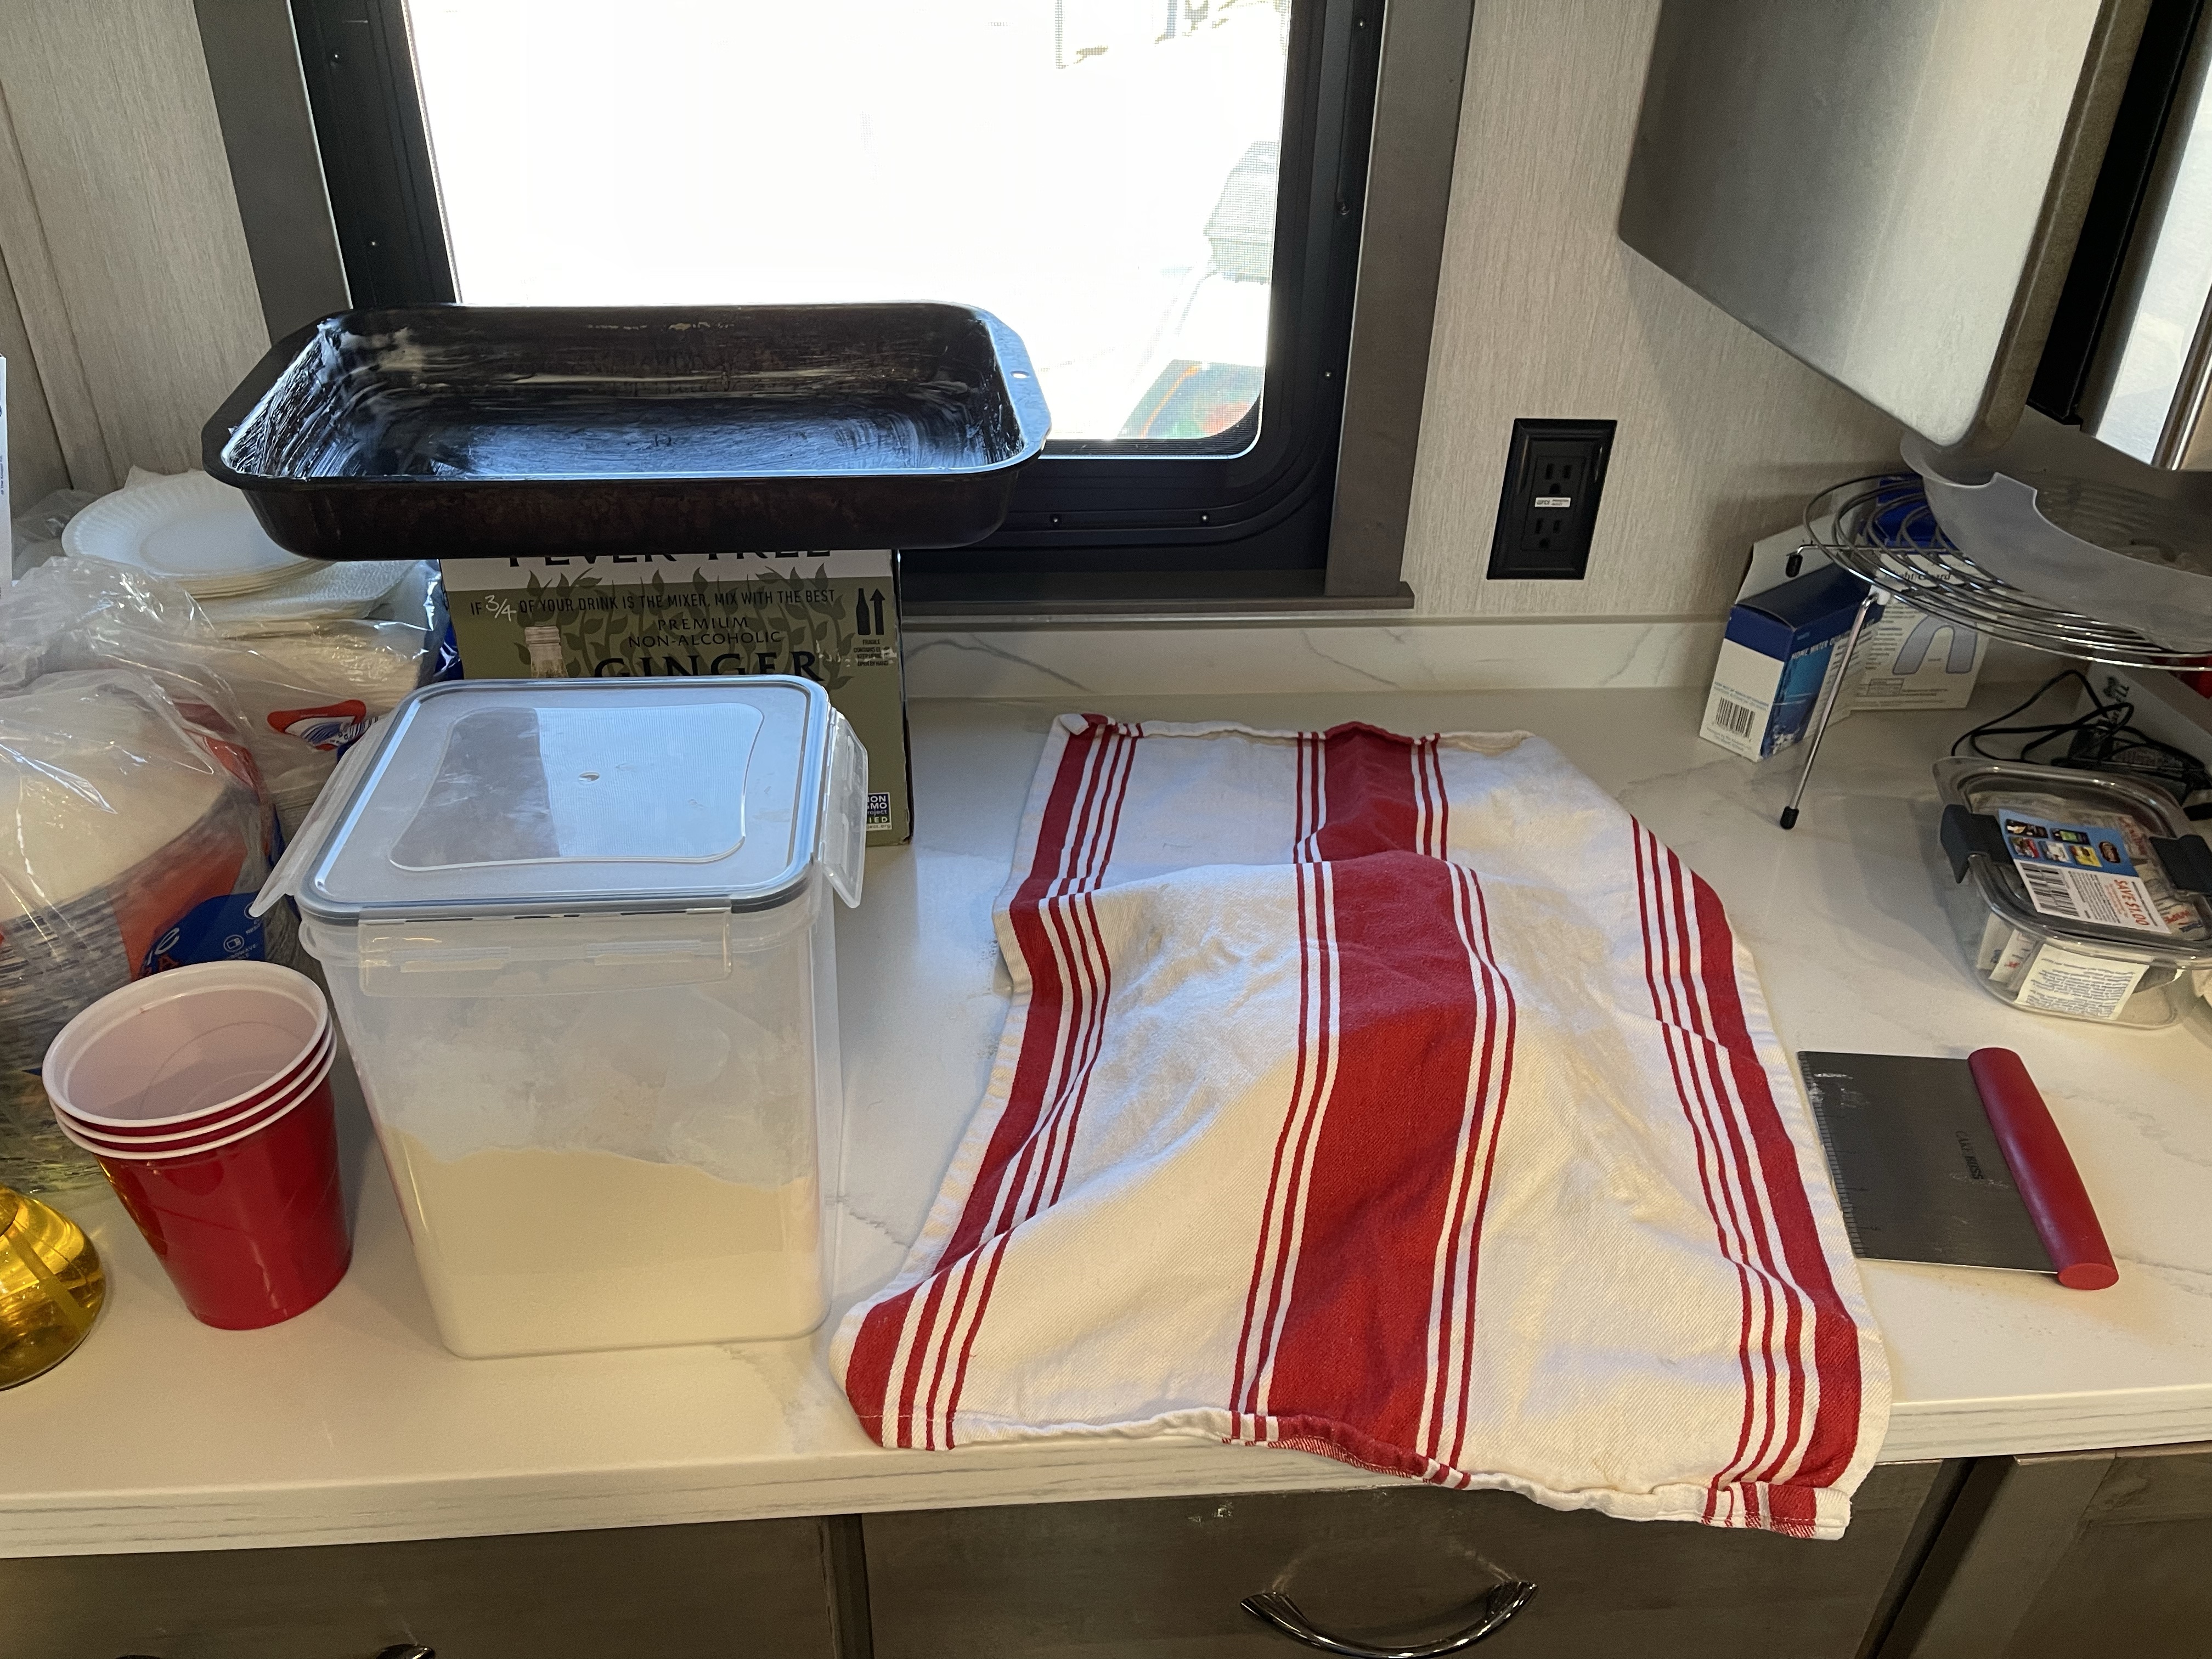
- Lightly flour your bench and carefully turn your dough out of the bowl/container.
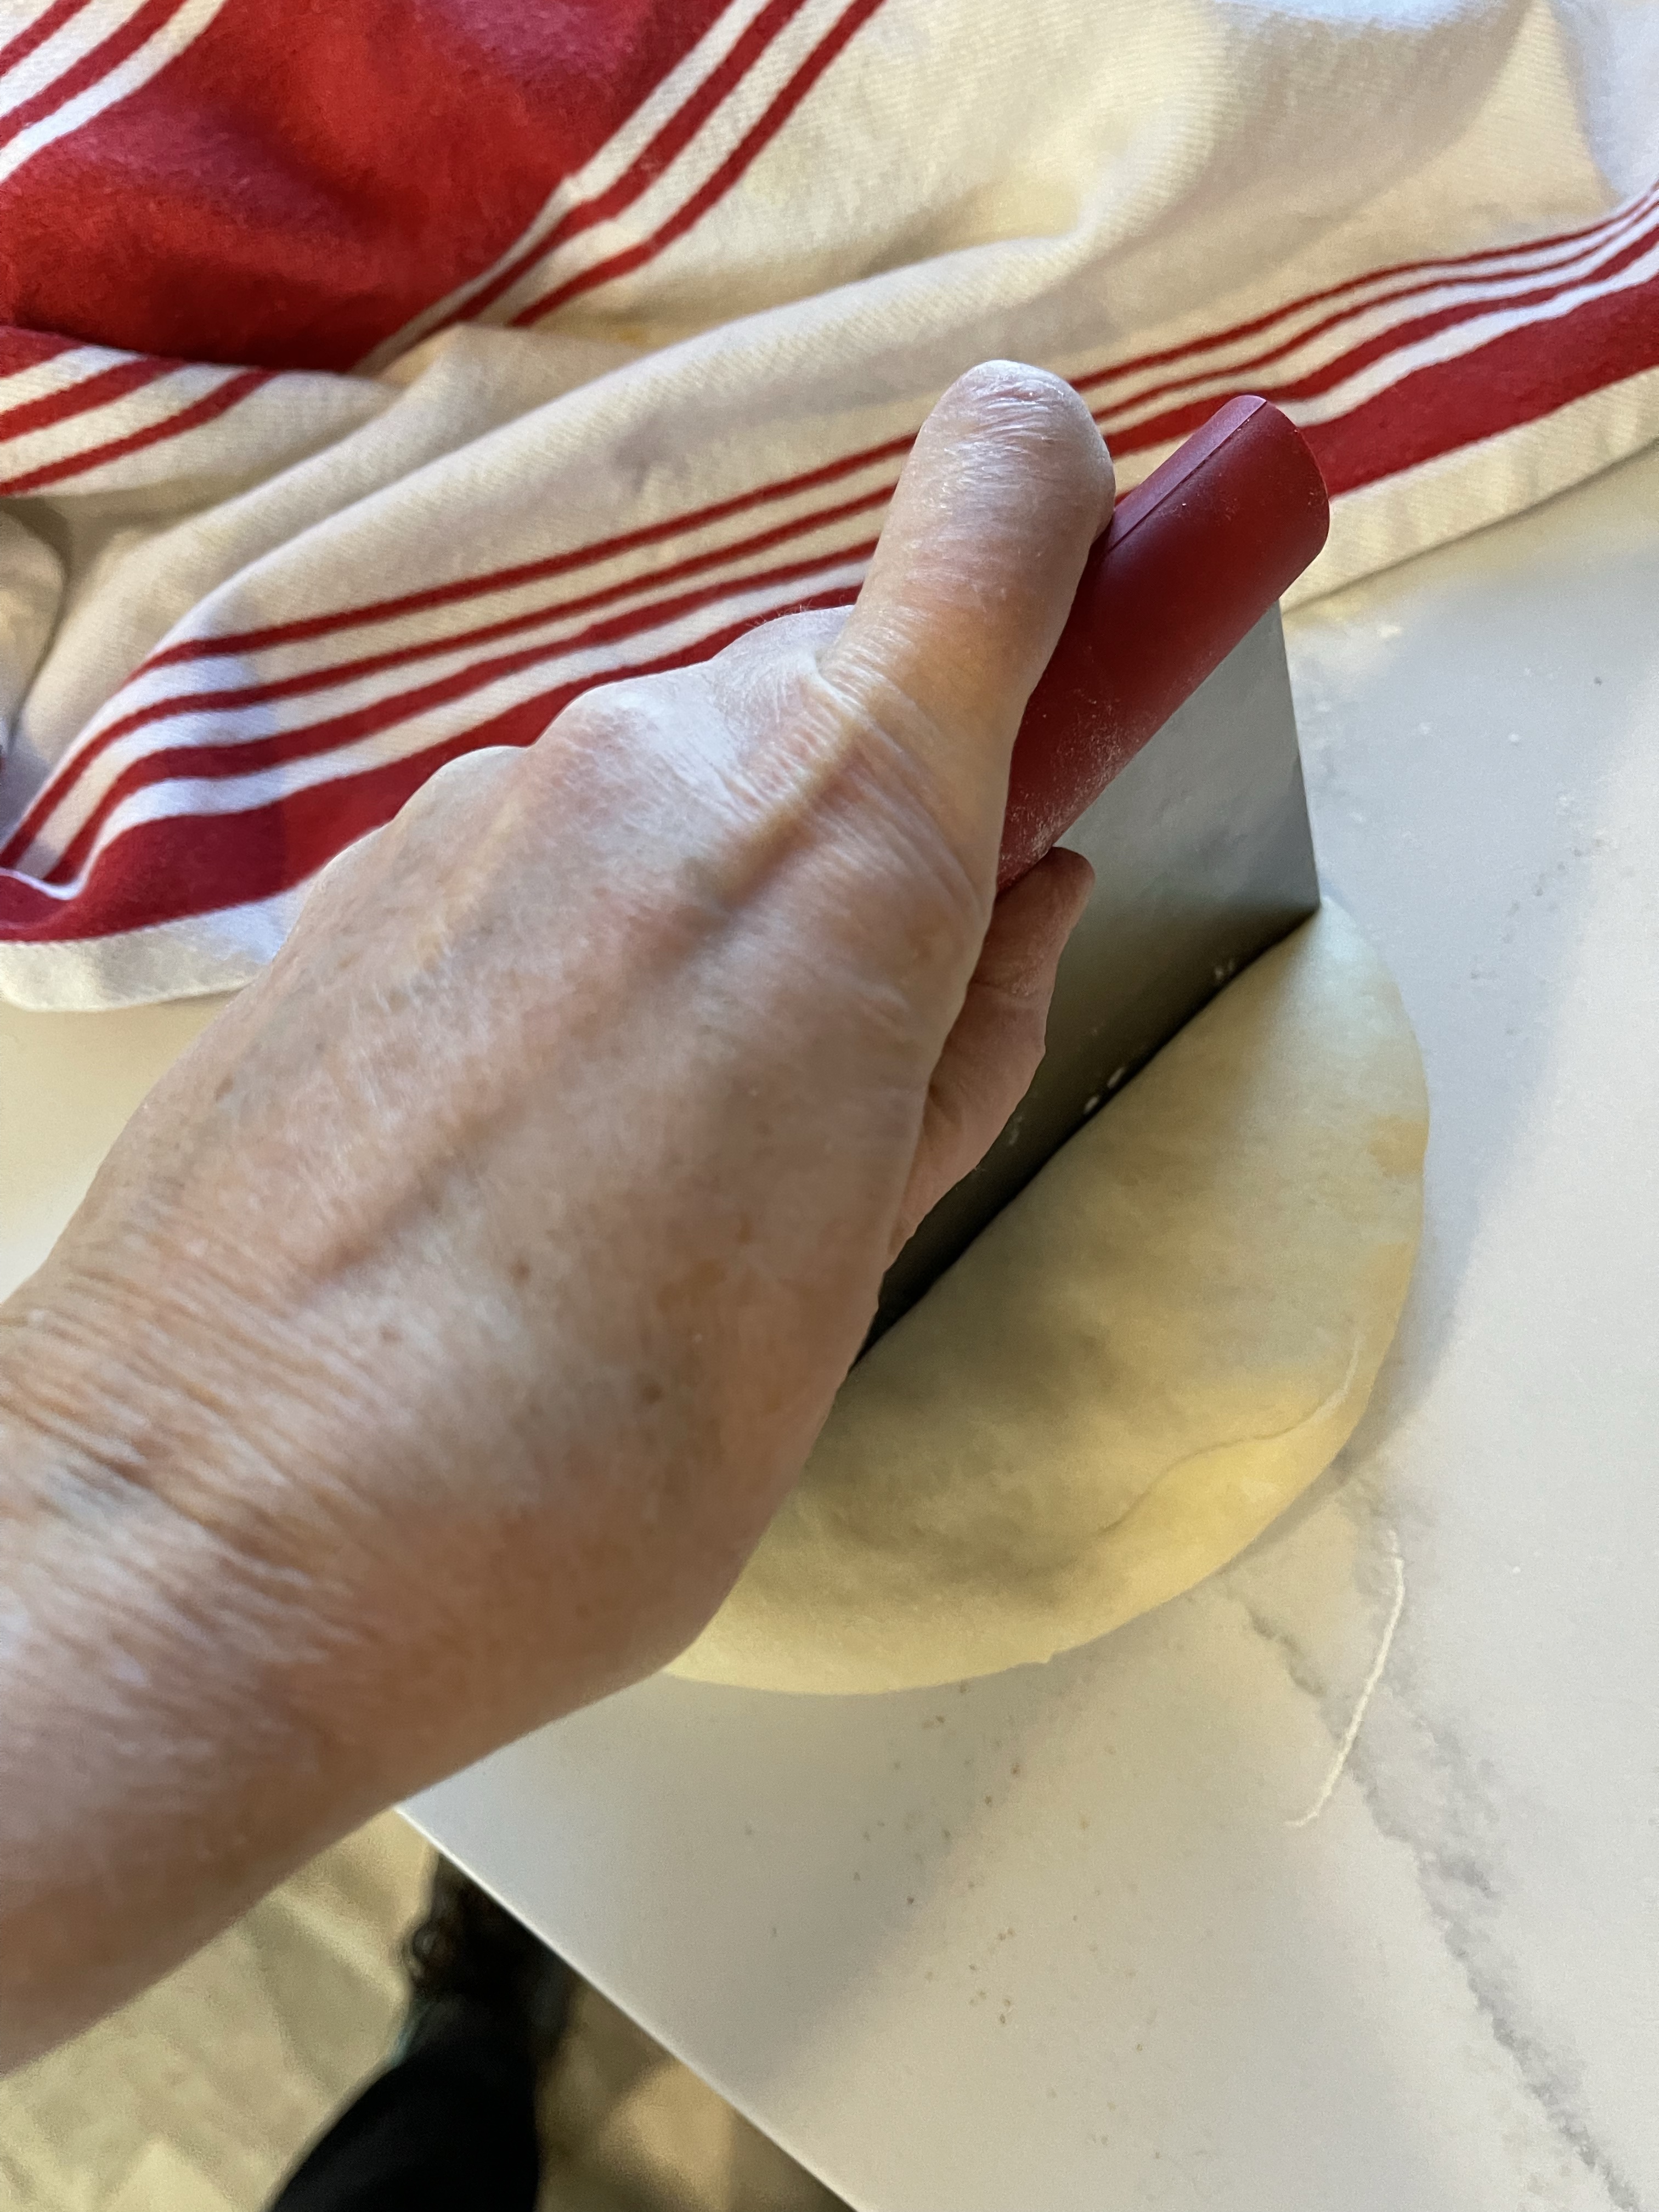
- Deflate the dough the dough and divide it into four equal pieces, using a knife or bench scrapper.
- Round the pieces, by pulling the corners into middle of the bottom, keeping the gluten film (the smooth surface) on top of the ball unbroken. Then round the ball of dough with your hands.
- Cover the dough with a large bowl or damp cloth. Let the dough rest for 15 minutes, the dough should be relaxed, meaning it is soft and pliable.
- Grease your pan(s) with the tablespoon of soft butter.
- Take one ball of dough out from the covering and leave the rest of the dough covered.
- Gently press the dough into a disk. Cut it in half, using your knife or bench scrapper, then cut the halves into thirds with your knife or bench scrapper.
- Round each piece by pulling the corners into middle of the bottom, keeping the gluten film (the smooth surface) on top of the ball unbroken. Then round the ball of dough with your hands.
- Place the ball in greased muffin cup or in your pan.
- Repeat with the rest of the dough, if you are not using muffin pans, place the balls 1/2 apart in your pan, if there is room.
- Cover with a damp cloth and place in a warm place to rise. You can put them in the oven, with the oven light on and put a pan of hot water in the oven with them. This will keep the rolls from forming a tough top.
- Let them rise for 45 minutes to an hour. If you let them rise in the oven, take them out and set them aside. Remove the pan of water.
- Preheat your oven to 400 degrees F.
- Once the oven has preheated, put the rolls into the oven. They should bake for 20 to 30 minute. The baking may be faster depending on the pan – check the rolls after 15 minutes. They will be ready when the rolls are a beautiful brown on the top and bottom.
- After you take them out of the oven, brush top of rolls with the melted butter.
- Serve immediately. If you can’t serve the rolls immediately, let the rolls cool, and seal tight and put in the refrigerator. To serve, wrap them in a damp towel and warm them 15 to 20 in a 400 degree oven.
Notes:
This recipe can be made entirely from bread flour or plain flour.
These rolls make lovely sliders.
You can also make brown-and-serve rolls. Bake the rolls in a pre-heated 275 degrees F oven for a half an hour. The rolls will cook, but not brown. To serve them, preheat the oven to 450 degrees F and bake the rolls for about 15 minutes or until the rolls are browned.
This recipe can be also be used to make clover leaf rolls, fan-tan rolls, and any other roll shapes.
You can cut the honey to 3 tablespoons (45 ml) if you find the rolls too sweet. You can add an extra tablespoon of honey if you would like them to be sweeter.
If you are using powdered buttermilk, add the 4 tablespoons of powder to the flour and mix it into the flour. The cup of water should be added to the egg and honey.
You can also use milk soured with lemon as a replacement for buttermilk. It give the rolls a very slight lemon flavor. To make the sour milk, combine 1 cup of milk and 1 tablespoon of strained lemon juice in a small bowl. Stir them together and let the mixture sit until the it thickens or curdles. This takes about 15 minutes.