

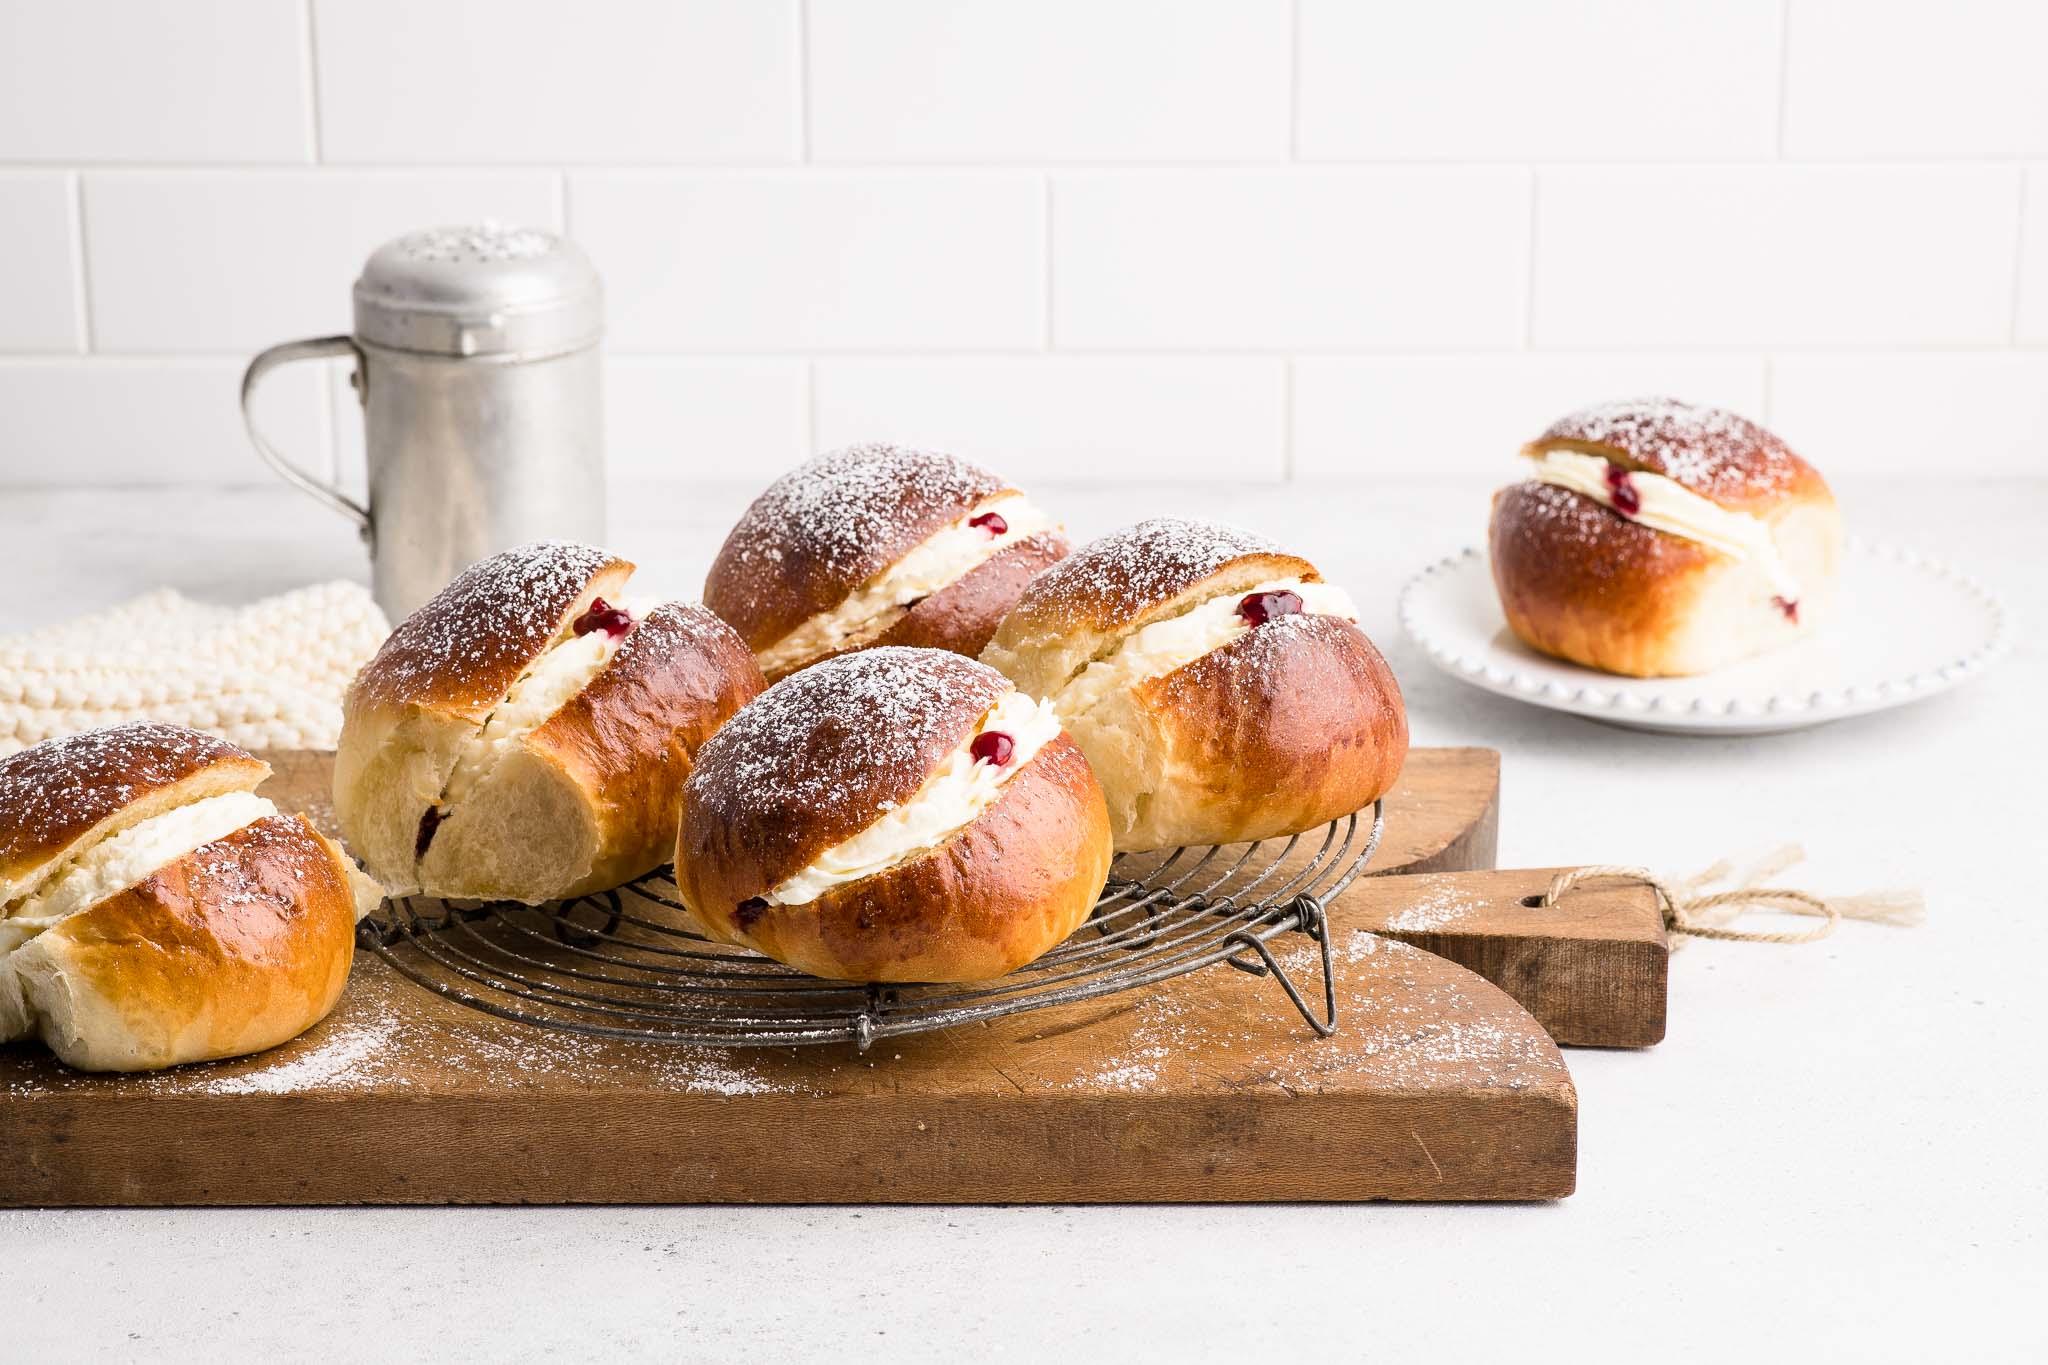
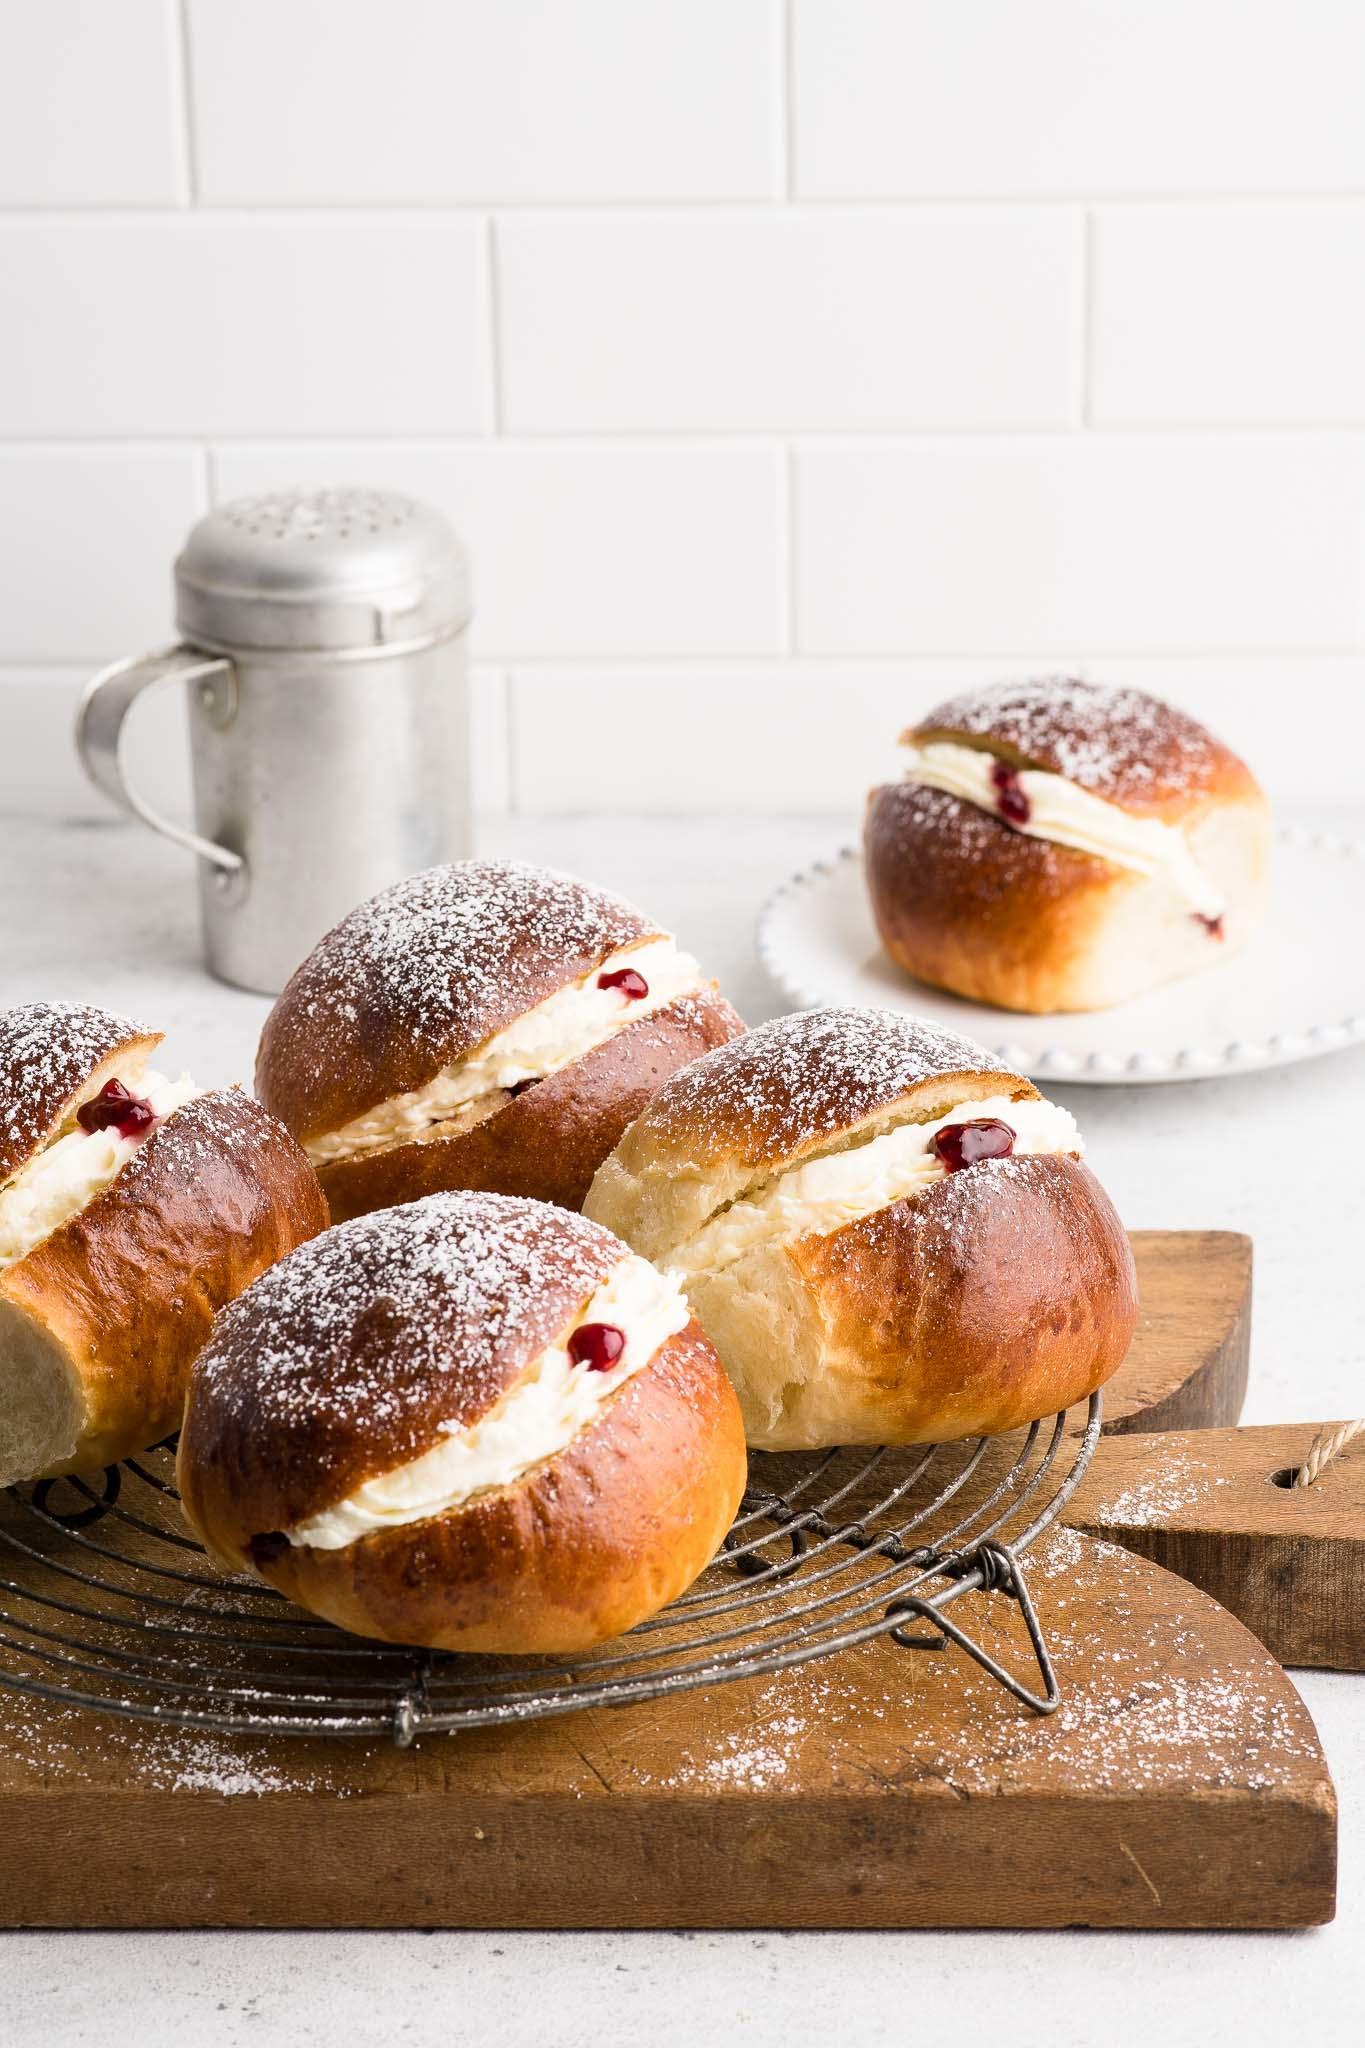
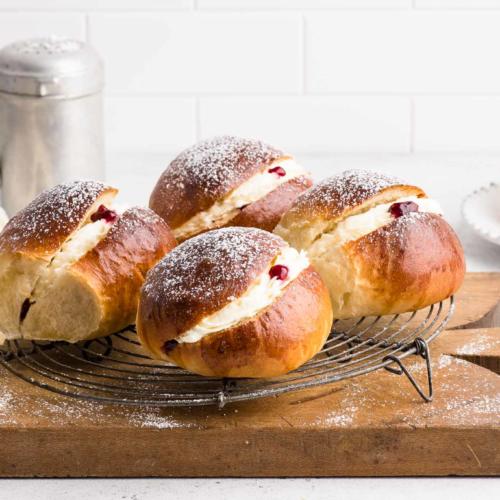
Classic bakery-style Cream Buns filled with raspberry jam and freshly whipped cream. These soft and fluffy buns are a real tea-time treat! Recipe with step-by-step photos.
Cream Buns
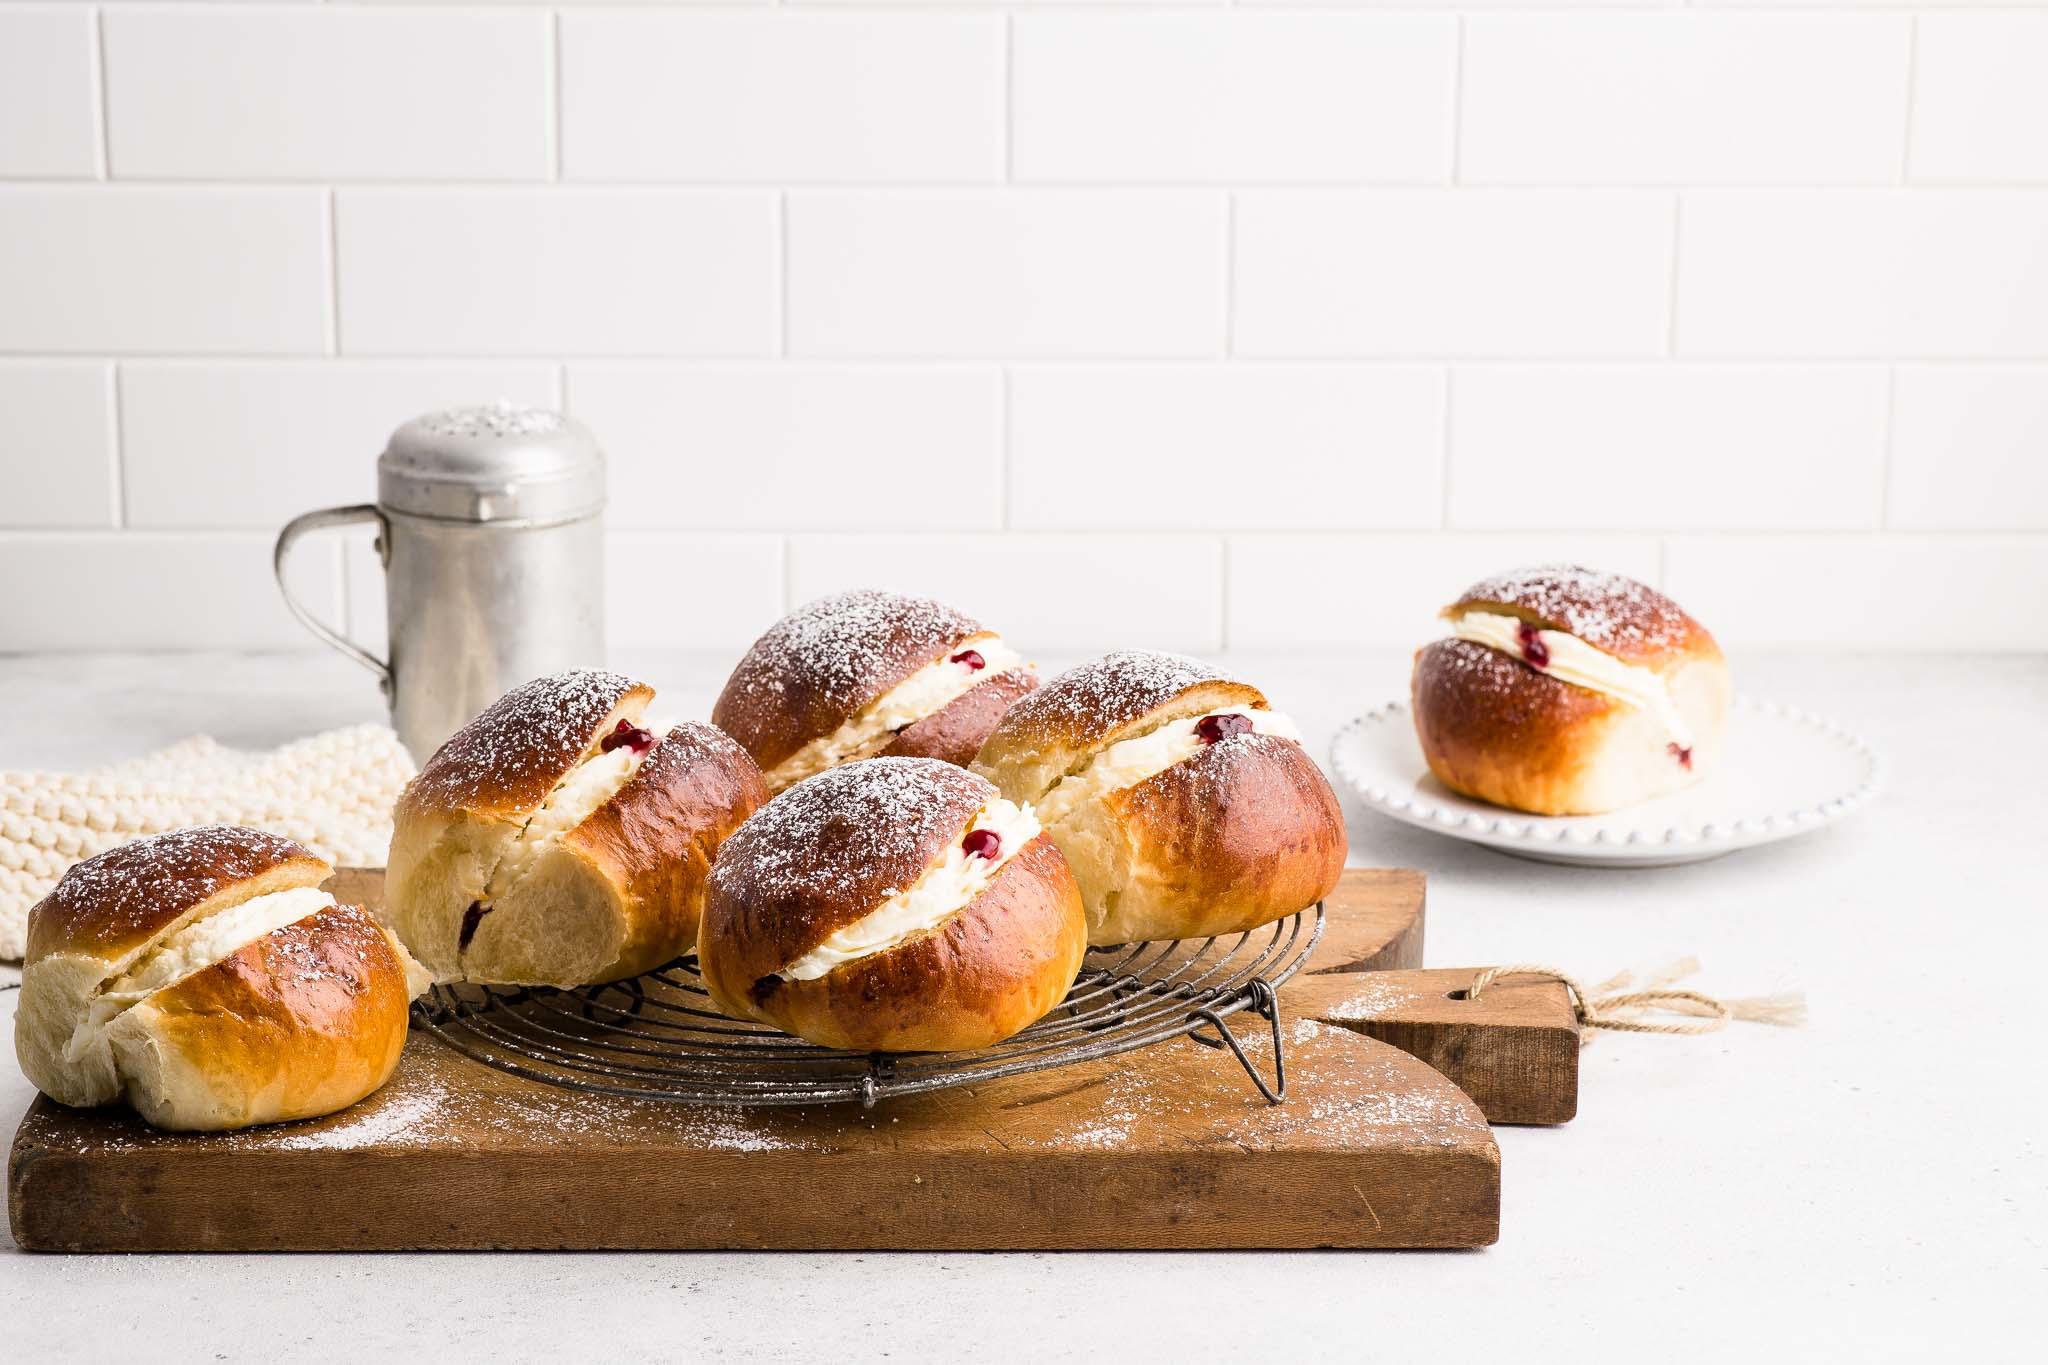
If you’re familiar with suburban bakeries in Australia, you would be familiar with these Cream Buns. The buns are a lightly sweetened bread dough, often filled with raisins, which are split open and piped with some raspberry jam and fresh cream. So simple but yet so delicious!
Cream Buns are most commonly sold as round buns, but some bakeries also make them as long buns – think hot dogs but instead filled with jam and cream!
Cream Bun Recipe
My Cream Bun recipe uses the same dough as that for my Iced Finger Buns. In my parent’s bakery, this dough was used as the basis for several different types of bread. The buns are soft and fluffy, lightly sweetened, and slightly rich from the added butter.
Mock Cream vs Fresh Cream
I like to make Cream Buns with freshly whipped cream because it is very quick and easy.
However, my mother used to use mock cream when she made Cream Buns in our bakery. In most parts of Australia, the climate is often very hot and humid, and inside a bakery is no exception. So mock cream often holds up better in the heat, whereas fresh cream would soften and melt very quickly, and even spoil in the warm weather.
I remember fondly how, whenever my mum had leftover fresh cream from, say, decorating the birthday cakes in the bakery, she would grab some unsold finger buns, fruit buns or even donuts, split them open, pipe them with the fresh cream and sell them as a “Daily Special”. I would often sneak one or two when she wasn’t looking.
How to Make Mock Cream
Mock cream is made by whipping softened butter with some sugar until it is light and fluffy, and resembles softly whipped cream.
Due to the butter content, you still have to be careful about leaving it out in warm weather but, generally, mock cream keeps better than fresh cream at room temperature.
How to Make Cream Buns
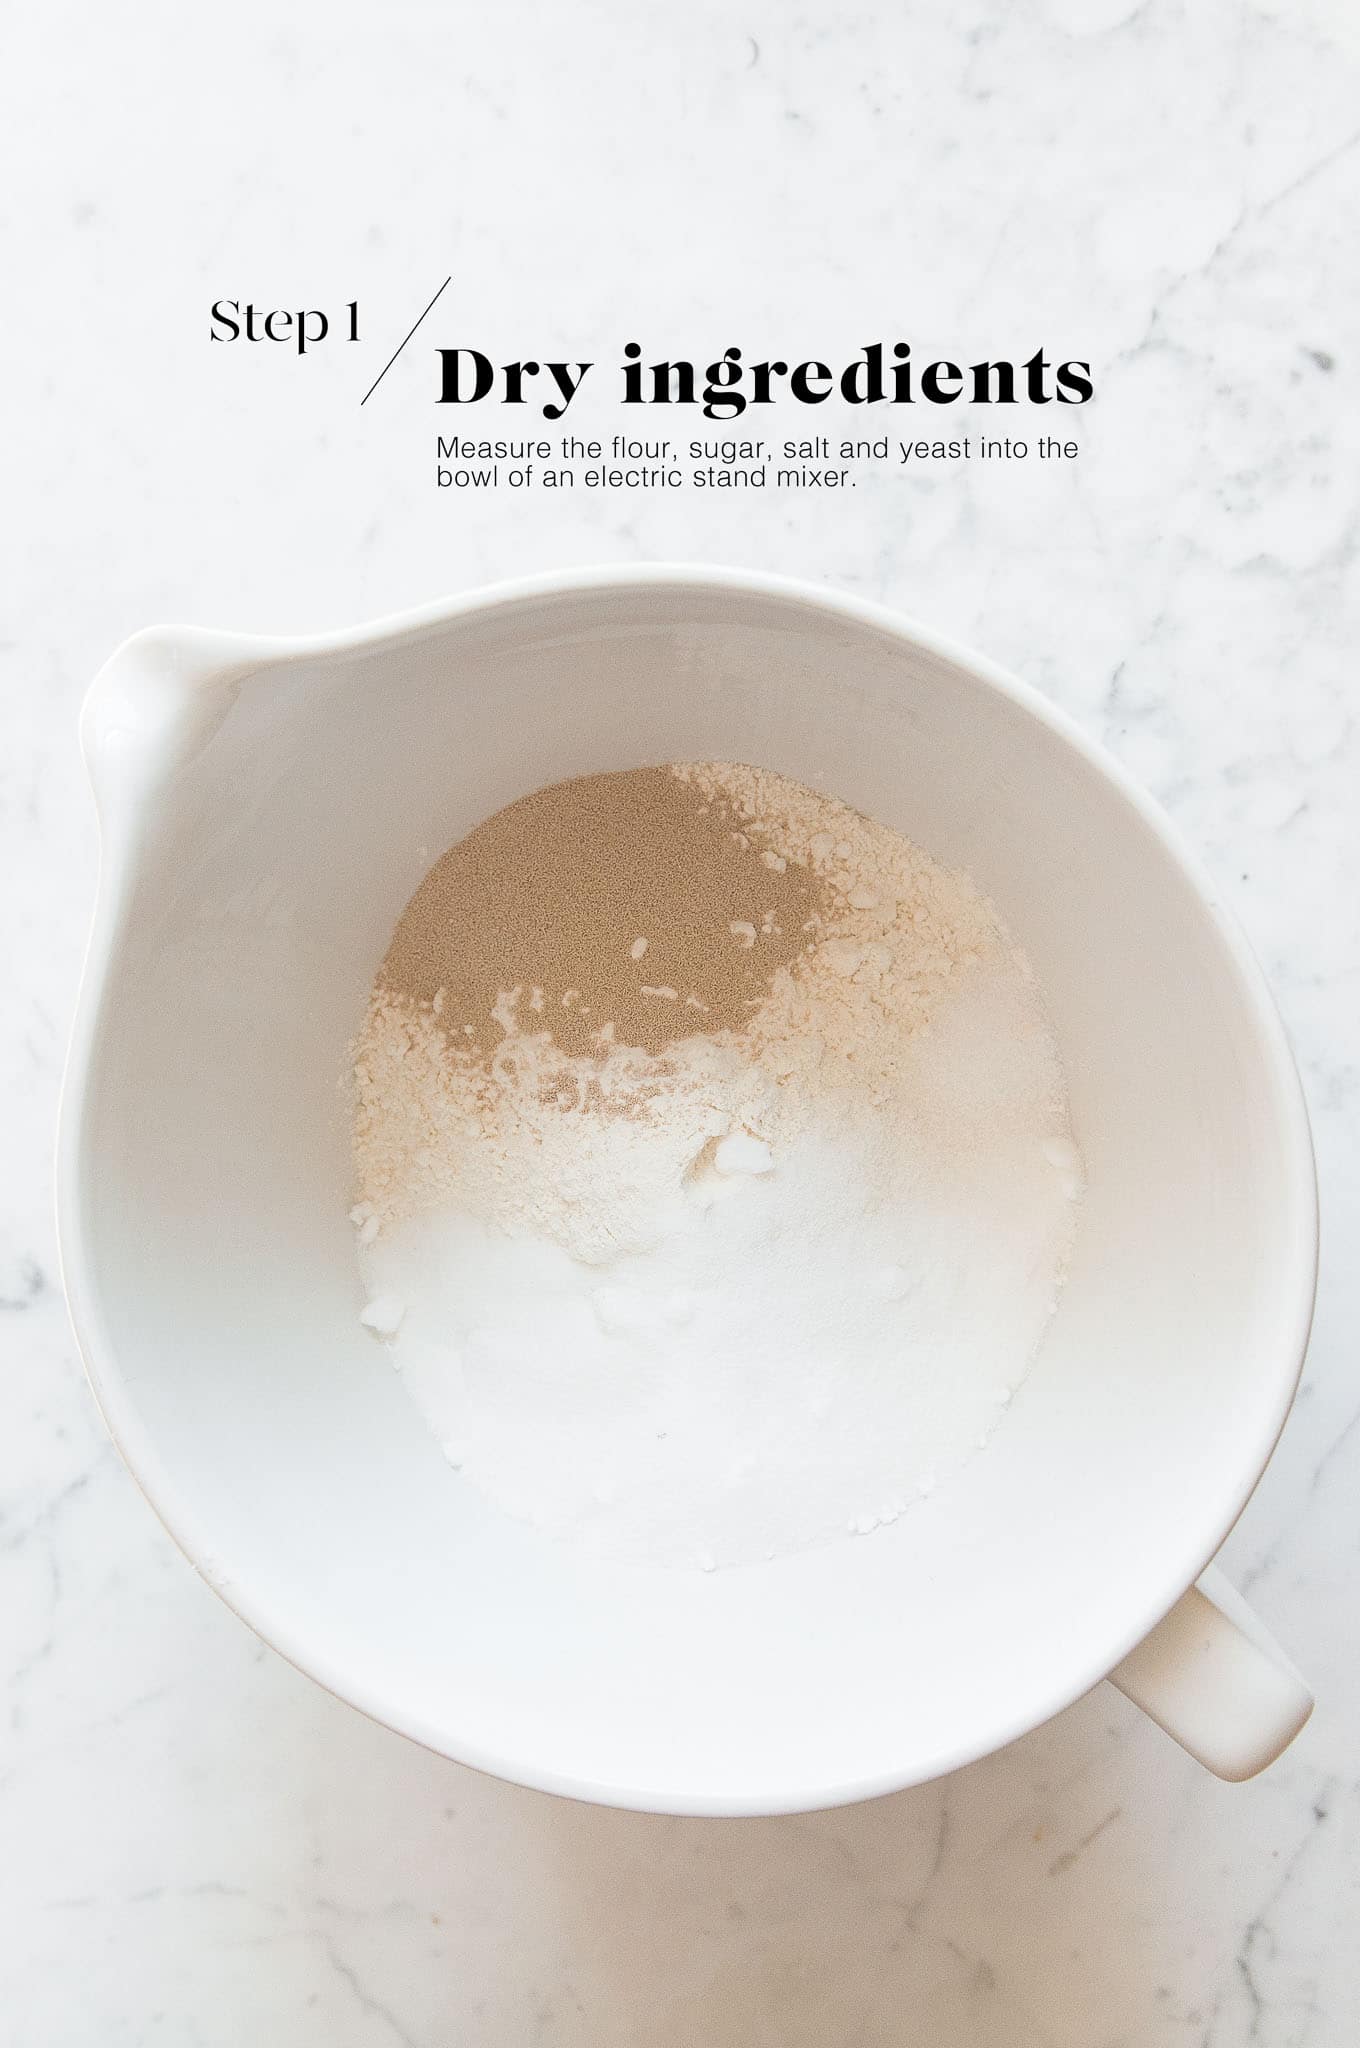
Step 1
Measure the flour, sugar, yeast and salt into the bowl of an electric stand mixer. Lightly mix the ingredients together.
Step 2
Slowly add the warm milk (you may not need all of it), and lightly beat everything with the dough hook until it comes together into a large ball of dough. Only add as much milk as you need to bring the ingredients together into a dough.

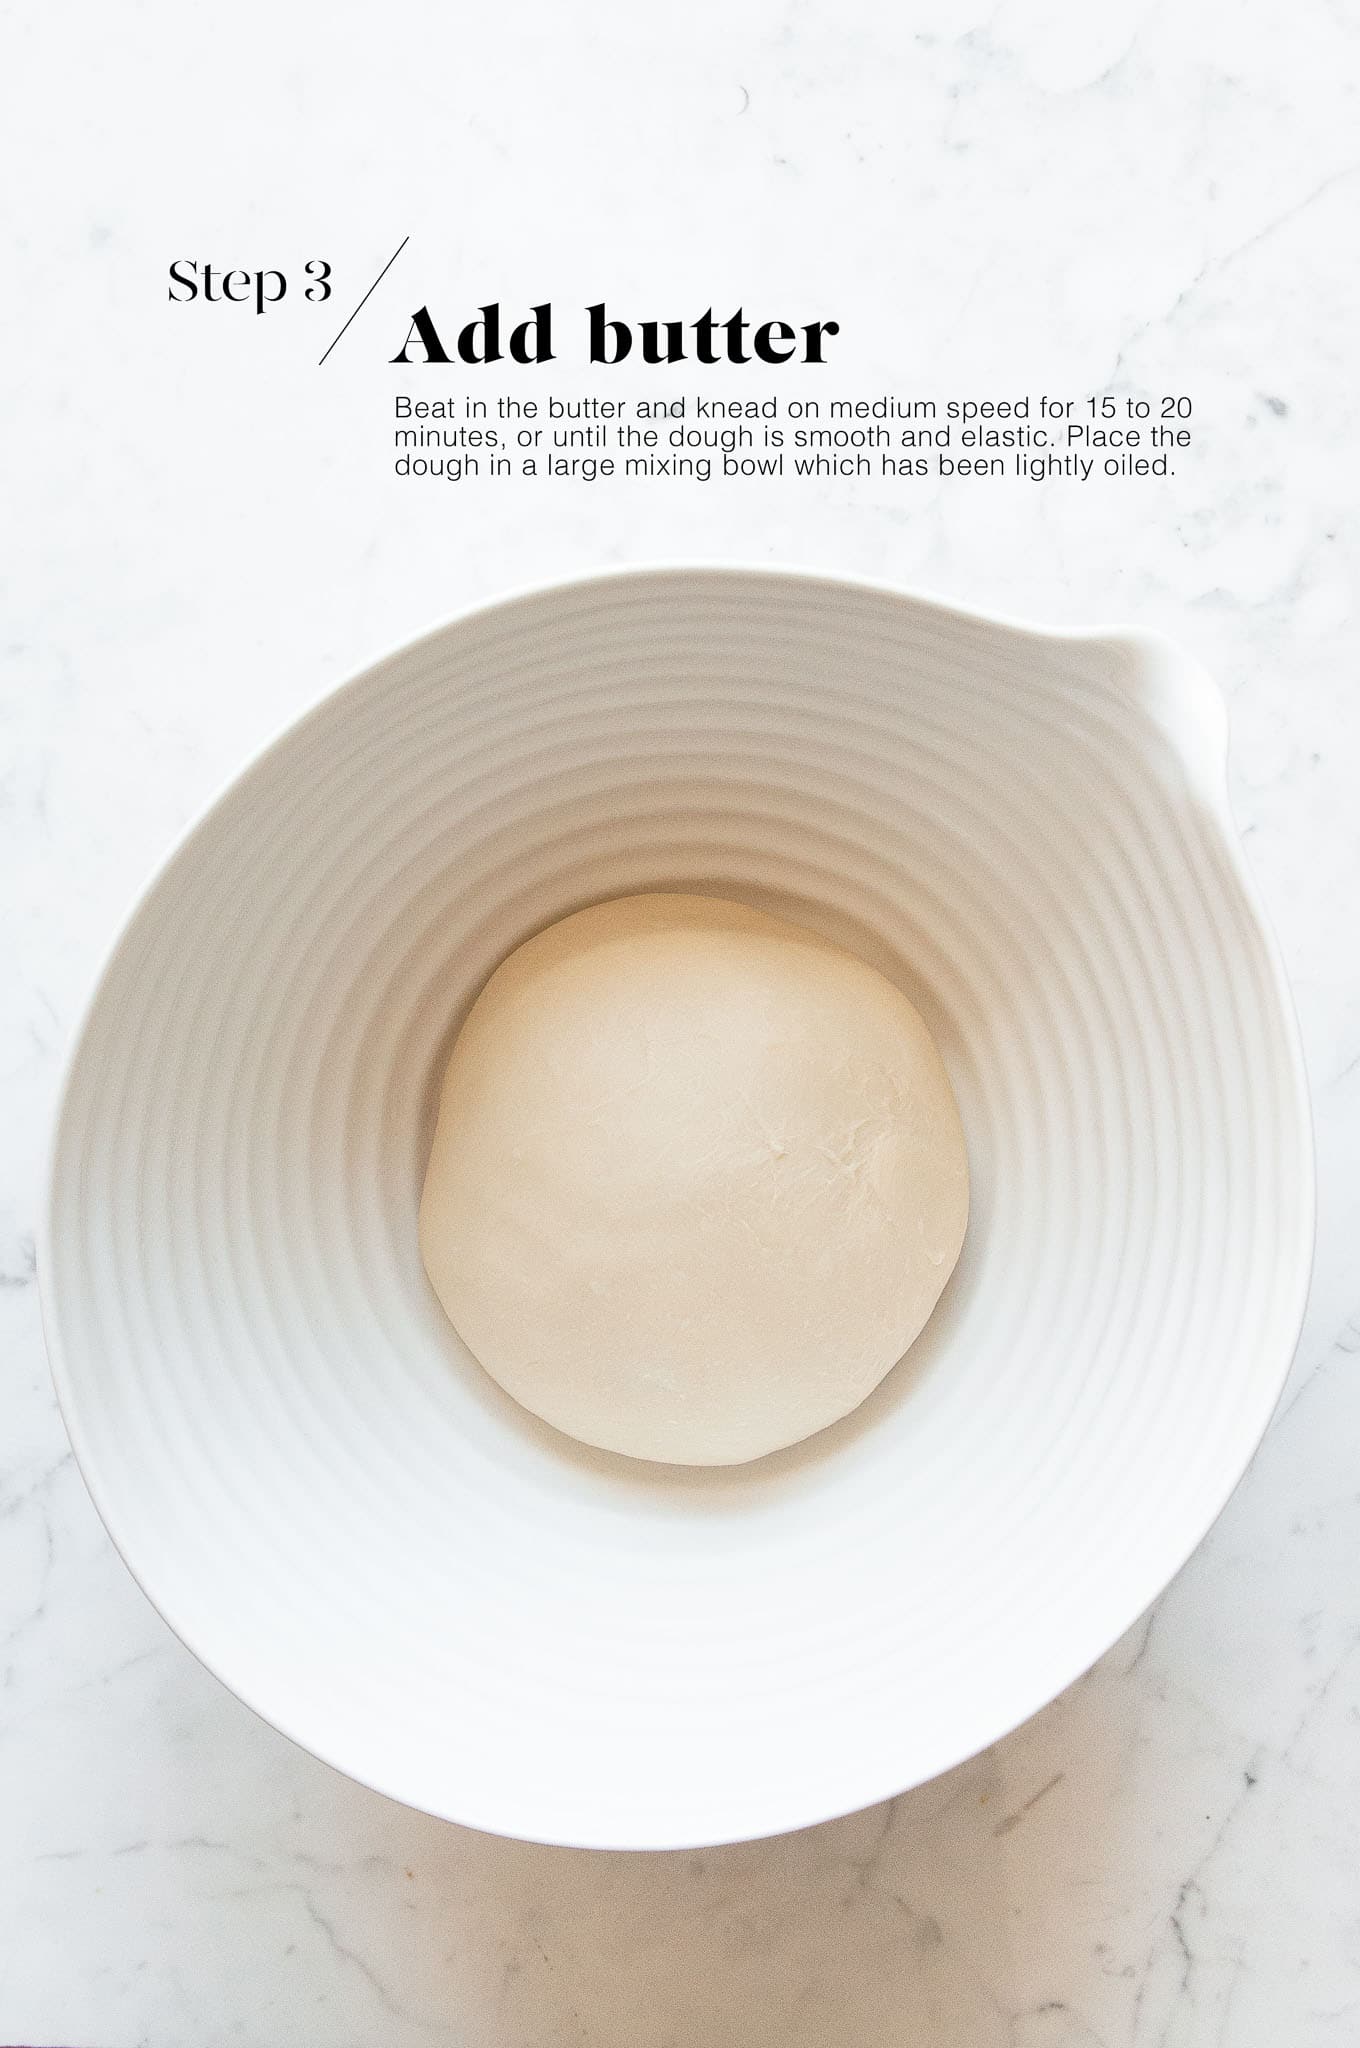
Step 3
Slowly incorporate the butter, one tablespoon at a time, until all of the butter has been used.
Then increase the speed to medium and continue kneading with the dough hook for 15 to 20 minutes, or until the dough is smooth and elastic.
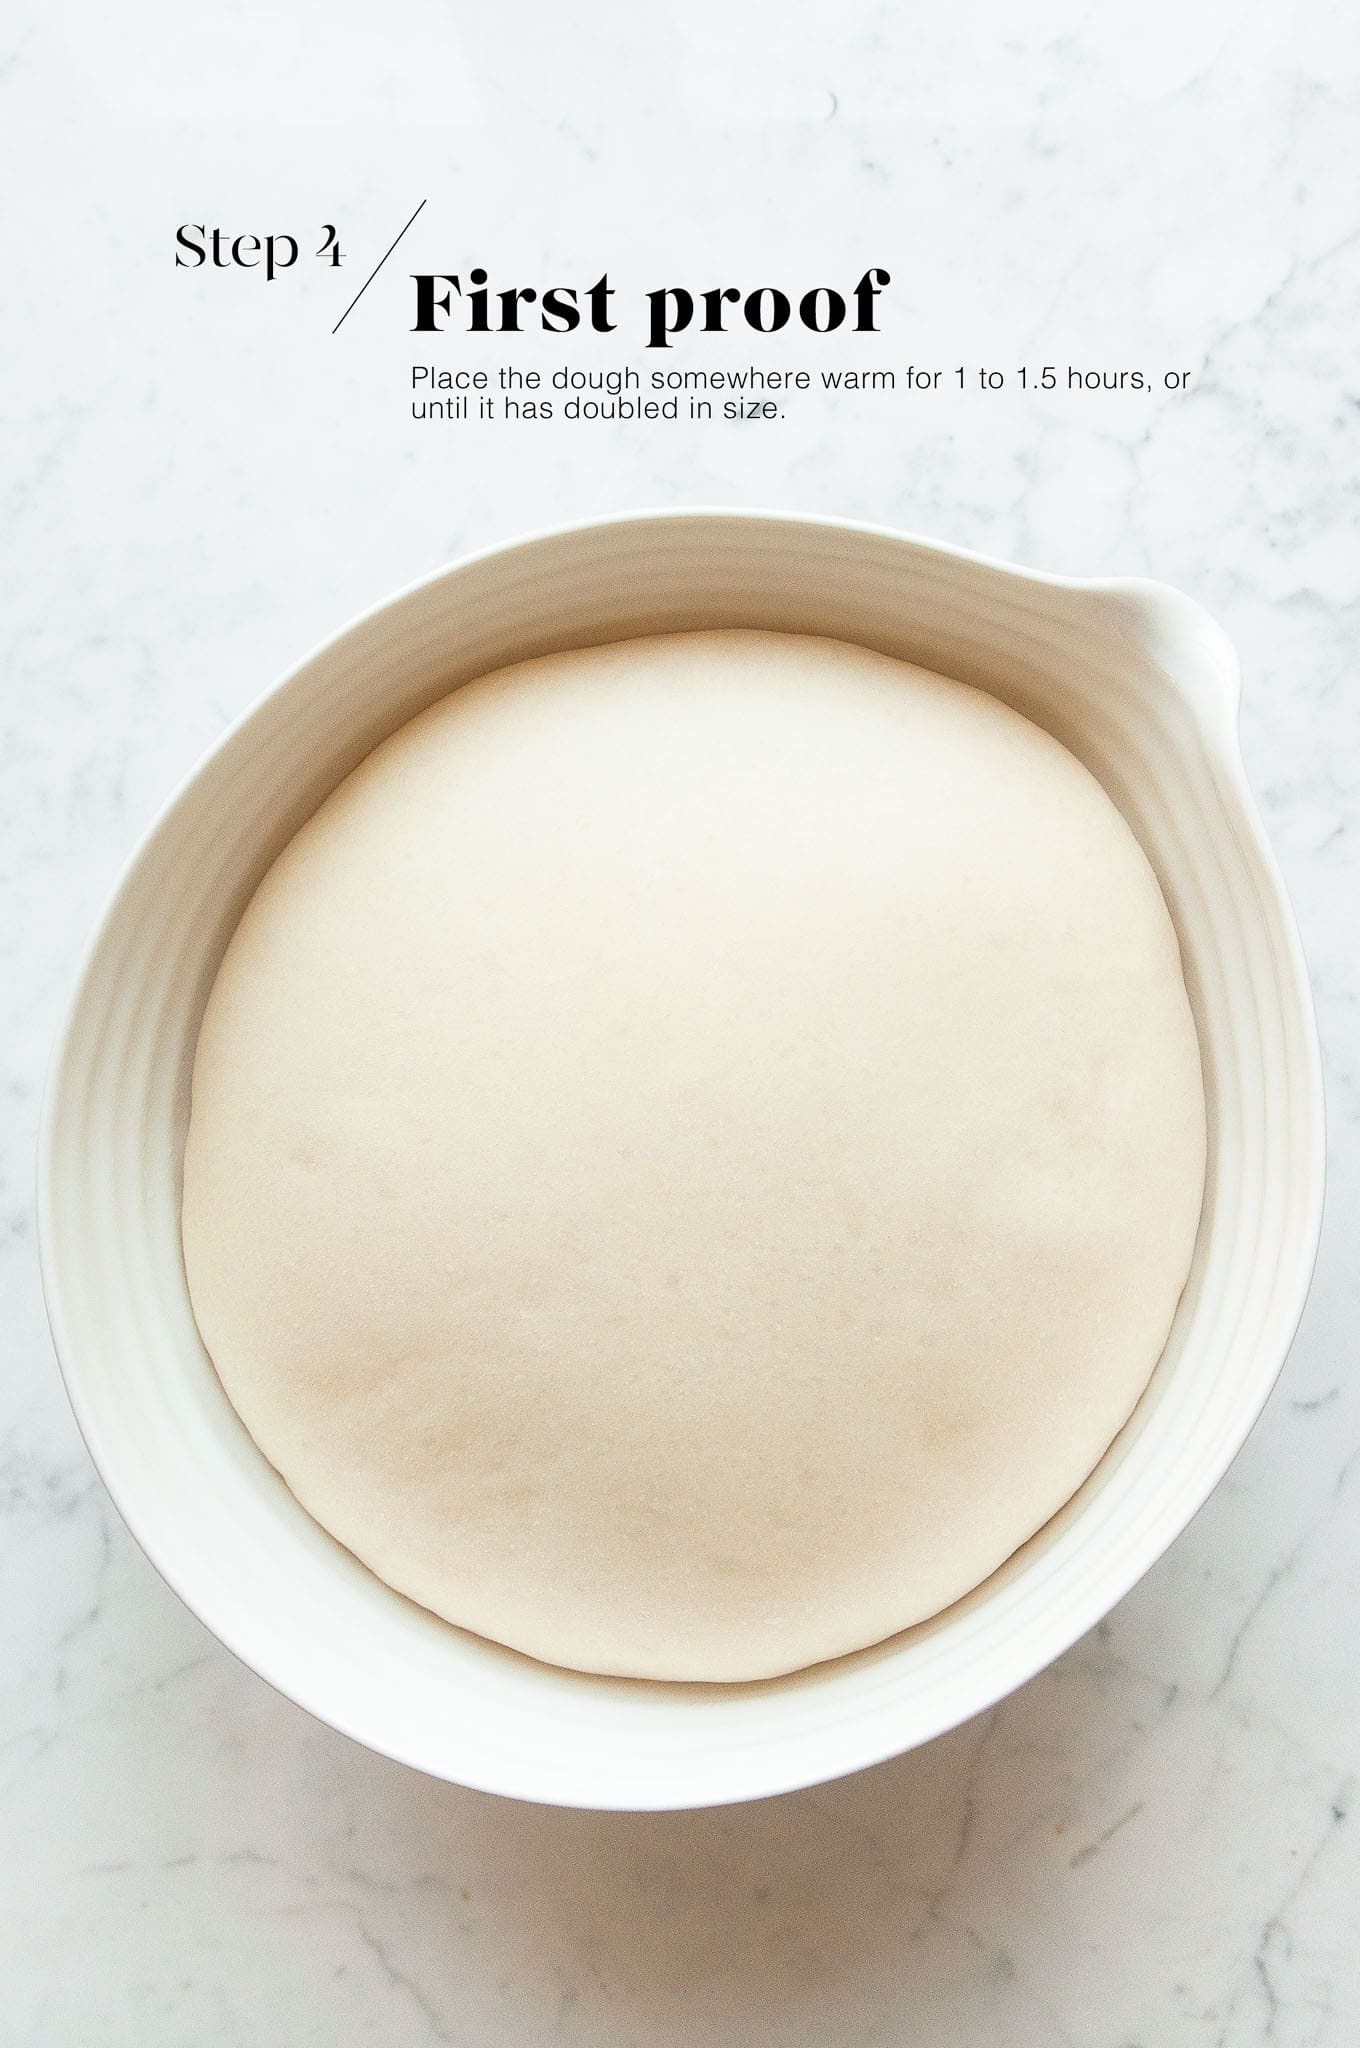
Step 4
Lightly oil a large mixing bowl, and place the dough into the bowl. Cover the bowl with a clean tea towel and leave it somewhere warm for 1 to 1.5 hours, or until the dough has doubled in size.
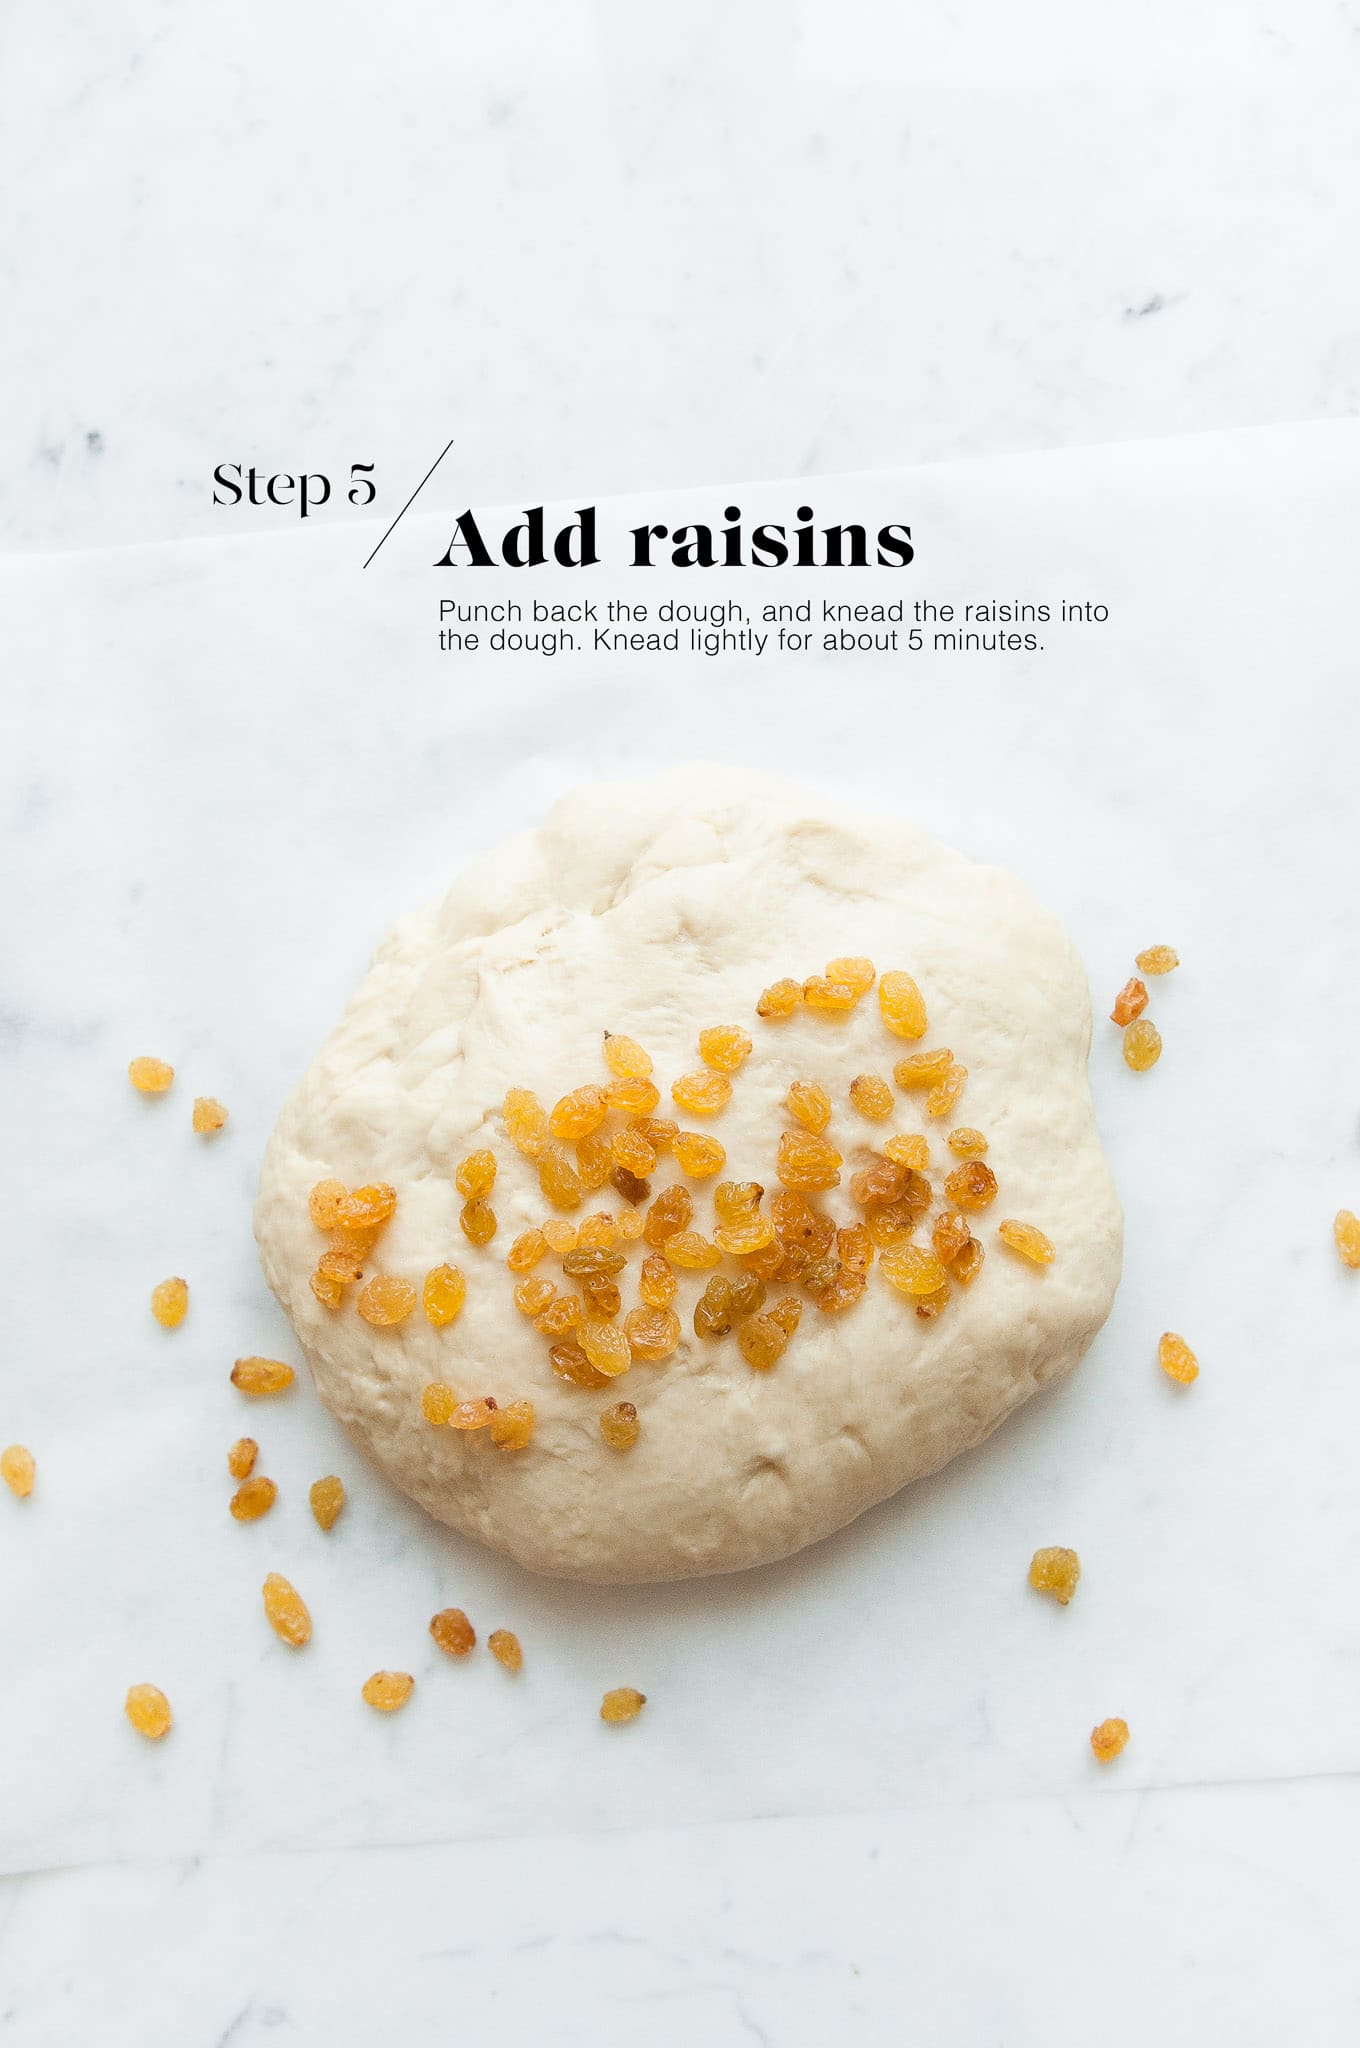
Step 5
Once the dough has doubled in size, punch it back and knead it gently into a smooth ball.
Add the raisins and knead the dough for about 5 minutes to incorporate the raisins.
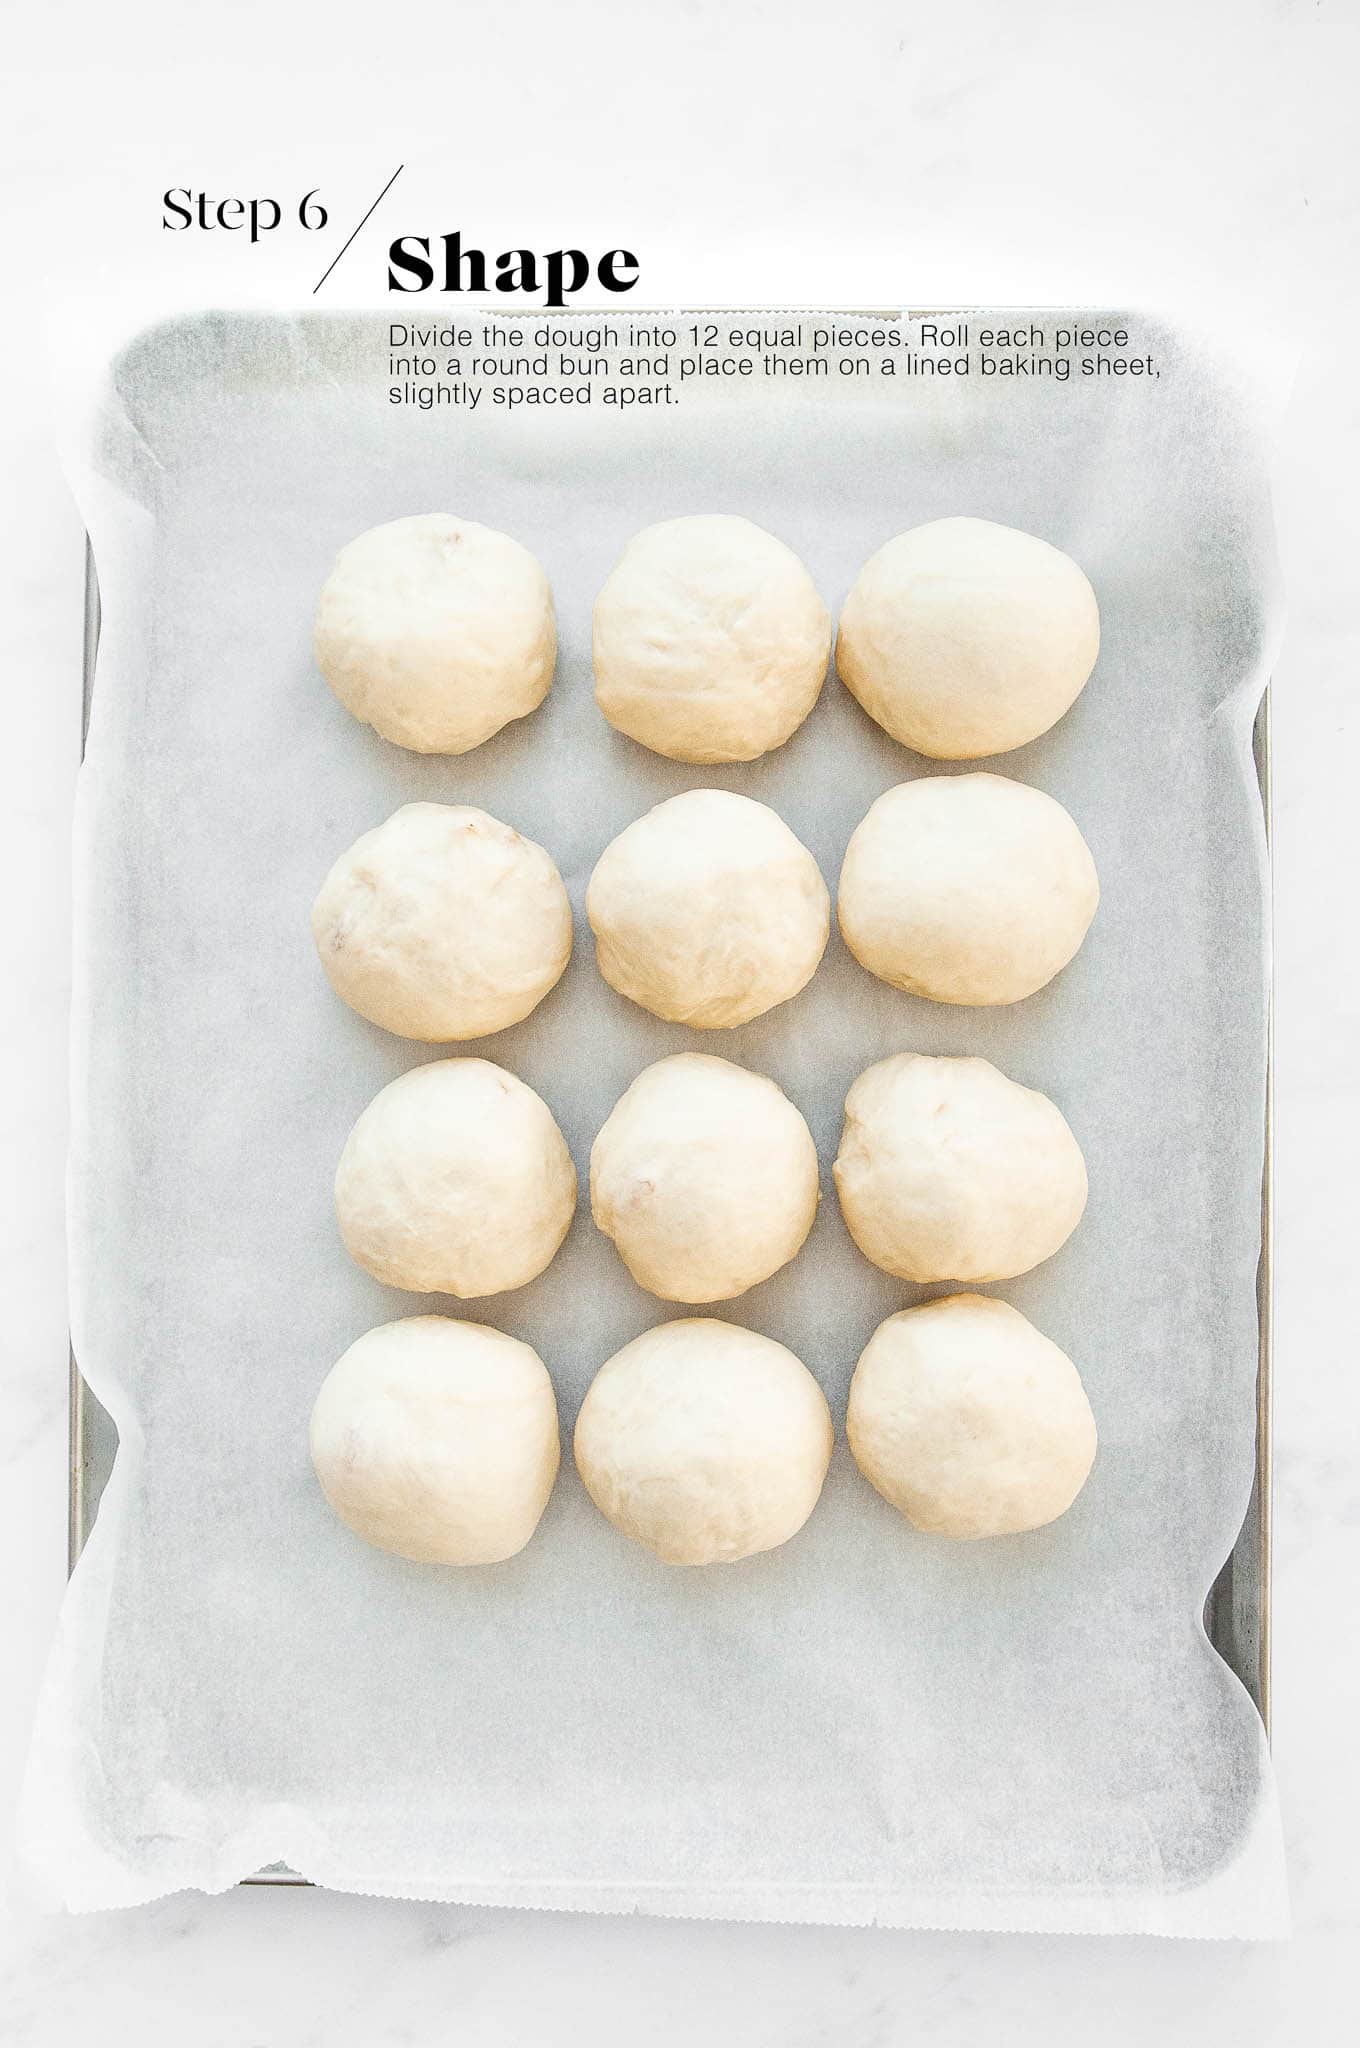
Step 6
Line a large baking tray with baking paper.
Weigh the dough, and divide this number by 12, and then portion each piece of dough.
Gently roll each piece of dough into a round ball and place them onto the lined baking tray, slightly spaced apart.
Step 7
Place the tray somewhere warm for about 30 minutes, or until the buns have risen and puffed slightly. (They will continue to rise just a bit more in the oven during baking.)
Meanwhile, preheat the oven to 220°C (428°F).
Once your buns are ready to bake, brush them with some egg wash.

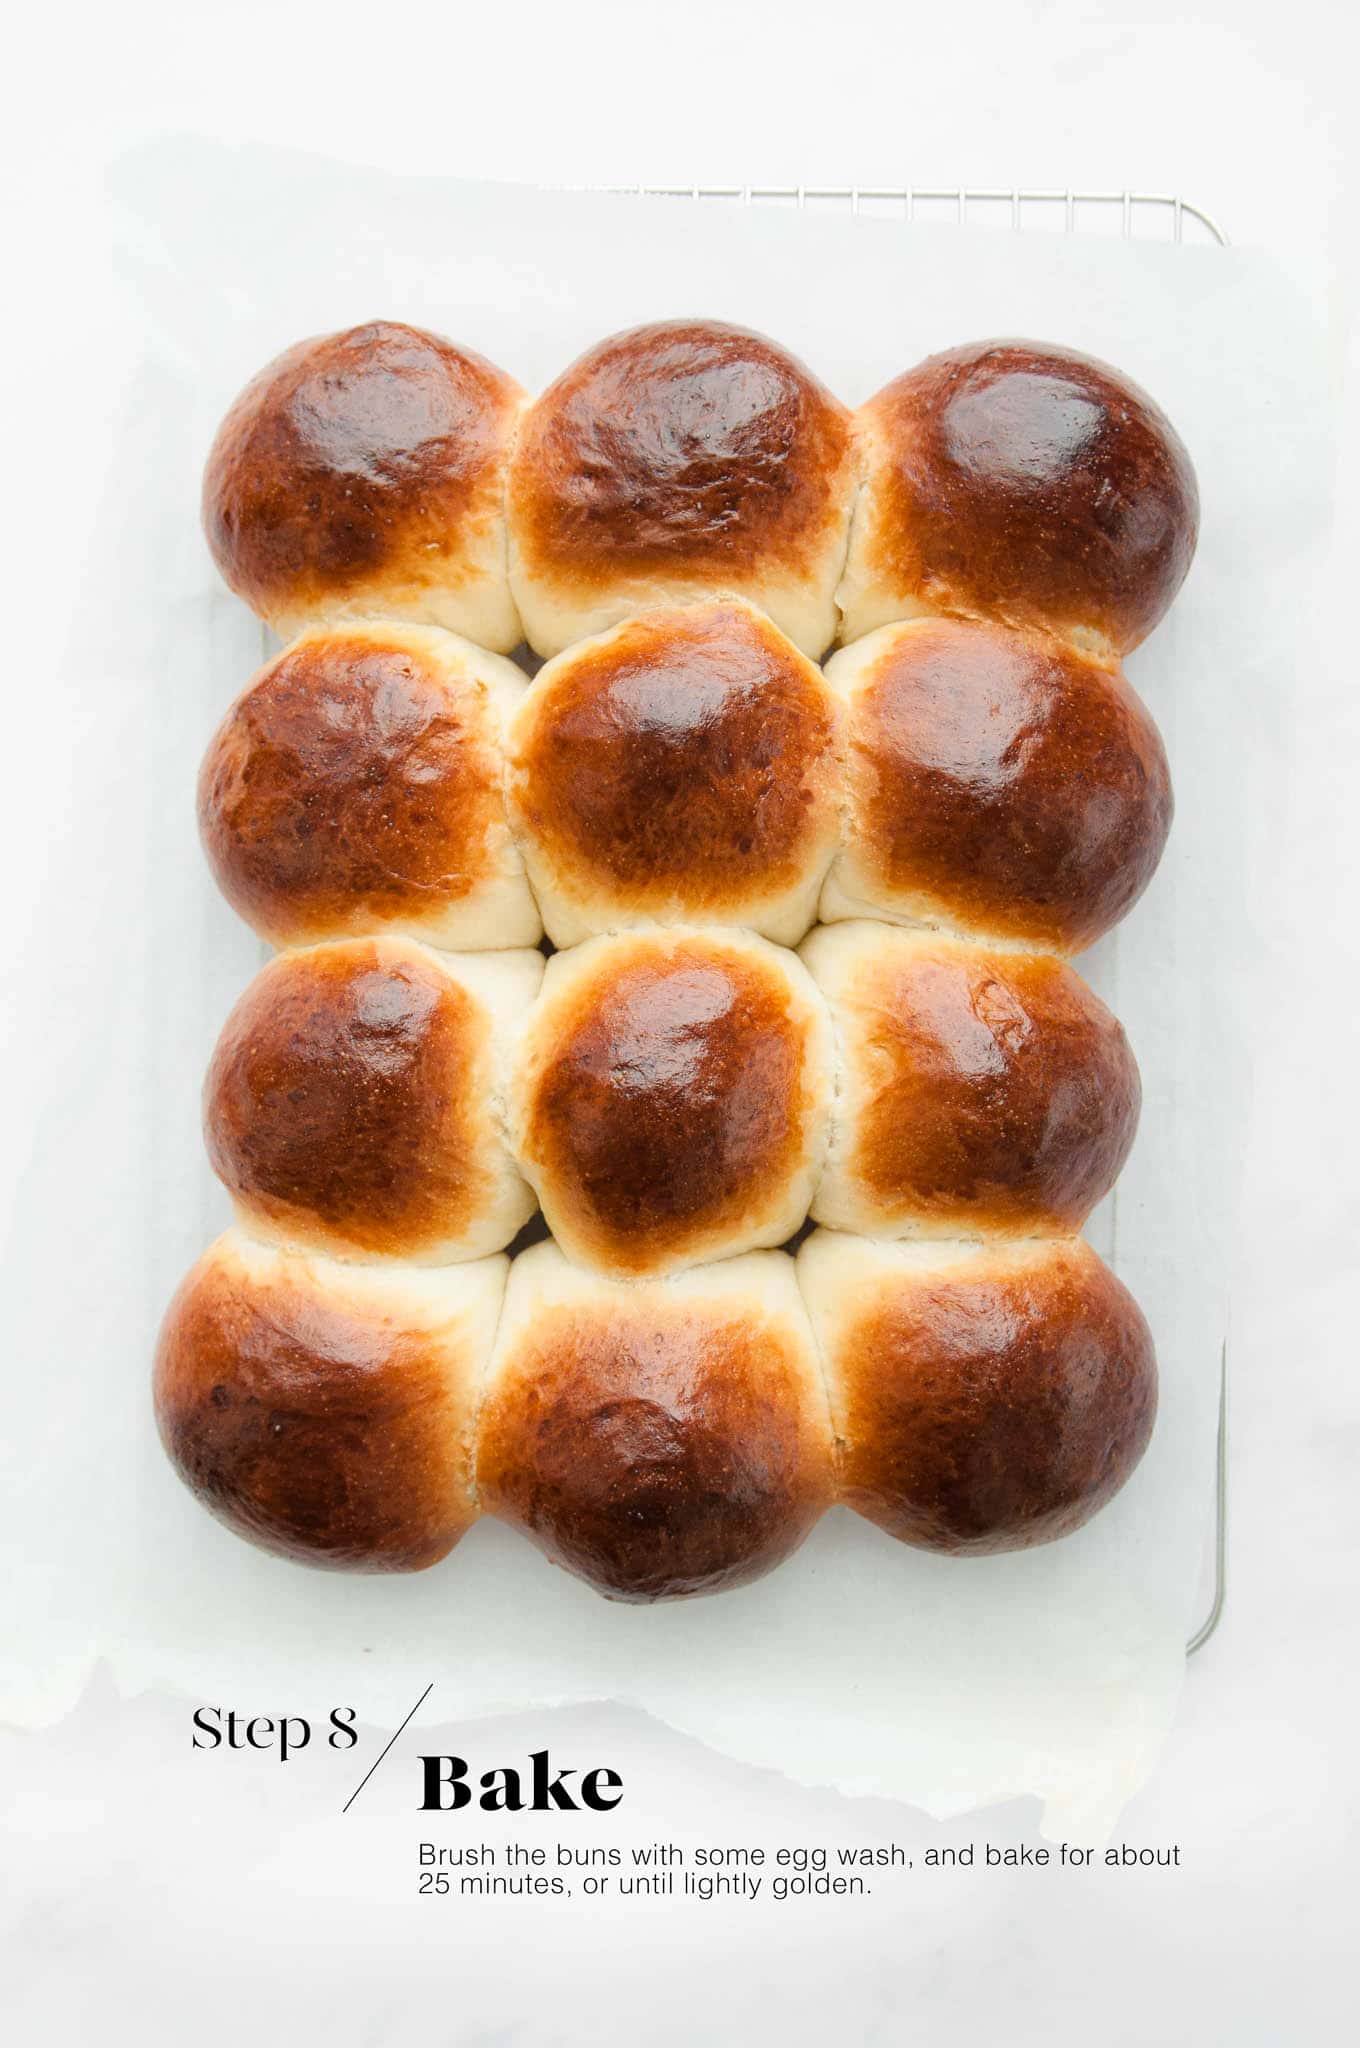
Step 8
Bake the buns for about 25 minutes, or until the buns are lightly golden and cooked through. If you have a digital thermometer, the internal reading should be at least 85°C (185°F).
I recommend checking at about 10 minutes, and if the buns have already browned nicely, place a piece of foil over the buns to stop them from browning further while they finish baking.
Place the buns on a wire rack and let them cool completely.
Step 9
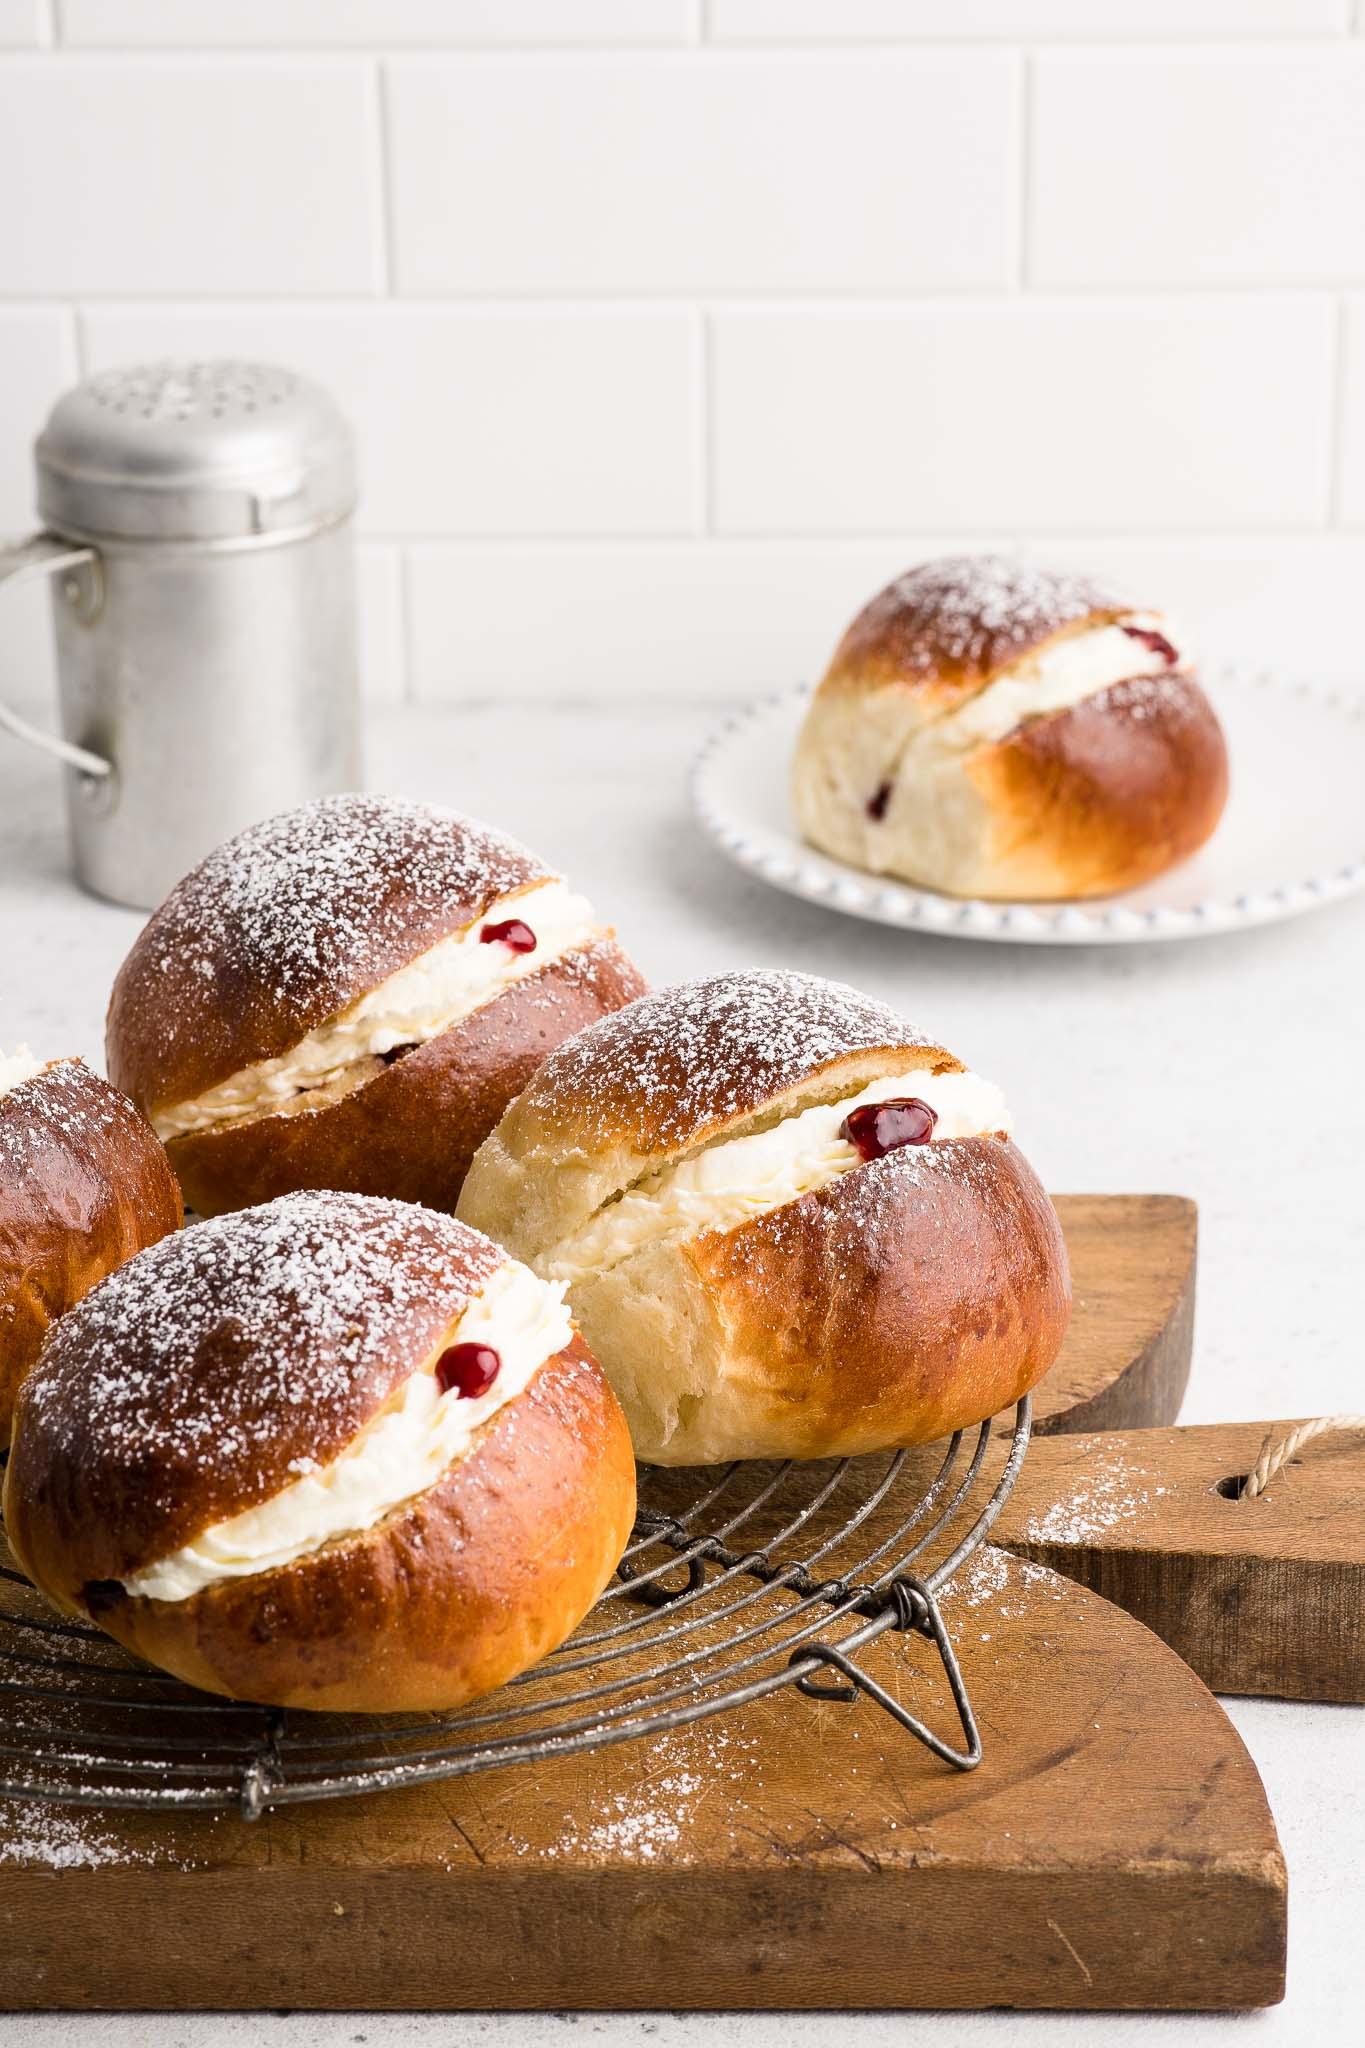
Separate the buns. Use a serrated knife to slice the buns on a diagonal, but do not cut all the way through.
Spread one side of the bun with raspberry jam – I find it easiest to use a piping bag for this task, but maybe that is because that is how my mother did it.
Pipe the freshly whipping cream on top of the jam.
Dot a small amount jam on top of the cream, in the centre of the bun.
Dust the buns with some icing sugar (powdered sugar).
More Bread Recipes
If you are looking for more bread recipes, you might also like:
PrintCream Buns
- Resting Time: 2 hours
- Author: Thanh | Eat, Little Bird
- Prep Time: 1 hour
- Cook Time: 30 mins
- Total Time: 1 hour 30 minutes
- Yield: Makes 12 buns
- Category: Bread
- Method: Oven
- Cuisine: Australian
Classic bakery-style Cream Buns filled with raspberry jam and freshly whipped cream. These soft and fluffy buns are a real tea-time treat! Recipe with step-by-step photos.
 Print
Print Pin Recipe
 Rate
RateIngredients
For the Cream Buns
- 600 g (4 cups) strong white bread flour
- 110 g (1/2 cup) caster sugar
- 1 teaspoon fine salt
- 14 g (4 teaspoons) instant dried yeast (see Kitchen Notes below)
- 375 ml (1 1/2 cups) milk, warmed to 37°C (98°F)
- 60 g (4 tablespoons) butter, softened
- 40 g (1/4 cup) sultanas or raisins (or more, to taste)
For the Egg Wash
- 1 egg, lightly beaten
- 1 tablespoon milk
For the Filling
- 60 ml (1/4 cup) raspberry jam
- 250 ml (1 cup) double cream (heavy cream)
- icing sugar (powdered sugar)
Instructions
For the Cream Buns
(You will need approx. 3.5 hours to make the Cream Buns, unfilled)
- Measure the flour, sugar, salt and yeast into the bowl of an electric stand mixer.
- Lightly mix the ingredients together using the dough hook.
- Slowly pour in the warm milk, and continue mixing until everything comes together into a rough dough.
- Add the butter, one tablespoon at a time. Once the butter has been fully incorporated into the dough, add the next tablespoon of butter.
- Once all of the butter has been added, continue kneading the dough on medium speed for about 15 to 20 minutes.
- The dough is ready when it is soft and smooth, and also slightly elastic in texture when you try to stretch it. If you poke the dough softly, it should bounce back right away.
- Lightly oil a large mixing bowl.
- Place the dough inside the bowl.
- Cover the dough with a clean tea towel, cling film, or a reusable bowl cover.
- Leave the dough somewhere warm for 1 to 1.5 hours, or until the dough has doubled in size (see Kitchen Notes below).
- Once the dough has doubled in size, punch back the dough to release all of the air.
- Gently knead the dough a few times, and then knead in all of the raisins.
- Portion your dough into 12 equal pieces. If you have some kitchen scales, weigh the dough and then divide this number by 12. This will be the weight of each bun dough.
- Line a large baking tray with a sheet of baking paper.
- Gently knead each ball of into a round ball.
- Place the balls of dough onto the lined baking tray, slightly spaced apart.
- Place the tray somewhere warm for about 30 minutes, or until the buns have risen and puffed up slightly.
- Preheat the oven to 220°C (428°F).
- Make the egg wash by lightly whisking together the egg and milk.
- Brush the buns with some egg wash.
- Bake for about 25 minutes, or until the buns are lightly golden. Check the buns at about 10 minutes, and if they are browning too quickly, cover them with a loose sheet of foil for the rest of the baking time. The buns are cooked if an internal thermometer reads 85°C (185°F).
- Gently remove the buns (intact) to a wire rack, and leave them to cool completely.
For the Filling
- I find it quickest and easiest to use a piping bag to work with the jam, but you can simply use a teaspoon or butter knife.
- Whisk the cream until it has thickened and soft peaks form.
- Transfer the whipped cream to a large piping bag fitted with a large star nozzle.
To Assemble the Cream Buns
- Separate the buns.
- Use a serrated knife to split the buns open on a diagonal, but do not cut all the way through.
- Spread a small amount (or a lot) of jam onto one side of the bun.
- Pipe the cream on top of the jam.
- Dot a small amount of jam on top of the cream, in the centre.
- Lightly dust the buns with some icing sugar (powdered sugar).
- Serve immediately.
Kitchen Notes
 DIFFERENT TYPES OF FLOUR
* This recipe works well with plain flour (all-purpose flour) or strong white bread flour.
* For Swiss readers: I use Zopfmehl (or farine pour tresse) when making bread and enriched dough.
 DIFFERENT TYPES OF YEAST
* Please note that there is a difference between instant yeast (also called instant dried yeast or fast-action dried yeast) and dried yeast (also called active dry yeast). If you are not sure what type of yeast you have, please check the packaging for instructions on how to use the yeast.
* With instant yeast, you can add it directly to the flour mixture without having to activate it first.
* With dried yeast, you will need to activate it first (usually in some warm liquid).
* If you are using fresh yeast, you will need about one block (40 g fresh yeast = 14 g instant dried yeast). Crumble the fresh yeast into the warm milk, and stir to dissolve the yeast.
 PROOFING THE DOUGH
Dough needs a warm environment for the yeast to activate and cause the dough to rise. If you don’t have a warm place in your home, try one of the following ideas:
* In the oven with the oven light switched on (works only for some ovens).
* In the oven with a tray of boiling water on the bottom shelf.
* In the oven or a steamer oven at a low temperature of about 25-40°C (77-104°F).
 OVEN TEMPERATURES
All recipes on this website state temperatures for a regular oven (i.e. a conventional oven without fan). If you have a convection oven with a fan, please consult the manufacturer’s handbook on how to adjust the temperature and baking time accordingly.
 CONVERSIONS
To convert from cups to grams, and vice-versa, please see this handy Conversion Chart for Basic Ingredients.
The post Cream Buns appeared first on Eat, Little Bird.