

I think the #1 thing you need to do if you want to become a little more self-sufficient (and remember, I’m not exactly pro-self-reliance anyway, so take this with a grain of salt if you prefer to buy your bread) is learn how to make your own daily staples. Not only will you save money, but you will also probably have a lot of fun if you let yourself. Baking bread or making sauerkraut is a far more productive hobby and cheaper than subscription streaming services or video games (though there is time and place for everything).

Okay, so I know that every food and homestead blogger thinks that they have the best bread recipe ever. And I’m not trying to put down anyone else, but real talk? THIS is the best white bread recipe ever.
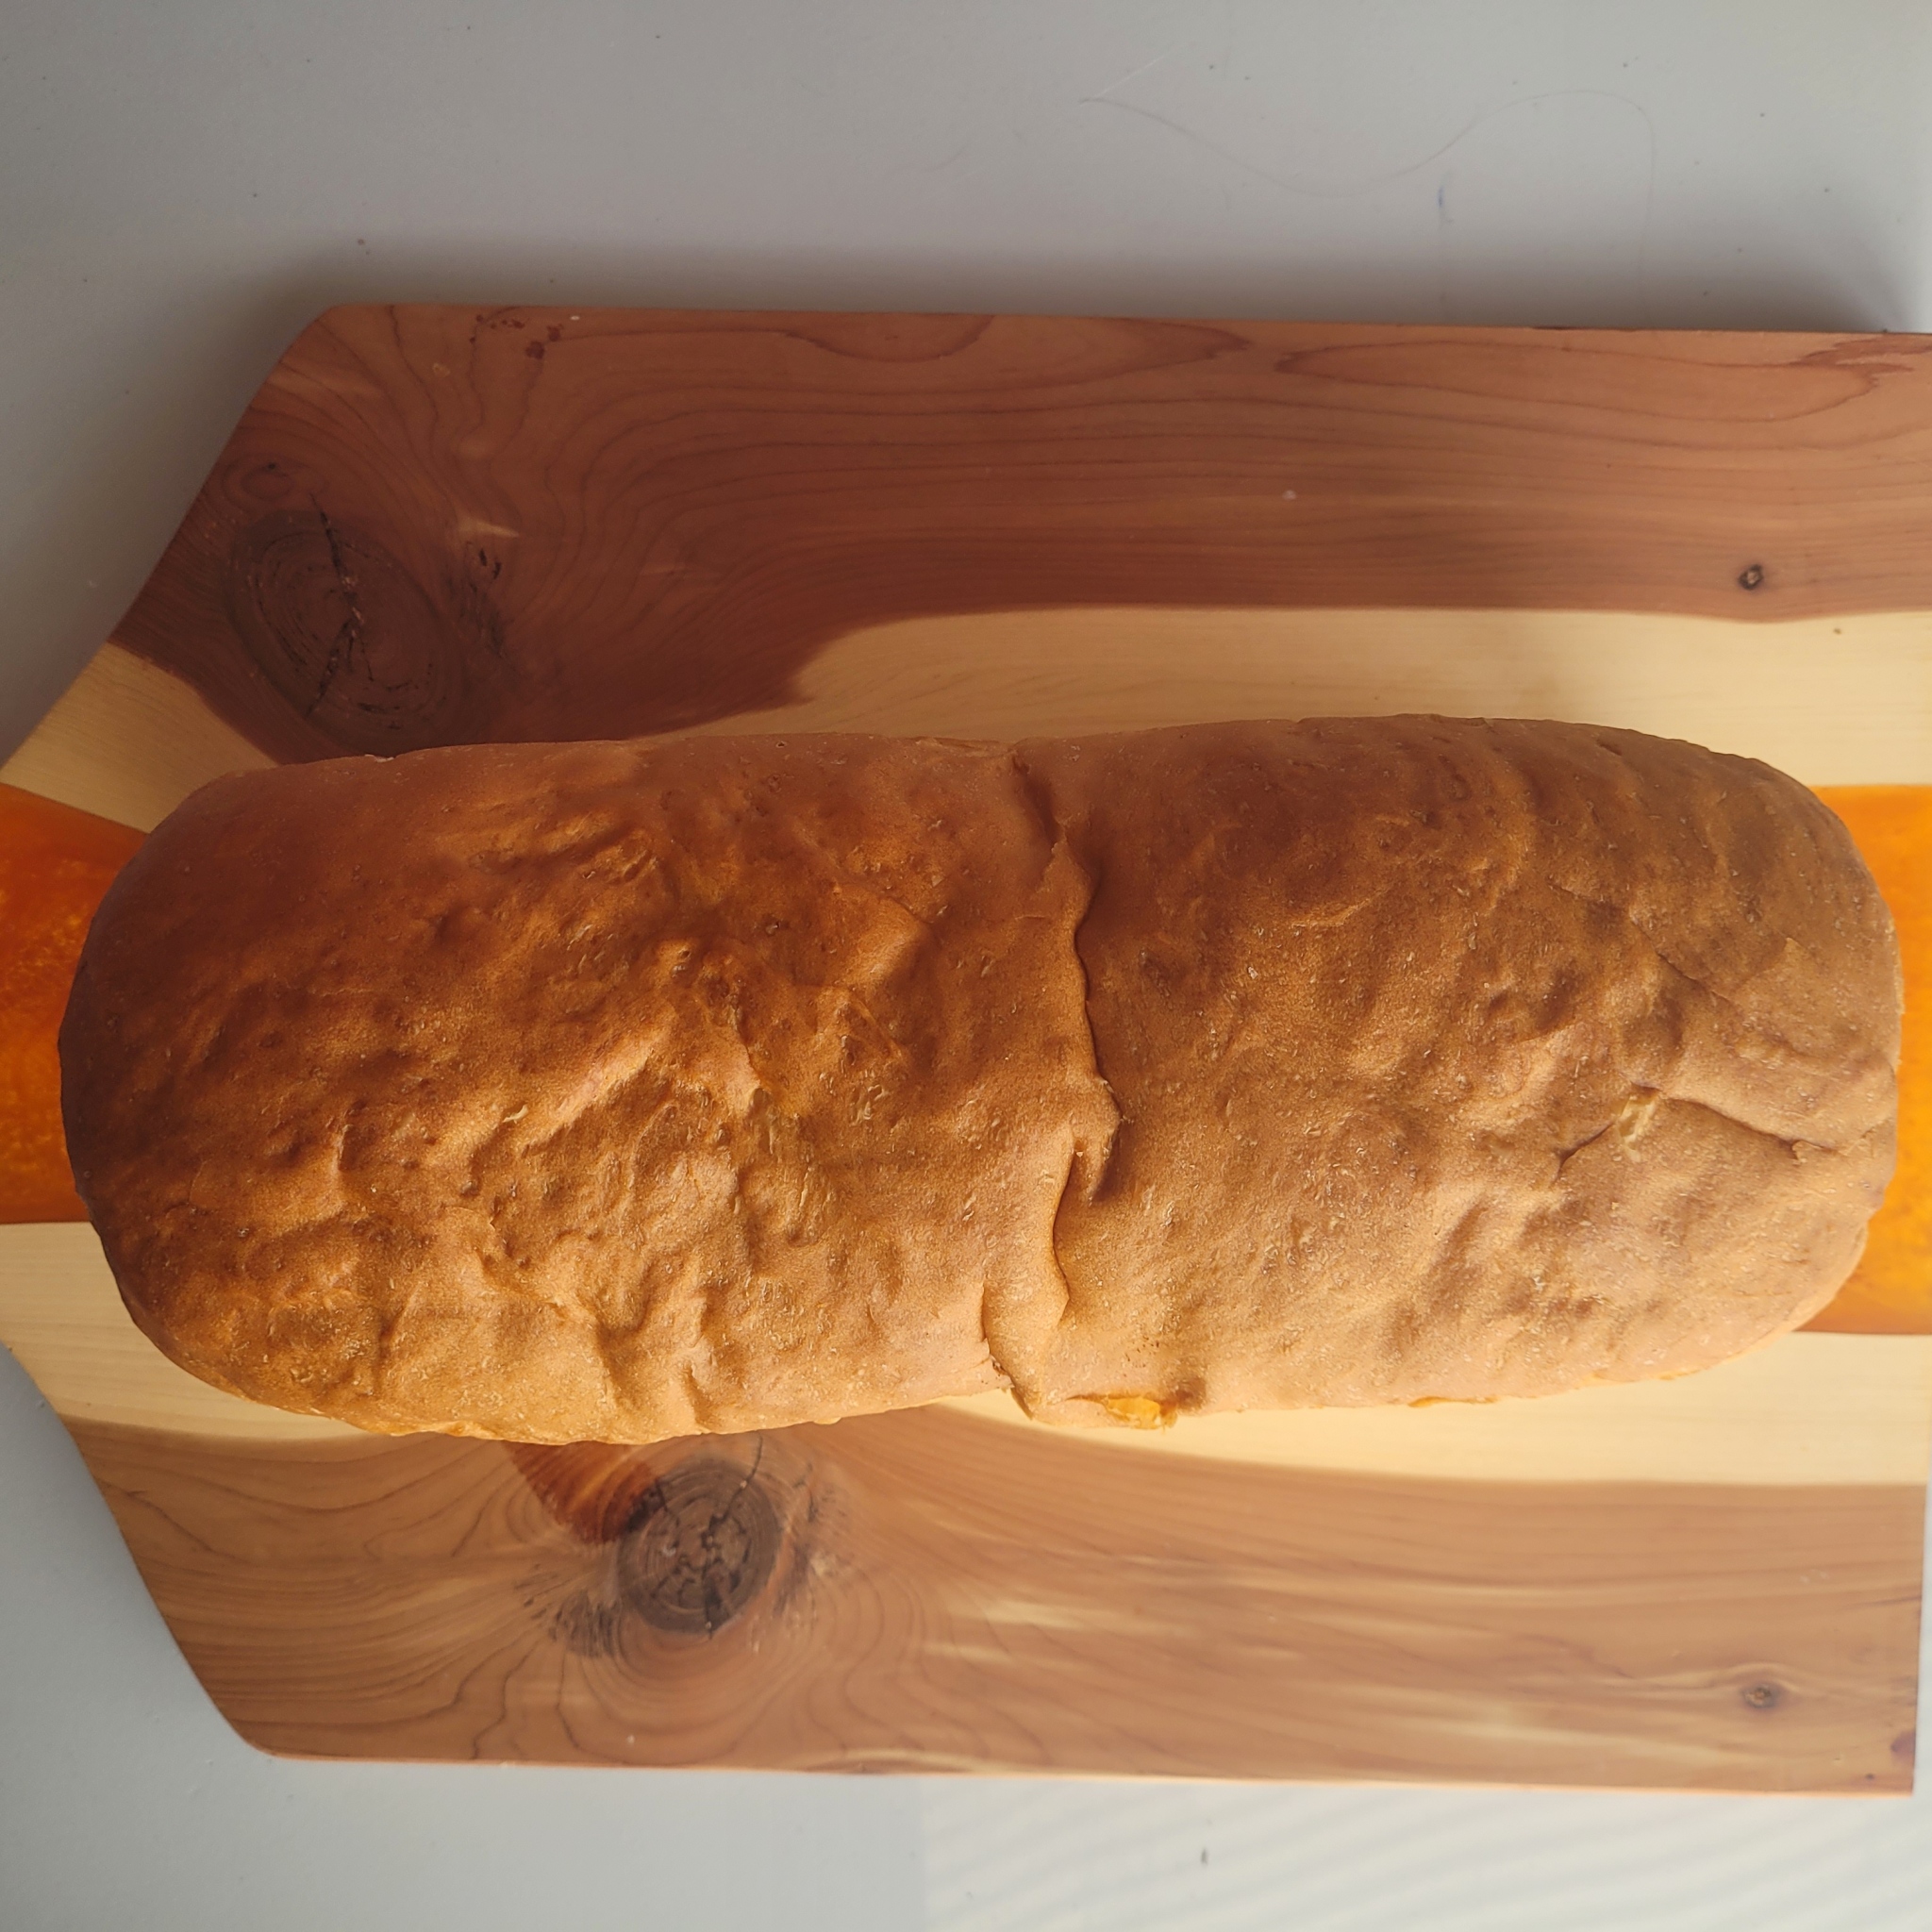
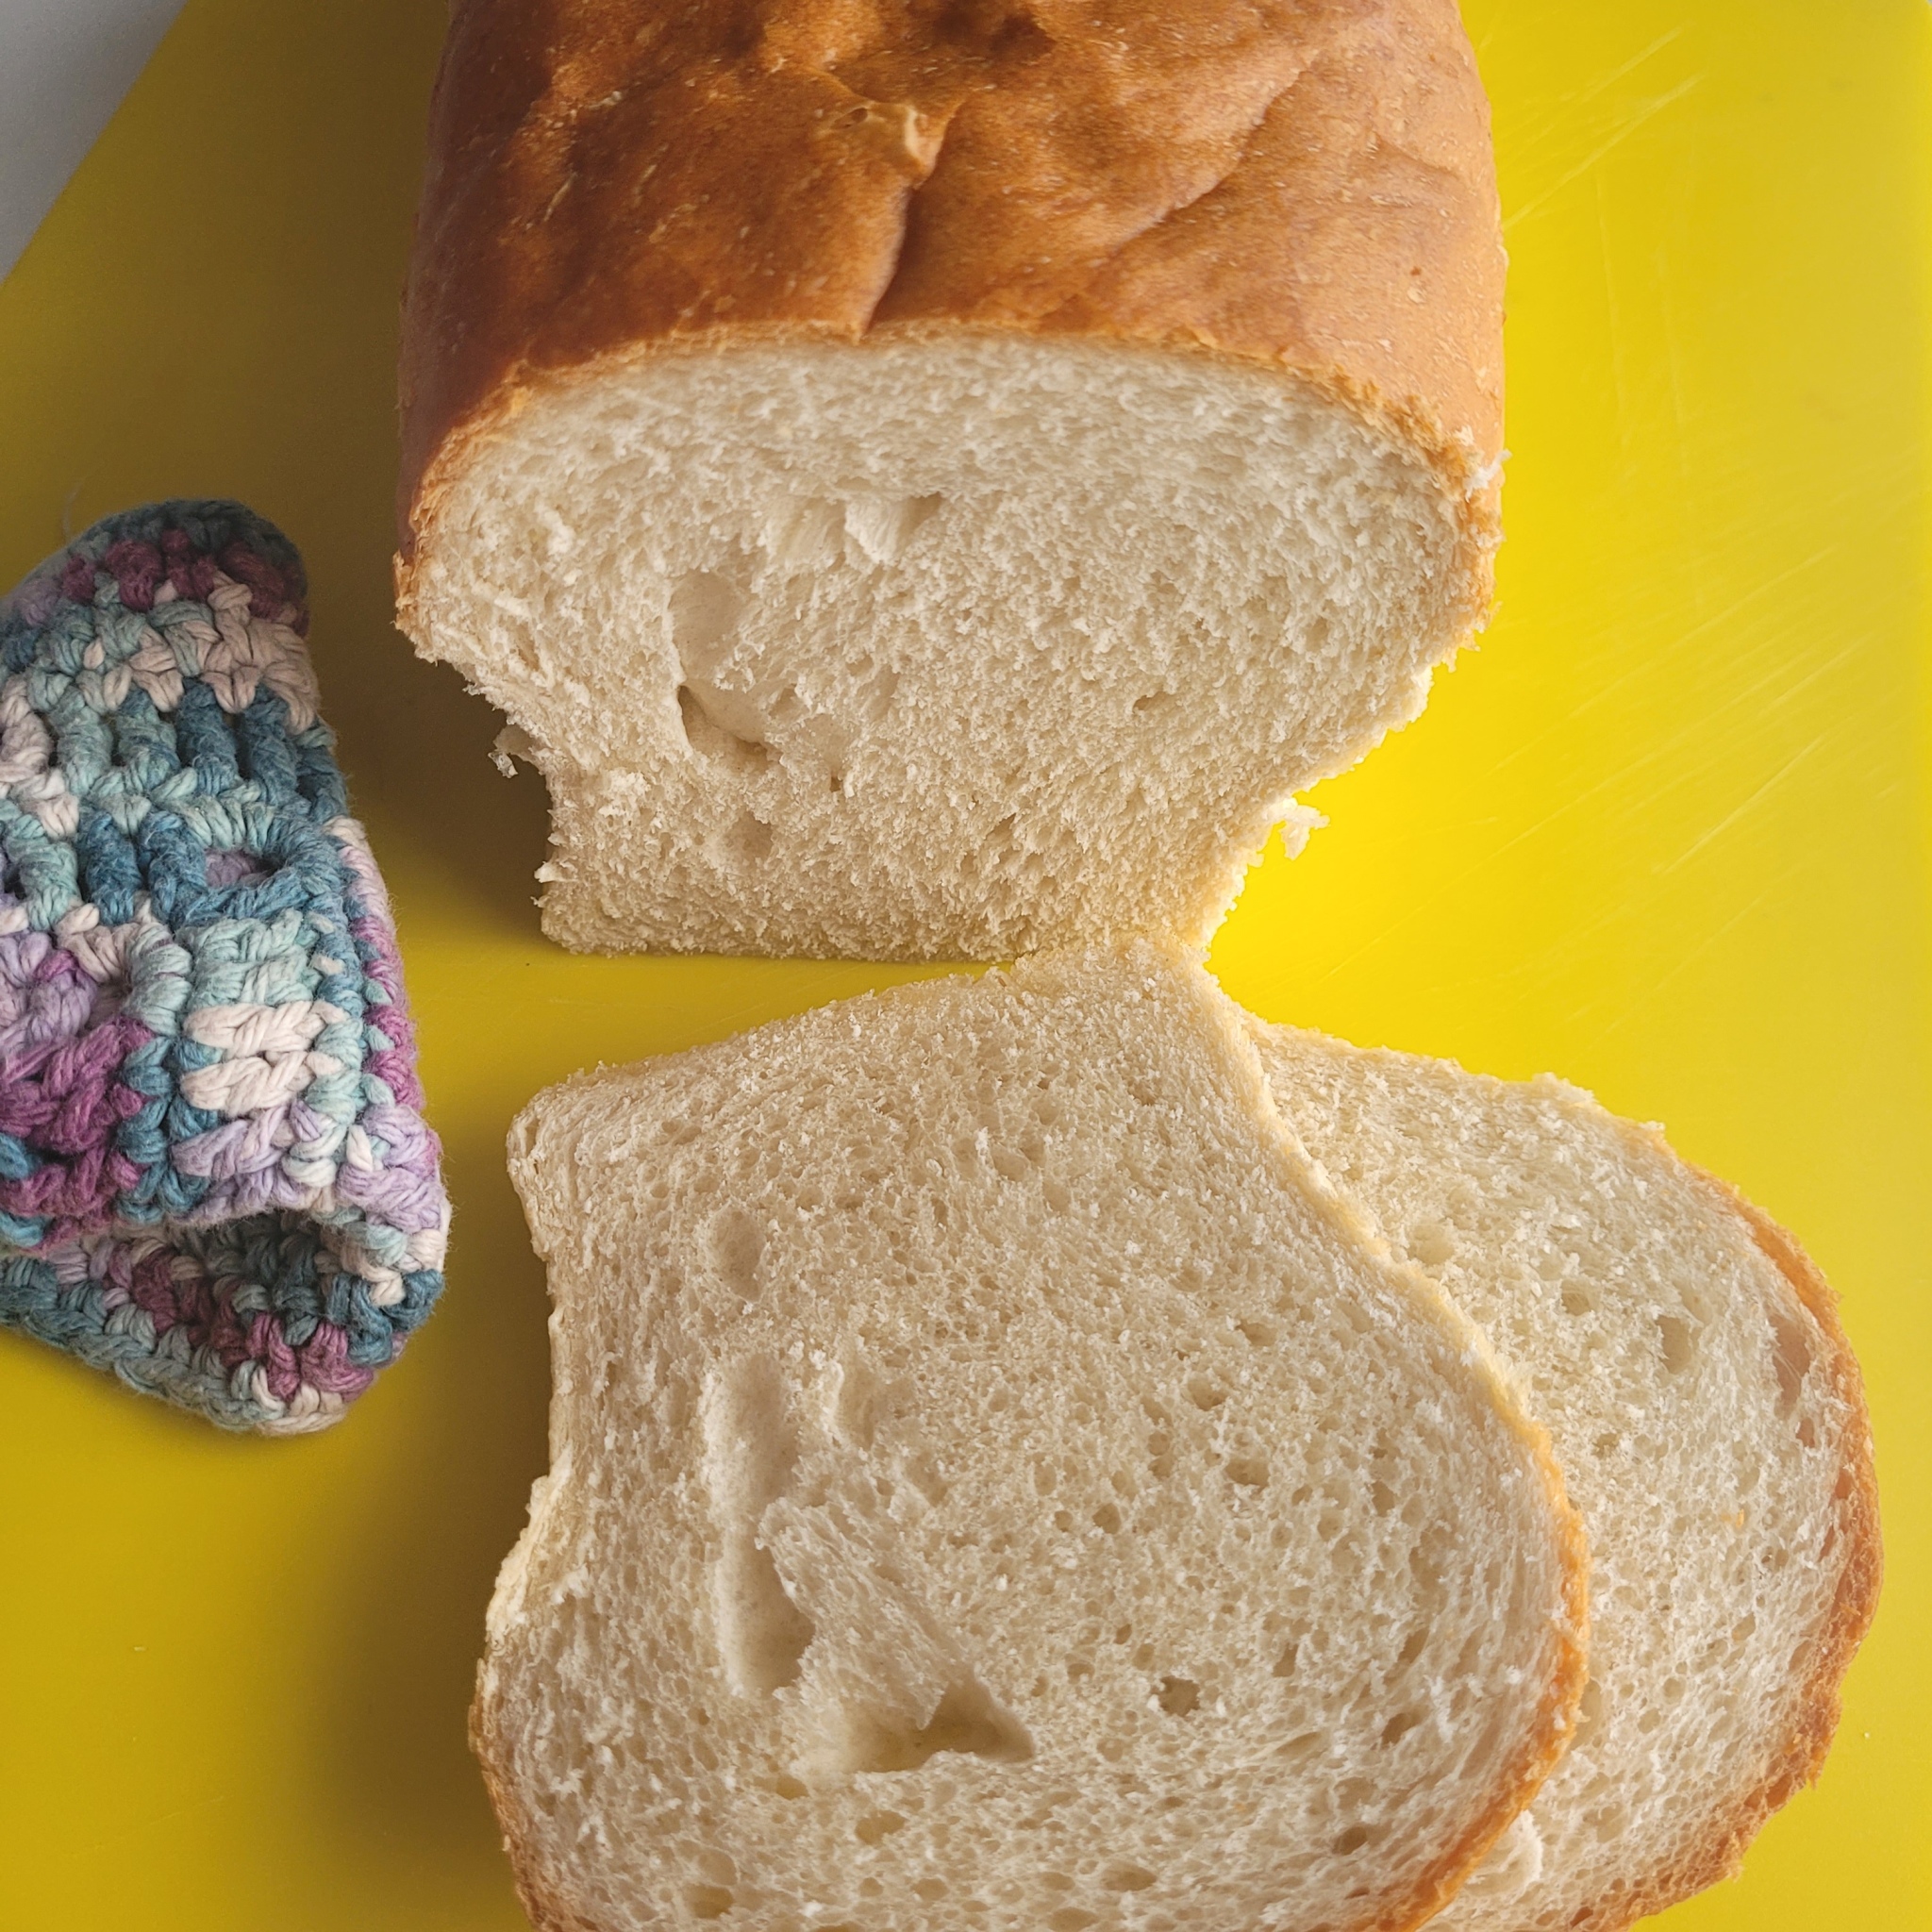
This bread is fluffy, stretchy, rich, and light. It is perfect for toast because it slices well and has a soft crumb with lots of stretch. You can slice thin or thick. We use it for everything, including to make grilled cheeses, garlic bread, and French toast, and to dip in soup.
I could go on for ages, but I’ll save you my life story and several paragraphs explaining why this recipe is the best, and just jump right in:
INGREDIENTS:
- 8 cups white flour (don’t trust those people who tell you to buy name brand! I buy the cheapest one on the shelf, and with it, this bread recipe turns out exactly like name brand bread flour)
- 1 tbsp salt
- 2 tbsp white sugar
- 1.5 tbsp yeast (active dry)
- 2.75 (apx) cups warm water
- 3 tbsp olive or other vegetable oil. Margarine or room temp butter also work – no need to melt)
INSTRUCTIONS:
- In stand mixer (with dough hook attachment) or large mixing bowl, stir together sugar and warm water (NOT HOT)
- Sprinkle yeast on top and let it be for 5 minutes. It should be a little foamy when you get back
- Add 3 cups of flour, salt, and oil and mix well
- Add extra flour 1 cup at a time while mixing on lowest setting (or if doing this by hand, mix with a large wooden spoon between cups to incorporate flour well)
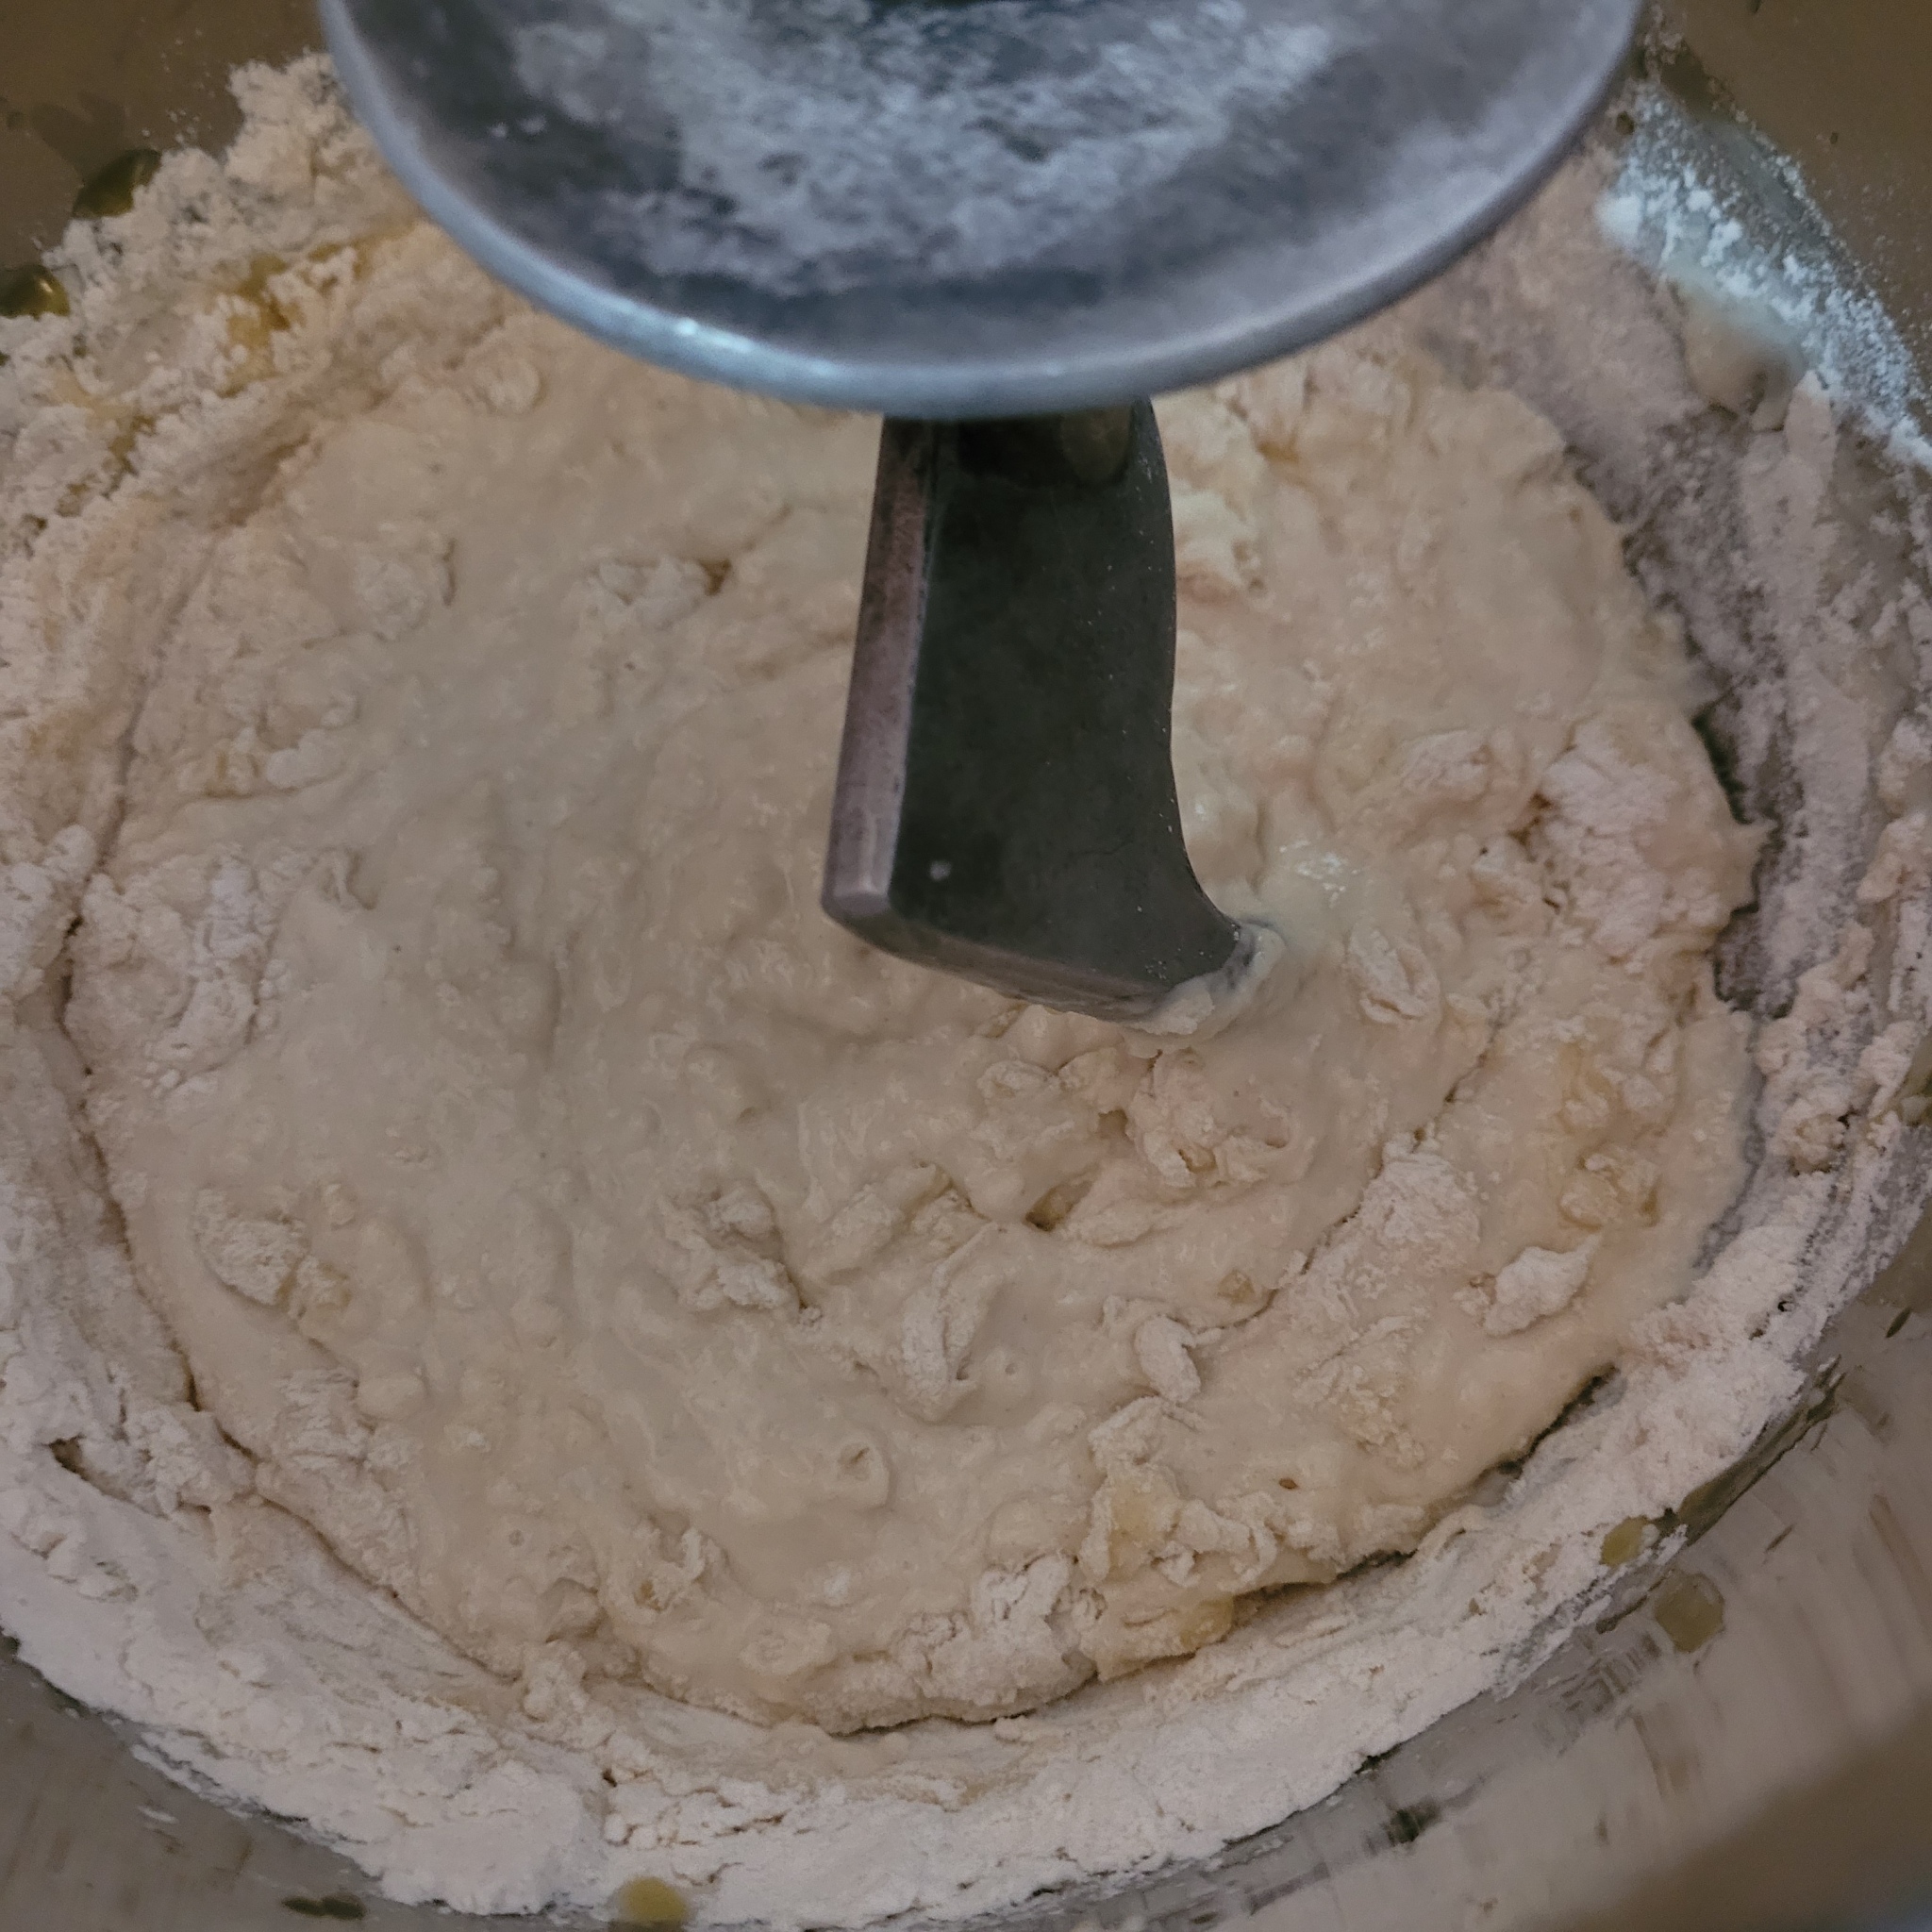
- Mix for about 8 minutes on the lowest setting until a nice ball forms that is smooth, steetchy, and tacky but not sticky. You can add a splash of water or a tiny but of flour as needed, but don’t go overboard.
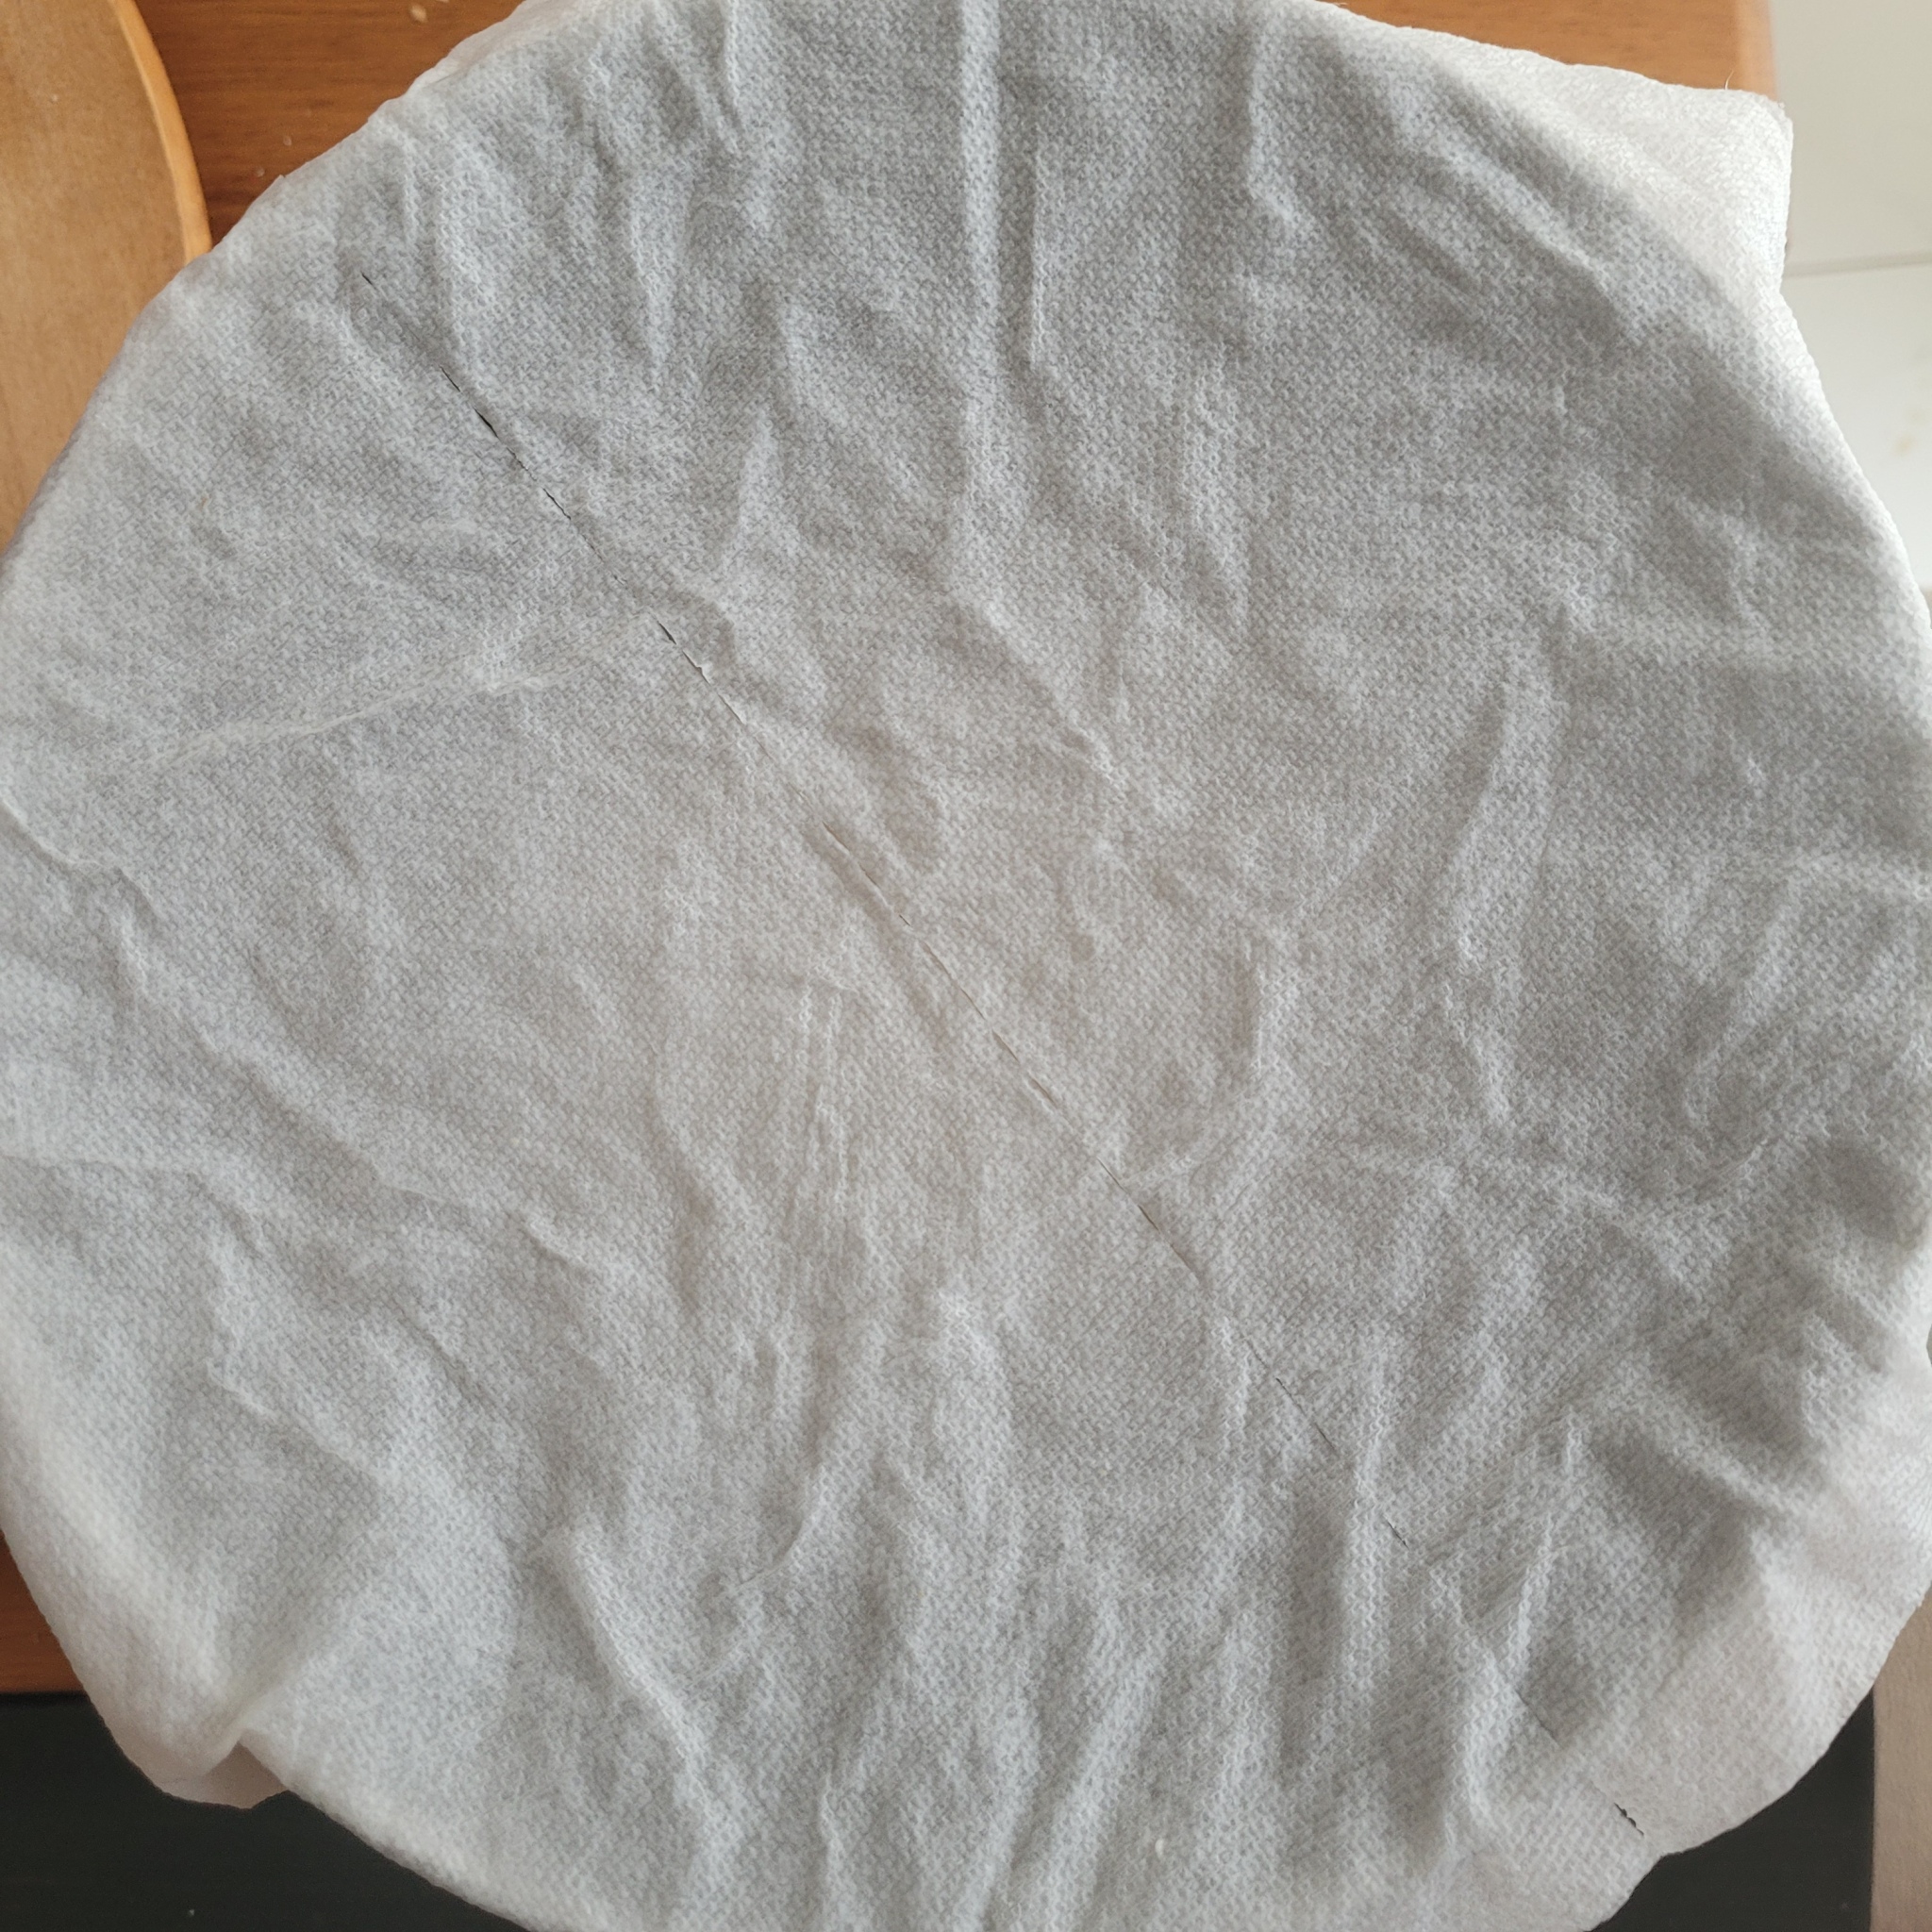
- Cover the bowl with a warm, damp dish cloth and let the dough rise for 1 hour or so (until it has at least doubled)
- While rising, you can butter 2 tall 9 inch loaf pans. You can also use smaller loaf pans, roll your dough into buns, or use for cinnamon rolls, so plan accordingly.
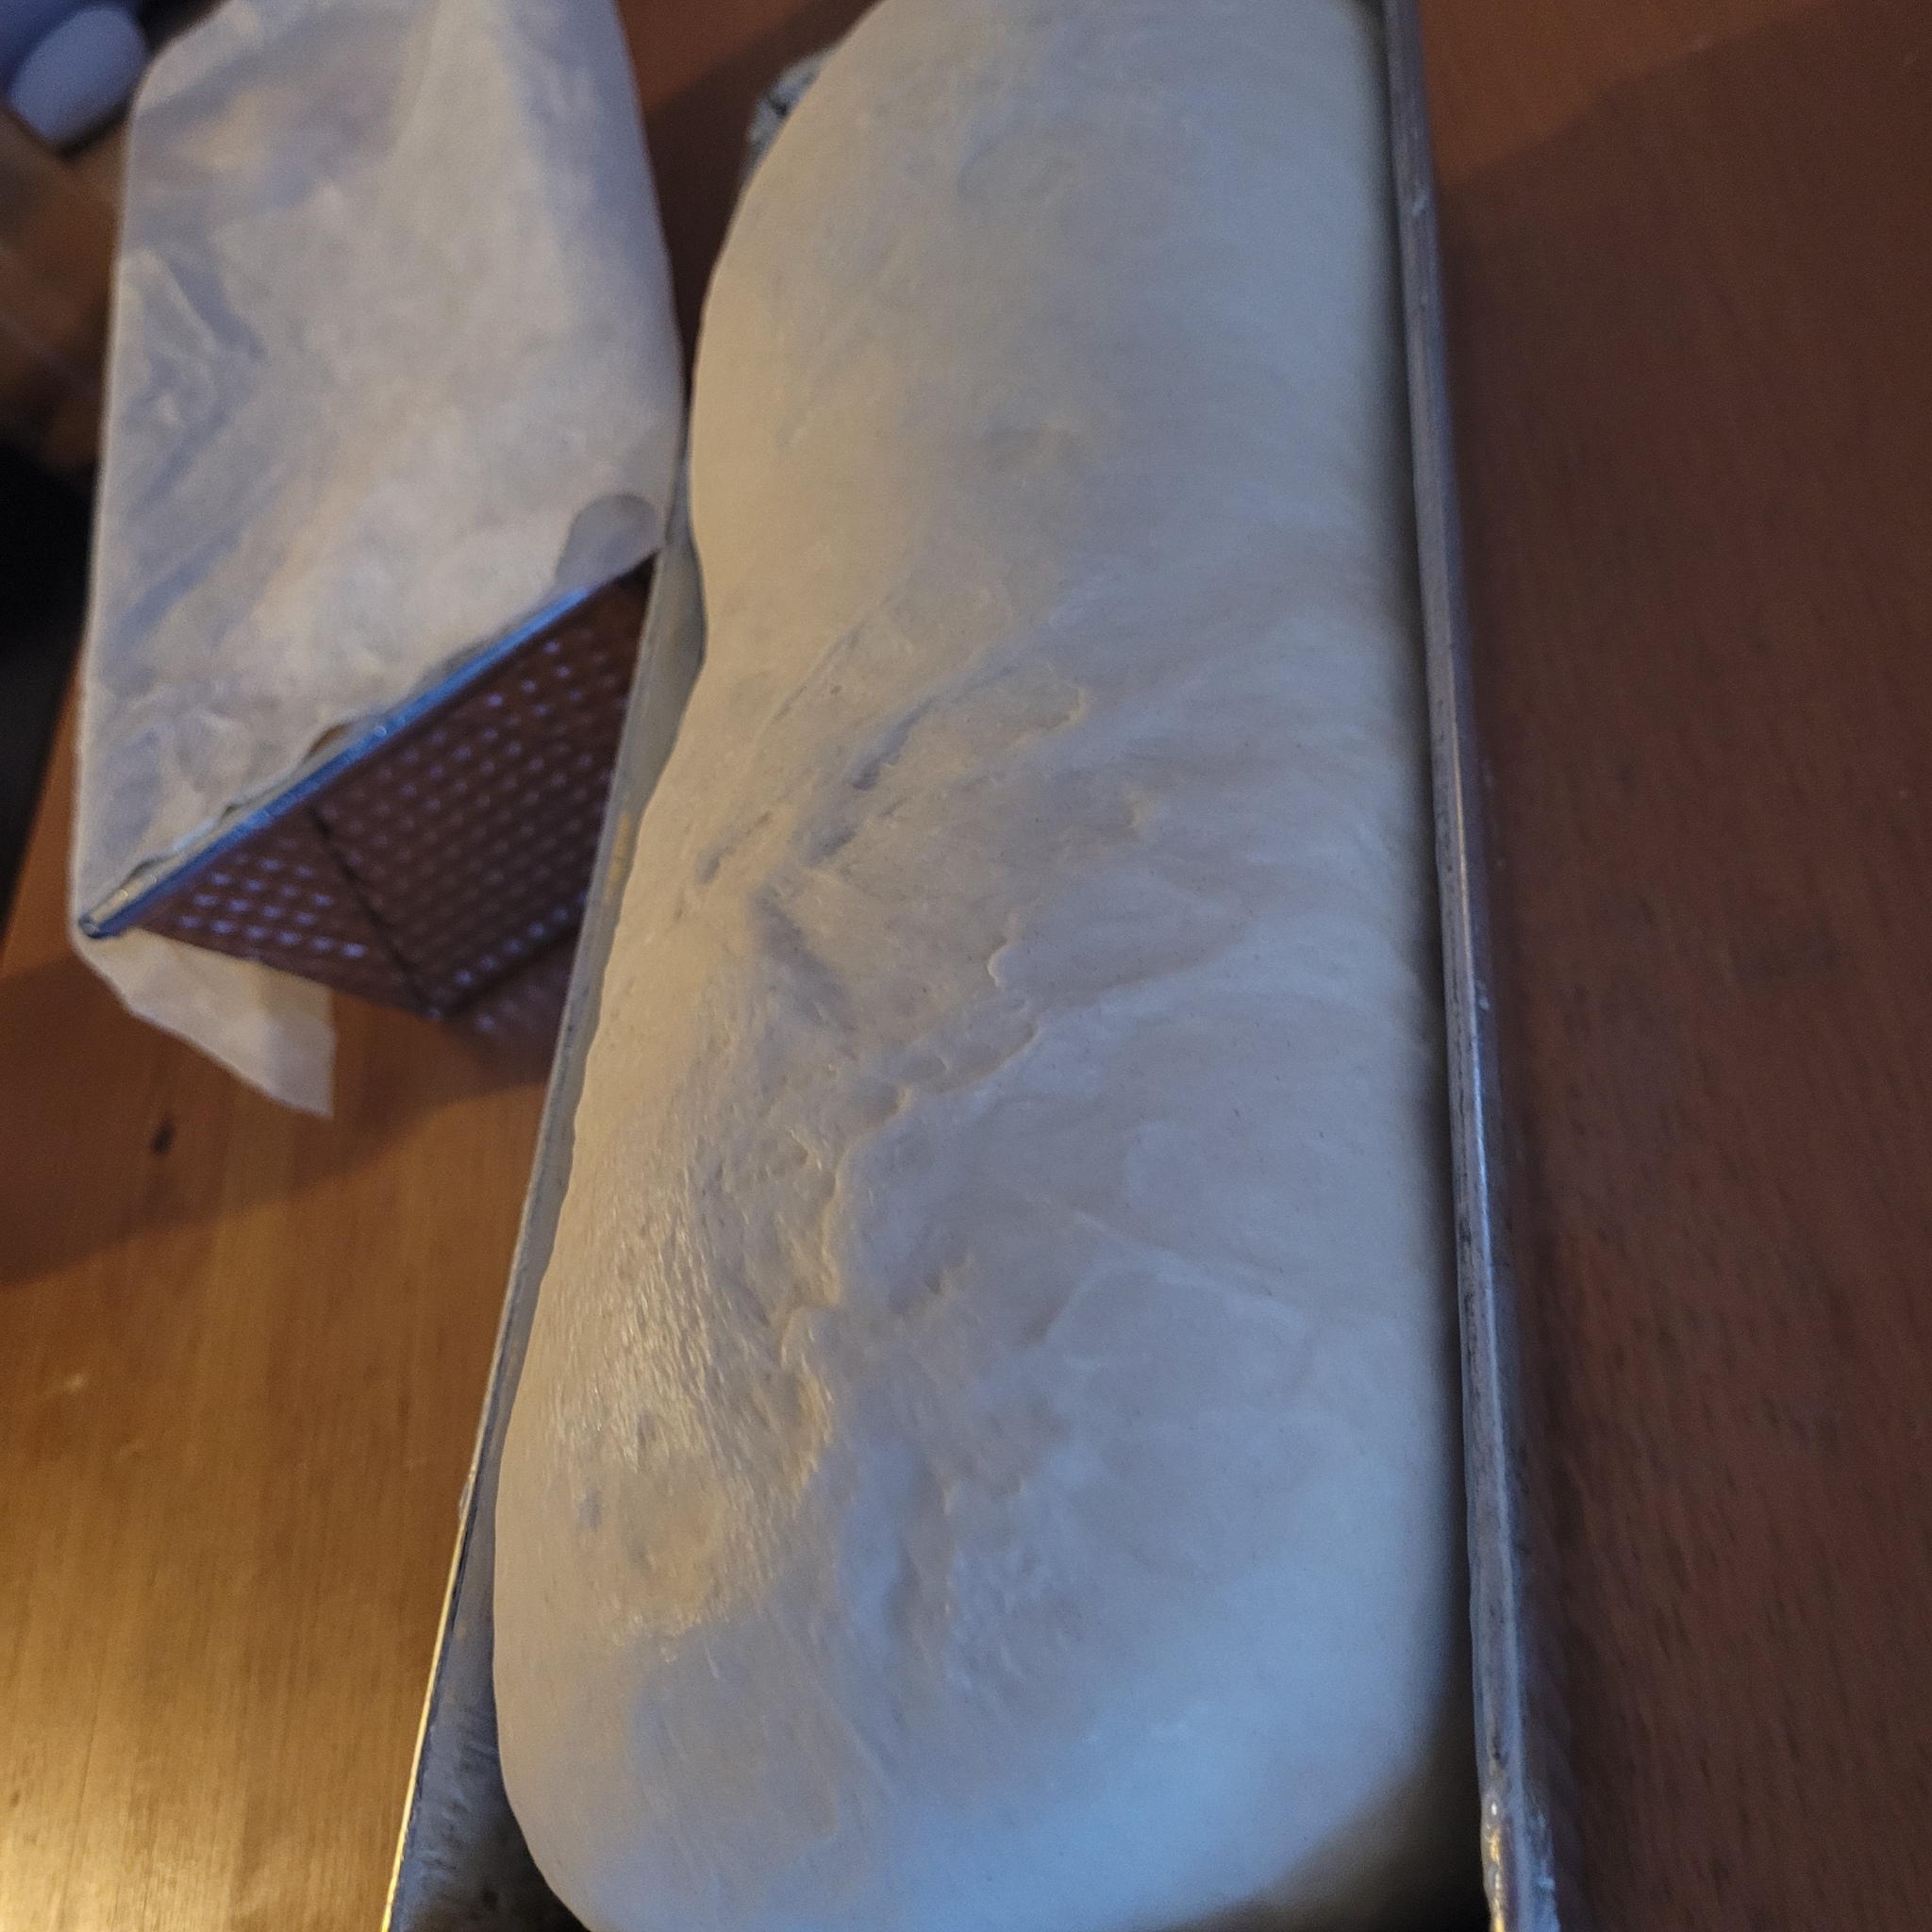
- Remove from bowl onto a clean, dry surface. Cut in 2 equal parts. Press each part flat into a rectangle about 10 inches long and 6 inches wide. Roll the dough into a tight loaf, tucking the edges in as you get close to the end.
- Place seam down into the pans. You can cover again with a warm damp cloth or a damp paper towel. Let rise until again doubled – depending on your room temperature, this could take about 45 minutes to an hour and a half. Plan to check after 45 minutes.
- When dough is getting high, preheat over to 390°F
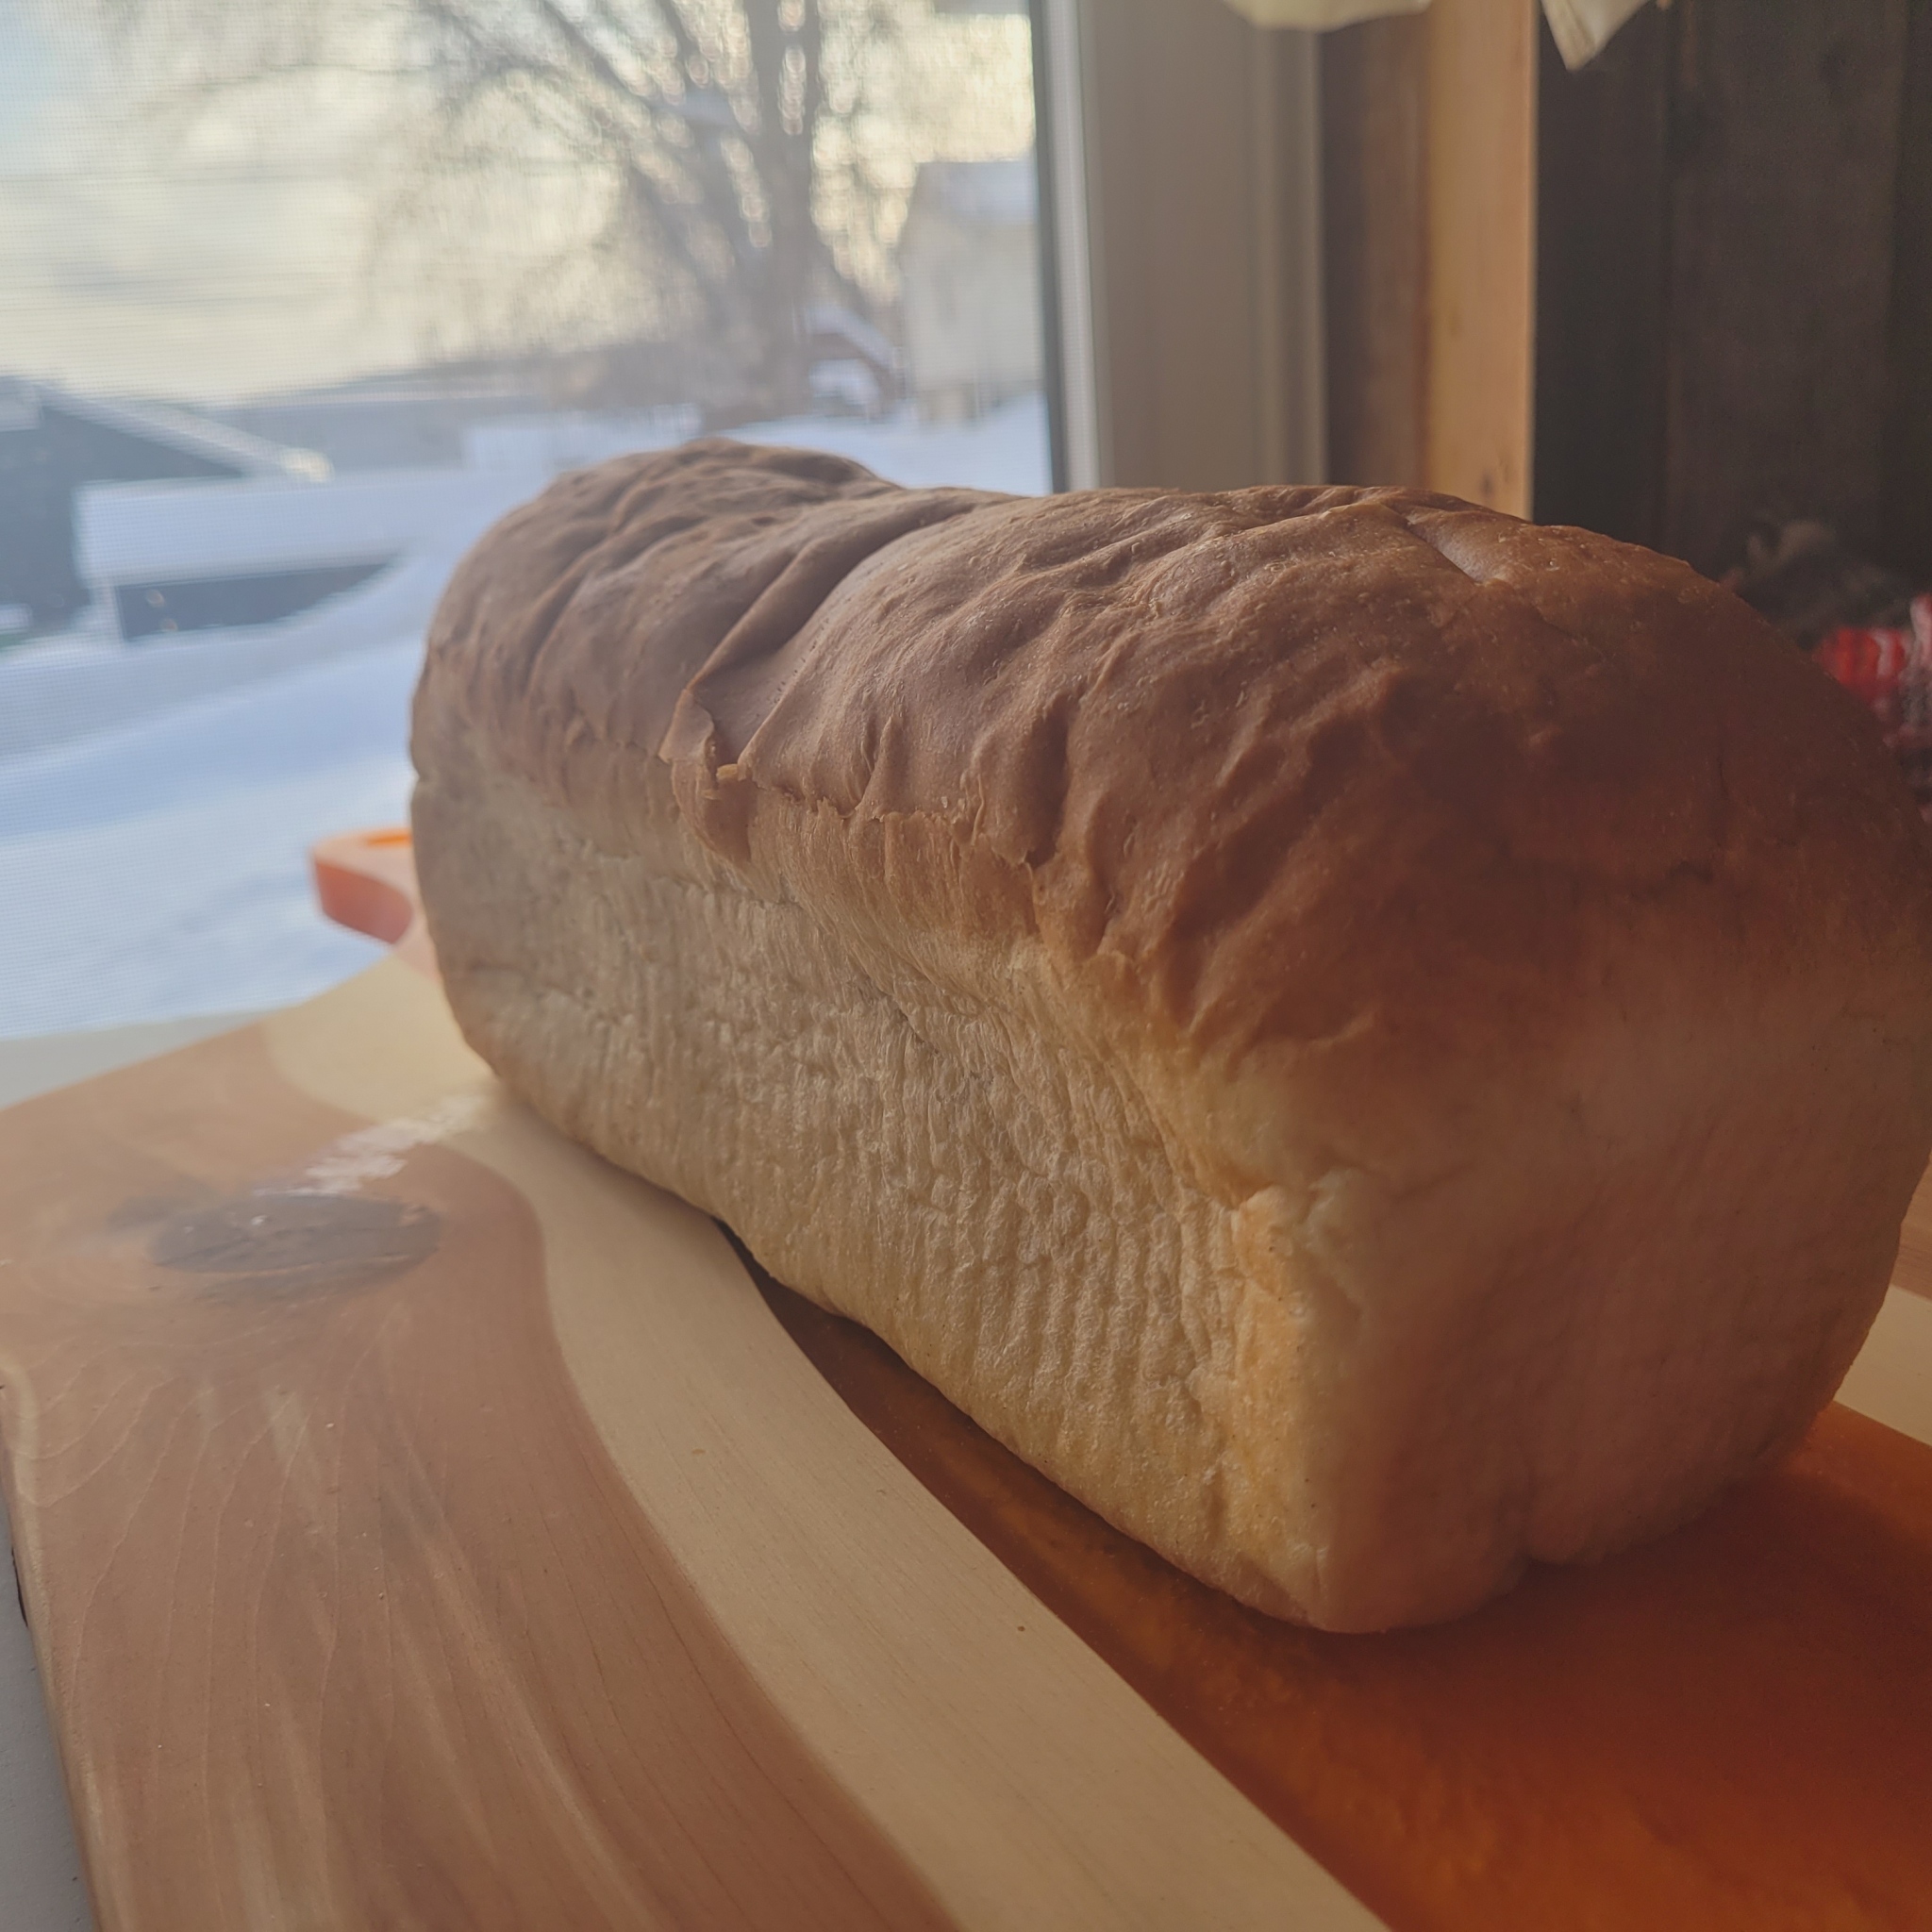
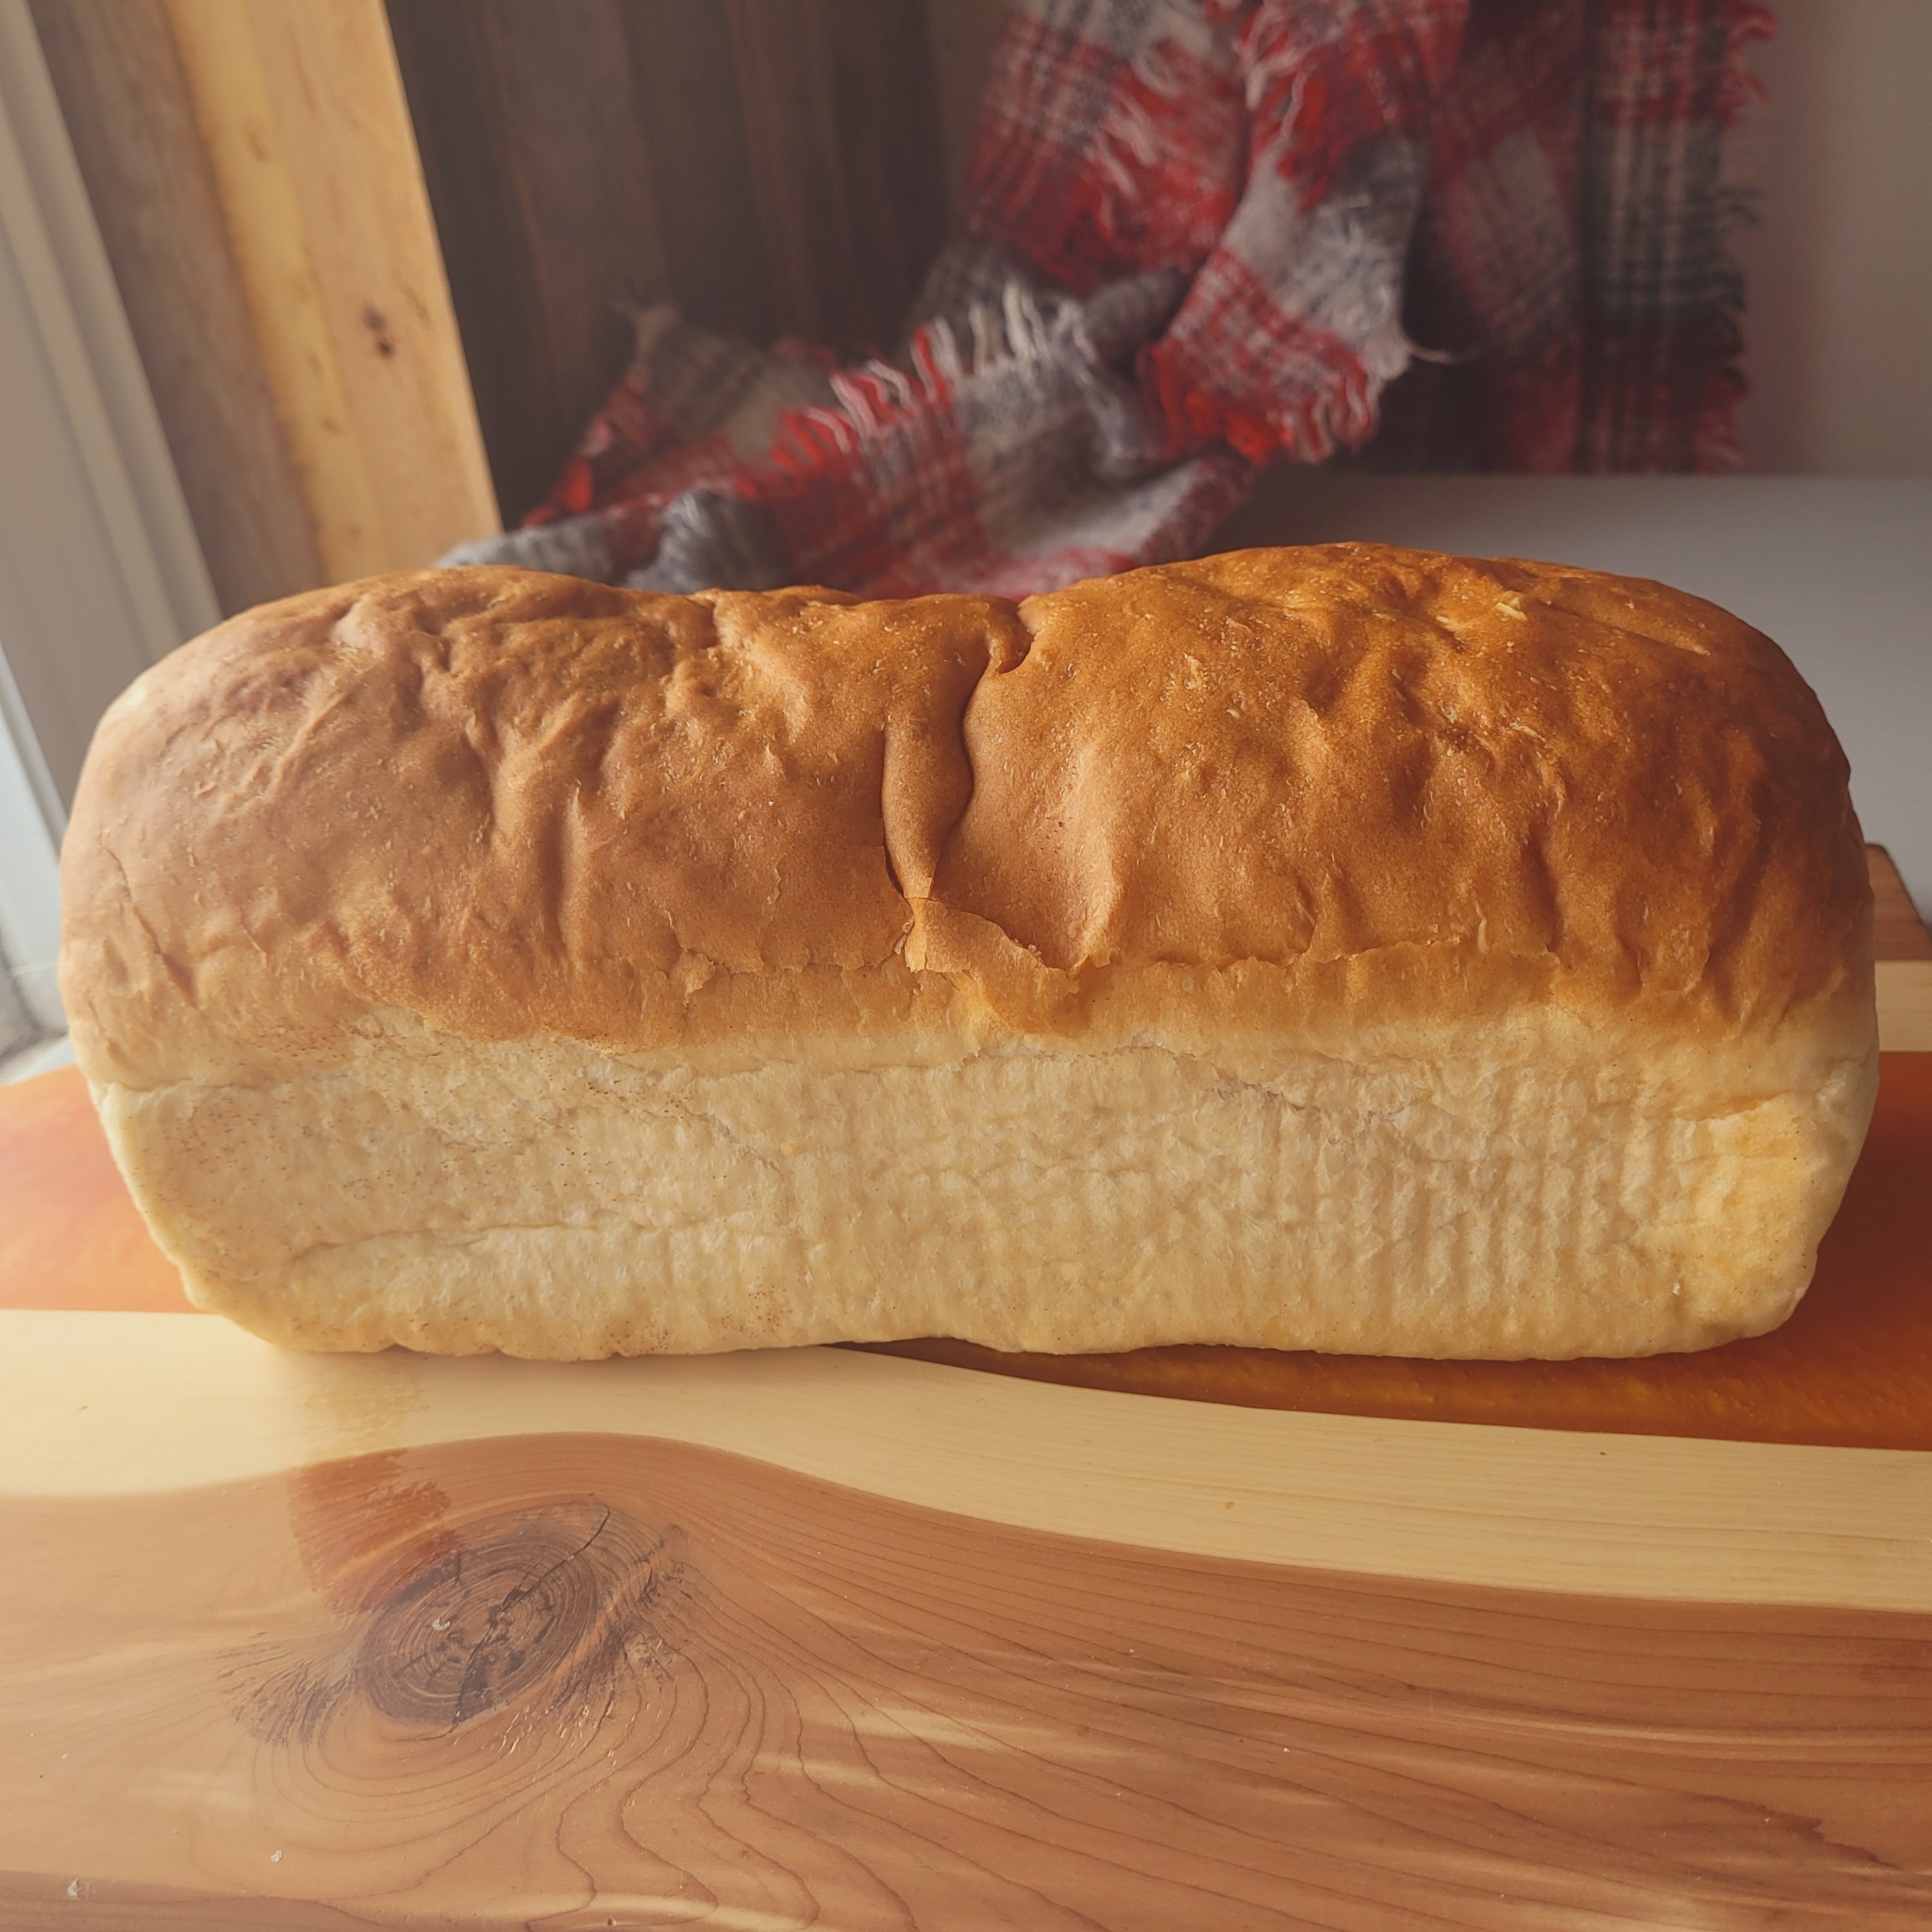
- Once risen, place in hot oven, on middle rack with LOTS of head space (this bread rises a LOT) and bake for about 30 minutes. Bread will be golden when ready, and if removed from pan, should sound hollow when tapped.
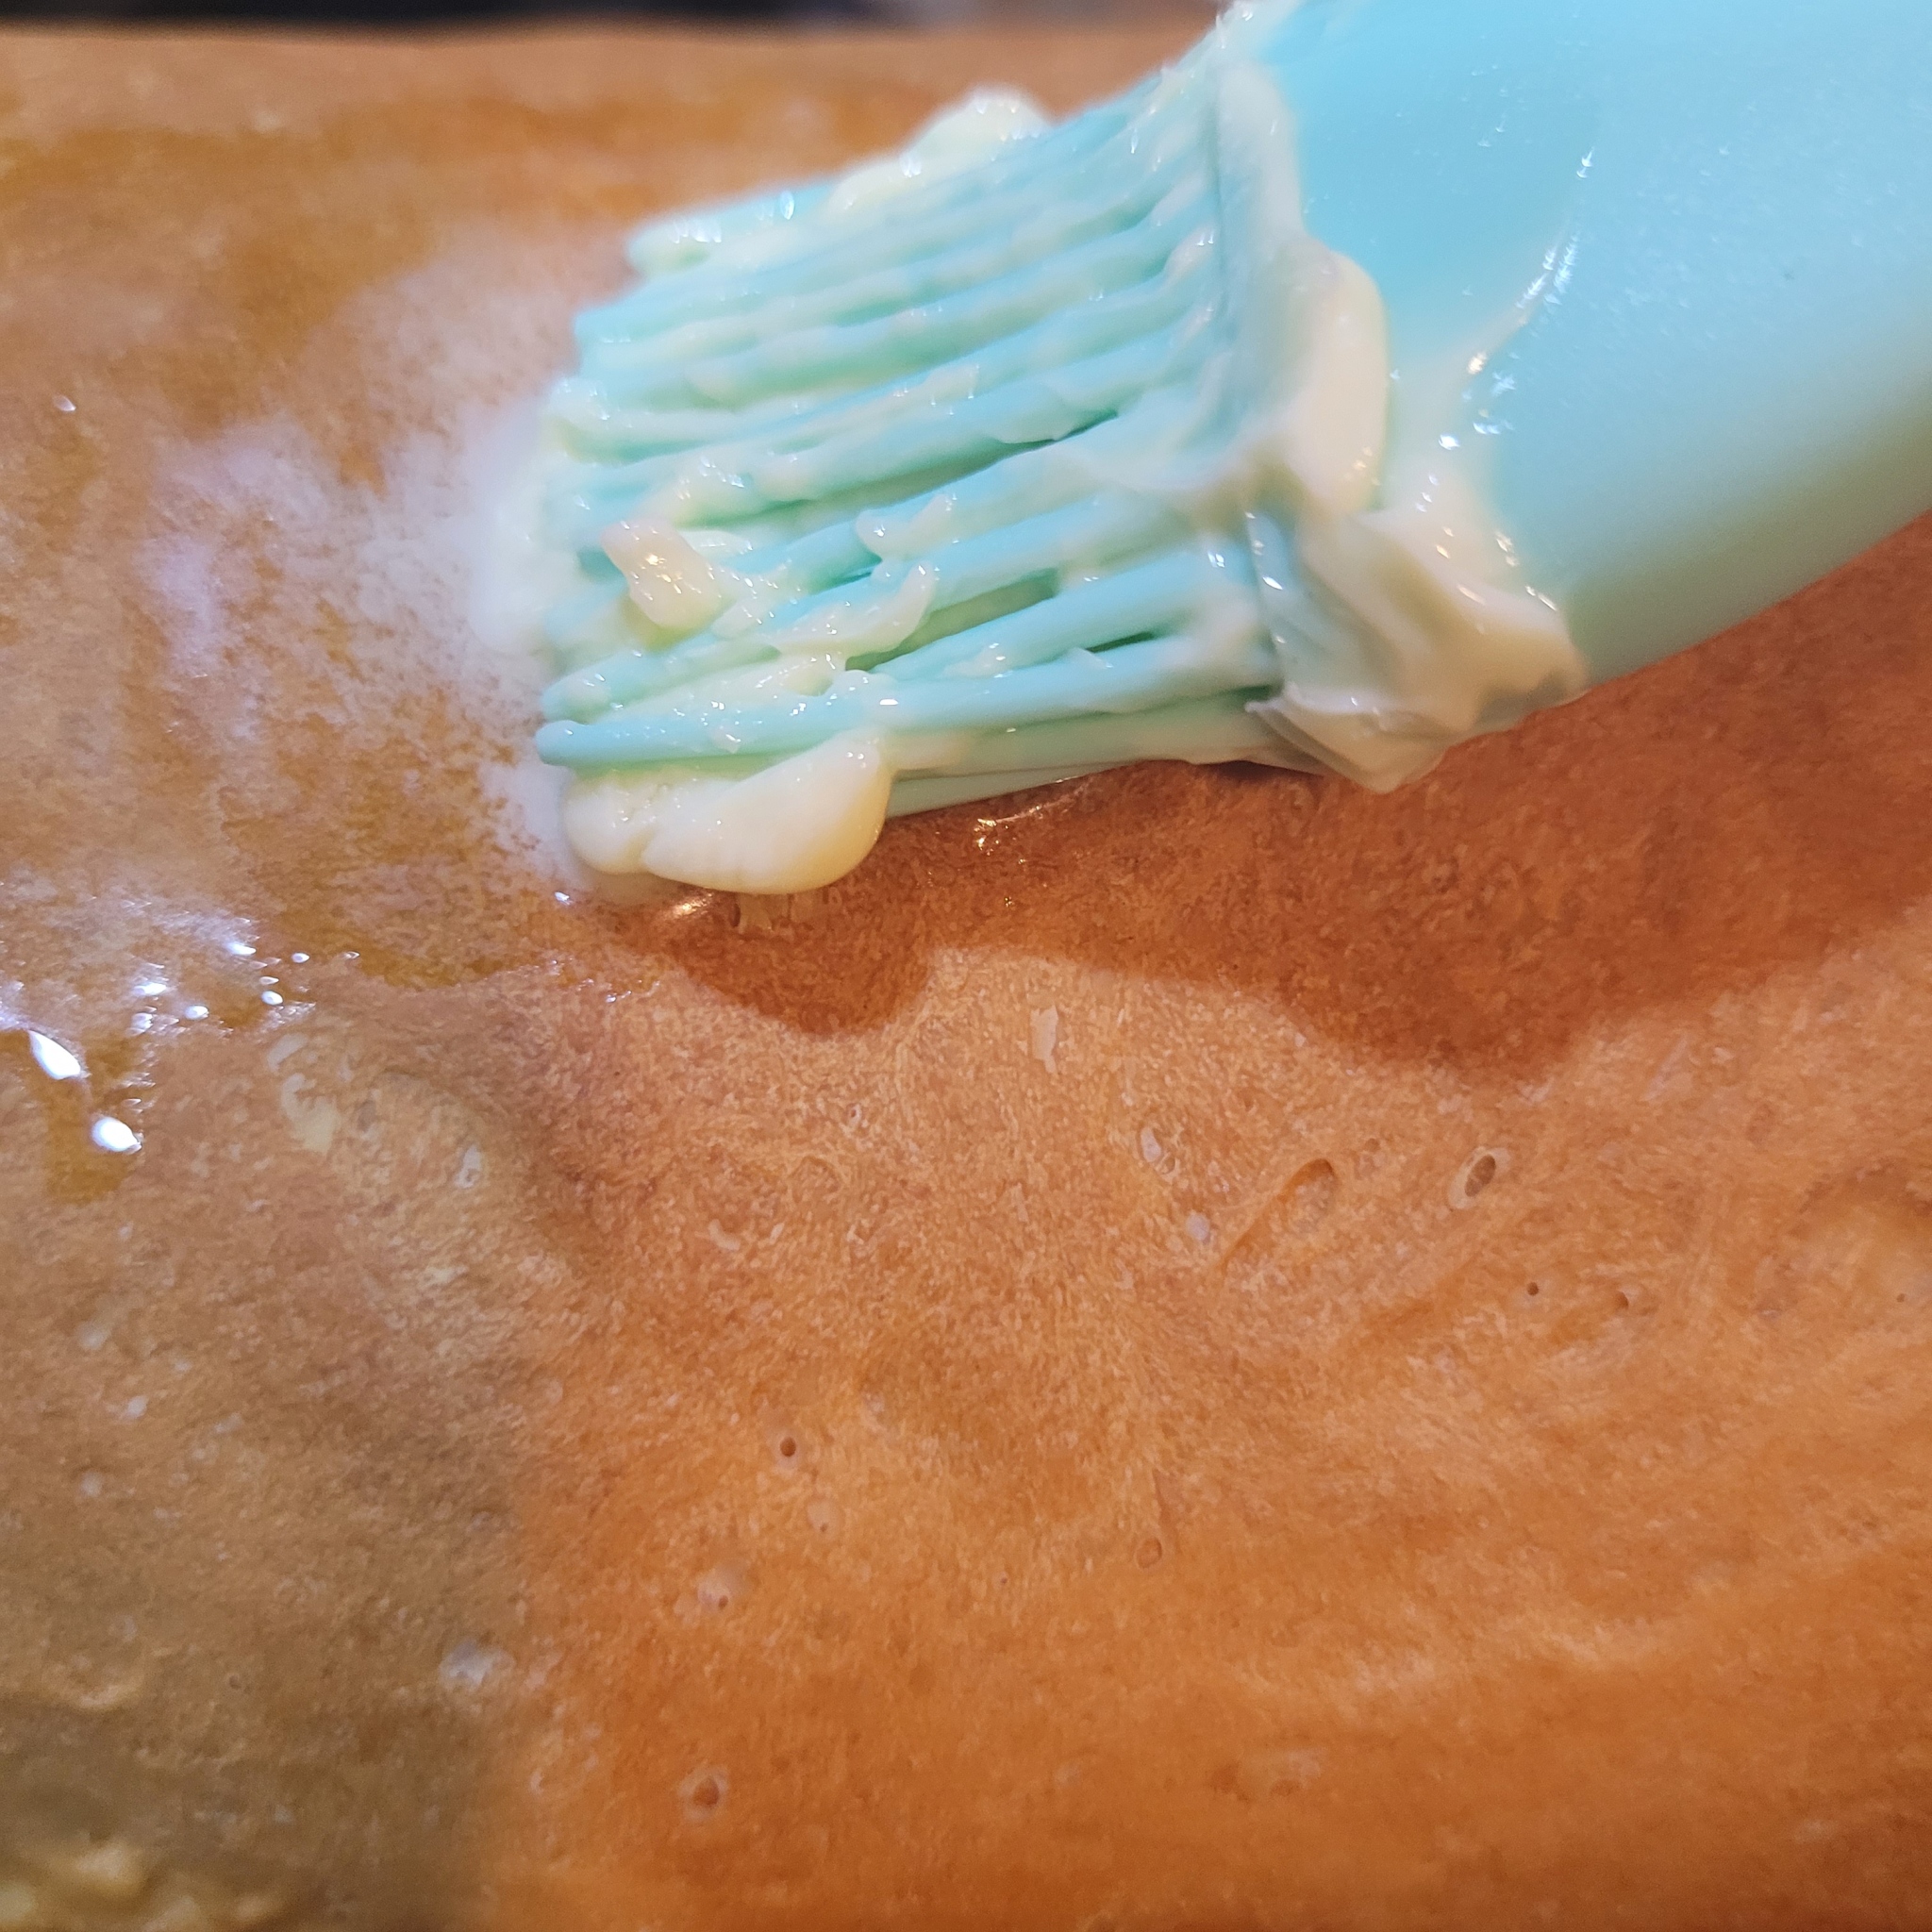
- Use a pastry brush to coat with butter or margarine while the bread is still hot. This will make your crust nice and soft!
- Let sit on a wire rack or clean dry tea towel until completely cooled before cutting.


This bread stores well in the freezer when double wrapped, slices perfectly once cooled, and lasts about a week on the counter before getting a bit dry (can totally still use for French toast at this point, though!). In hotter temperatures, bread that is kept sealed tight on the counter may get moldy, so aim to let your bread breath a bit to prevent moisture and premature spoilage.

Seriously, this is the best bread I’ve ever made. I make it at least once a week, because my family LOVES bread – we use it for sandwiches, French toast, eggies in a basket, and so much more. I make 2 large 9 inch loaves on Sundays, and we seldom have a few slices left by the next Sunday Morning.
The cost of this loaf is extremely minimal. A 10kg bag of flour will make this recipe 10x over – at $12.50 a bag, that means each of these loaves costs about 63 cents in flour; plus yeast, salt, sugar, and oil, you’re probably looking at about $1.15 per loaf.
And it tastes 100x better than the $5-8 artisan loaf in your grocery store’s bakery department.
Happy Baking and Happy Tuesday!
The Chicken Chick